Homemade Maple Cream Recipe (Whipped Maple Butter)
Oct 25, 2024 • Updated Jan 07, 2025
This page may contain affiliate links, which means I will make a small commission for products purchased through my link.
Maple cream is a delicious transformation of pure maple syrup into a smooth, spreadable treat with a texture similar to peanut butter. The end result is a creamy, thick spread with that unmistakable maple flavour, perfect for topping toast, matcha pancakes, waffles, or (of course) a matcha latte!

Table of Contents
What Is Maple Cream?
Despite its name, maple cream contains no dairy! It’s simply pure maple syrup that’s been heated and cooled, then whipped to create a smooth, spreadable consistency. The process changes the syrup’s texture and colour, resulting in a creamy versatile treat. Because there’s no additional sugar or additives, the pure maple flavour really shines.
Maple syrup is a sustainable sweetener since it’s harvested directly from maple trees with minimal processing and environmental impact. This eco-friendliness makes maple cream an environmentally conscious choice compared to more heavily processed sweeteners.
Why You’ll Love This Recipe
When I was first told about maple cream I was told to pick some up at Trader Joe’s however, when I went to grab some it had been discontinued for the season! Luckily, it’s so easy to make this creamy spread at home. In this post, I’ll walk you through making homemade maple cream in a few simple steps, even if it’s your first time. I’ll also share some helpful tips and tricks to make sure your cream comes out perfectly every time!
The best part about maple cream is that it’s naturally sweet with zero additives – just real maple syrup! This wholesome spread has no refined sugars, dairy, or added ingredients, making it versatile and plant-based. Pure maple syrup also contains natural antioxidants, so your maple cream even gets a slight nutritional boost.
Whether you’re looking to elevate breakfast or create a homemade neighbor, teacher, friend, or family gift this recipe is a great way to enjoy the wholesome goodness of maple syrup. Plus, knowing exactly how to control the consistency and flavour means you’ll get the perfect maple cream every time!
What You’ll Need
- Pure maple syrup: All you need is one ingredient- Maple Syrup! Using high-quality, grade A dark maple syrup will give you a deeper, richer flavour, though any pure maple syrup will work!
- Tools: A candy thermometer, a stand mixer with a paddle attachment (recommended but not required), and an ice bath setup.
See the full recipe card below for exact ingredient amounts and instructions.
How to Make the Best Maple Cream
Step 1: Pour pure maple syrup into a pot, and bring it to a boil. Using a candy thermometer, carefully heat the syrup until it reaches exactly 235F. This temperature is essential for the right texture.
Step 2: Quickly pour the hot syrup into your stand mixer bowl. Set up an ice bath and place the bowl in it, letting the syrup cool down to 60F. Keep an eye on the thermometer here – if the mixture doesn’t reach 60F, the cream won’t set correctly. Alternatively, you can chill it in the freezer for about an hour, checking occasionally until it reaches 60F.
Step 3: Once the syrup has chilled, take it out and let it come all the way to room temperature. This step helps reduce crystallization, so be patient before you start to whip.
Step 4: Fit your stand mixer with a paddle attachment, and beat the cooled syrup on a medium setting. Keep it going for about 30 minutes, until the syrup becomes creamy, opaque, and fluffy.
Step 5: Transfer the finished maple cream to an airtight jar and store it at room temperature. If you notice any separation over time, a quick re-whip will bring it back to that smooth, creamy consistency. Enjoy your pure maple cream!
Secrets to Success
- Use a candy or digital thermometer. Hitting precise temperatures is key to transforming your syrup into cream. The thermometer is your best friend for this recipe.
- Cooling the syrup fully is an essential step for consistency, so give it the time it needs to reach the correct temperature before whipping.
- If your maple syrup isn’t turning creamy, it might be because it didn’t reach the right temperature during heating or cooling. Double-check with your thermometer to ensure accuracy – 235F for heating and 60F for cooling are essential. If it still doesn’t cream, try re-chilling to 60F and whipping again.
- A grainy texture usually means the syrup wasn’t fully cooled or whipped at the right temperature. To prevent this, make sure the syrup cools all the way to room temperature before whipping. If you’re still seeing crystals, let the cream rest at room temperature and whip it again to smooth things out.
Serving Suggestions
My favorite way to enjoy this spreadable cream? Thanks for asking! Here are a few.
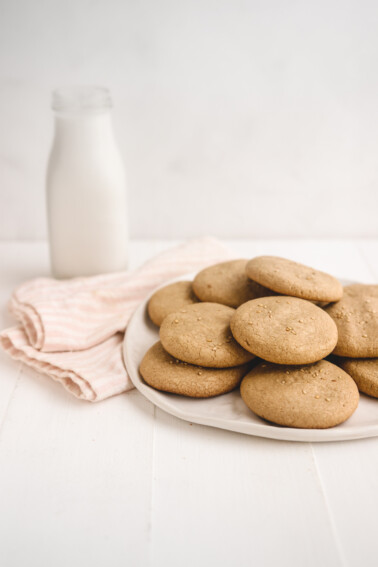
- This spreadable maple syrup is so yummy over pancakes, waffles, English muffins, French toast, or hot biscuits.
- Swirl a spoonful into your morning oatmeal or yogurt.
- Dip apple slices, pears, or even pecans into the cream for a snack.
- Maple cream can make a delicious filling for pastries or as an icing alternative for cookies and cakes.
- Stir a spoonful of maple cream into your favorite hot beverage for a cozy, naturally sweetened drink with a touch of maple flavour.
- For an extra-special touch, drizzle maple cream over a soft vegan cheese.
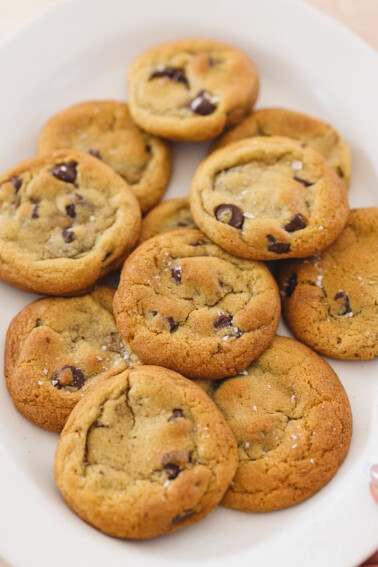
- Add a maple twist by drizzling warm maple cream over cinnamon rolls or my cinnamon bun bites (vegan of course!).
- Top a bowl of ice cream with this delicious maple spread.
Storage Tips
Store maple cream in an airtight container at room temperature, ideally in a cool, dark spot away from direct sunlight. If kept properly sealed, it should stay fresh for several weeks. Give it a good stir before using it if needed.
Storing in the fridge can cause it to harden and lose its creamy texture, so room temperature is best!
Recipe FAQs
It’s best to use pure maple syrup, ideally a darker grade for maximum flavour. Avoid any syrups with additives or preservatives, as this will affect the taste and texture of your cream.
If your maple cream separates or becomes grainy over time, don’t worry – just give it another quick whip with a mixer, and it’ll return to its creamy state.
More Maple Recipes


If you make this recipe, be sure to let me know what you think with a star rating and comment below! Follow me on Instagram for more delicious recipes!
Homemade Maple Cream (Whipped Maple Butter)

Equipment
- stand mixer
- Pot
- candy thermometer
Ingredients
- 2 cups pure maple syrup
Instructions
- Add maple syrup to a pot and boil until 235F is reached. Make sure the maple syrup reaches this temperature and use a candy thermometer to measure.
- Immediately transfer mixture into stand mixer bowl if using. Prepare an ice bath and drop the stand mixer bowl in until it cools to at least 60F, again using the thermometer to measure. Alternatively, you can throw the mixture into the freezer for an hour or so. Once again, reaching this temperature is key to ensuring proper results. Your maple cream will separate if not.
- Once the mixture has chilled, let it come completely to room temperature. This is an essential step for ensuring less separation/crystallization in the final product, so be sure to be patient before you start to whip.
- Beat the maple syrup with a paddle attachment in a stand mixer for 30 minutes, until opaque, creamy in colour and fluffy.
- Transfer this mixture to a jar and store in an air tight container at room temperature. If the mixture separates, you can re-whip.
Notes
- Use a candy or digital thermometer. Hitting precise temperatures is key to transforming your syrup into cream. The thermometer is your best friend for this recipe.
- Cooling the syrup fully is an essential step for consistency, so give it the time it needs to reach the correct temperature before whipping.
- If your maple syrup isn’t turning creamy, it might be because it didn’t reach the right temperature during heating or cooling. Double-check with your thermometer to ensure accuracy – 235F for heating and 60F for cooling are essential. If it still doesn’t cream, try re-chilling to 60F and whipping again.
- A grainy texture usually means the syrup wasn’t fully cooled or whipped at the right temperature. To prevent this, make sure the syrup cools all the way to room temperature before whipping. If you’re still seeing crystals, let the cream rest at room temperature and whip it again to smooth things out.
Nutrition information is automatically calculated, so should only be used as an approximation.