How to Make Homemade Vegan Bubble Tea Recipe (Boba)
Dec 20, 2018 • Updated Nov 20, 2023
This page may contain affiliate links, which means I will make a small commission for products purchased through my link.
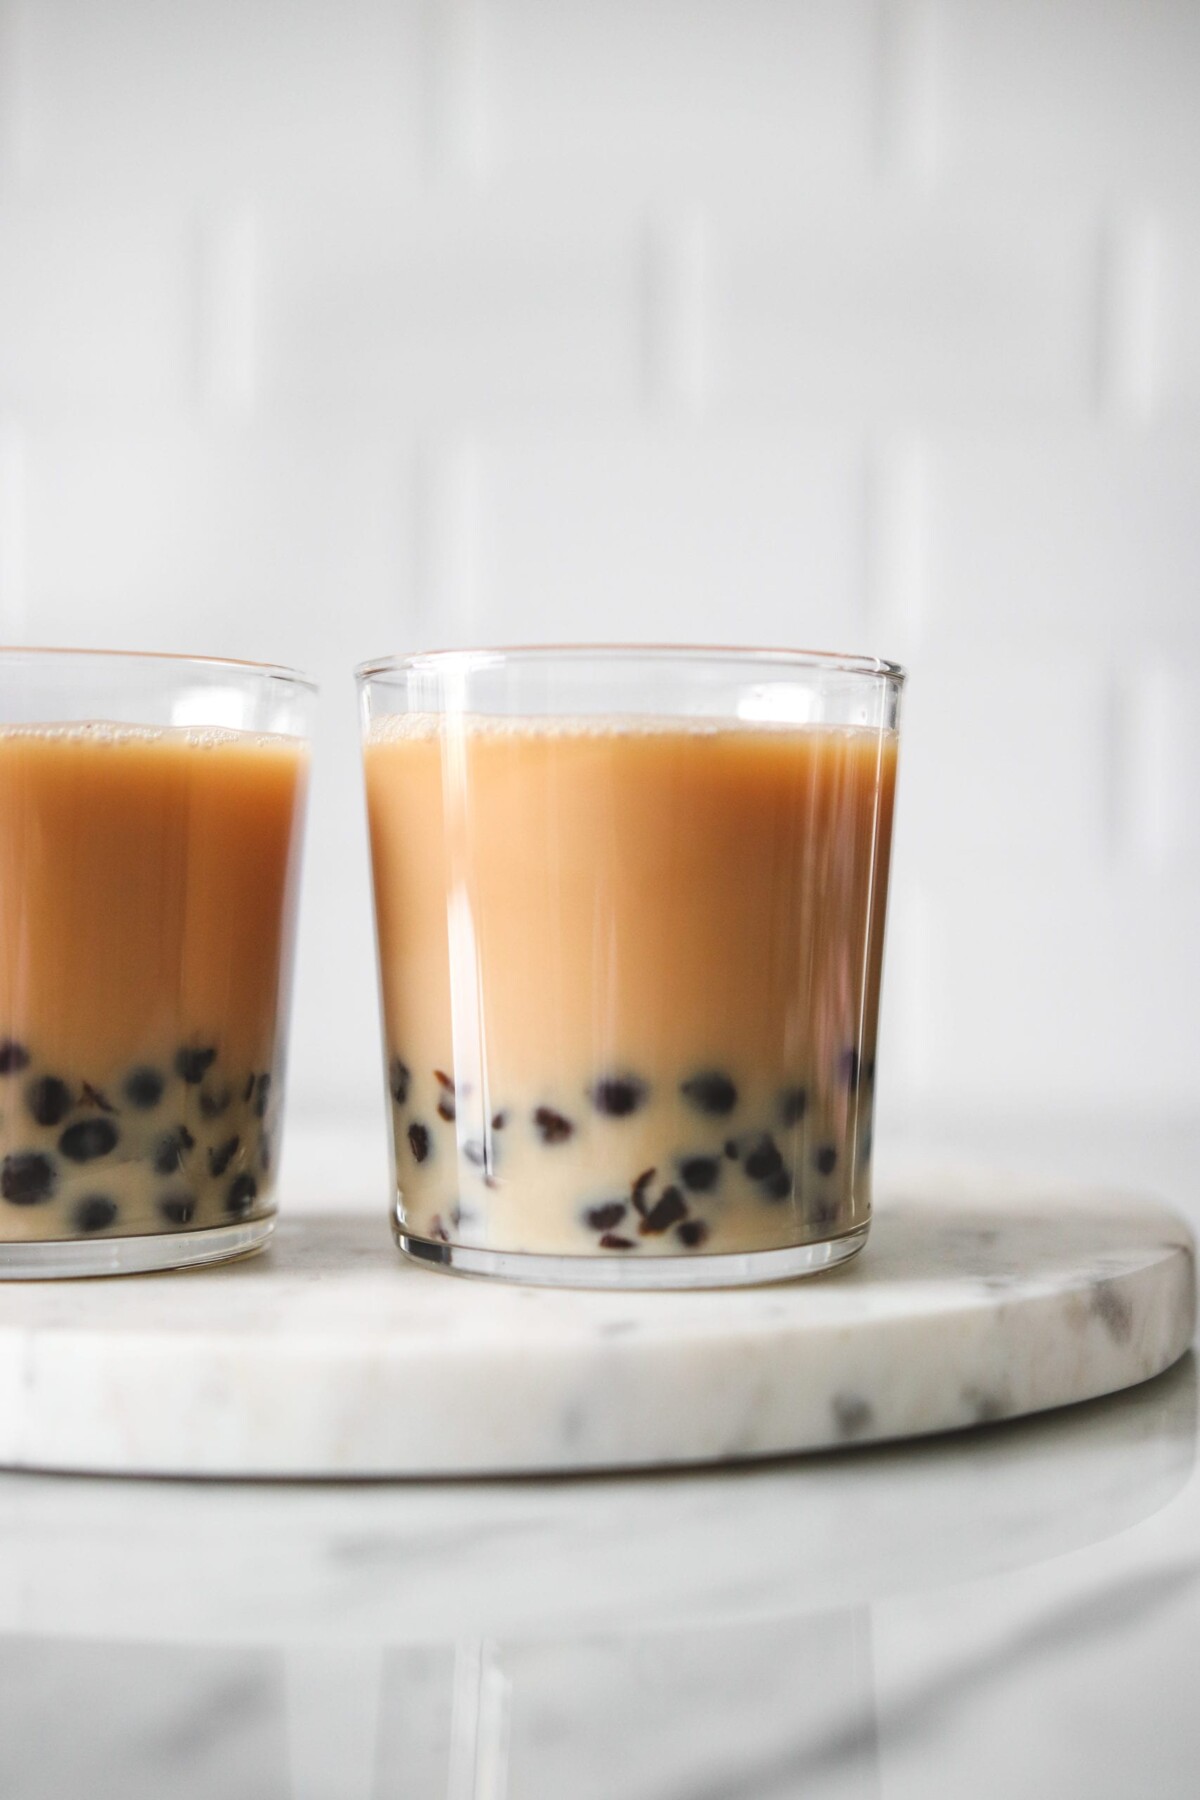
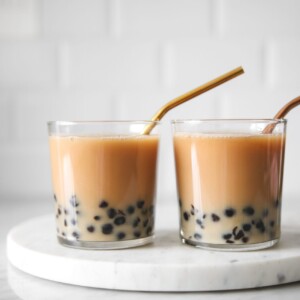
An easy vegan bubble tea recipe made right at home. Naturally gluten-free, a little better for you, and the same delicious bubble tea you know and love! Chewy, black tapioca pearls meet plant-based milk and liquid sweetener for a refreshing, delicious tea-based drink.
What Is Bubble Tea?
Bubble Tea or Tapioca Pearl Milk Tea is a Taiwanese drink made with tea + milk + tapioca pearls, or bubbles. Tapioca pearls are chewy balls made of tapioca starch, that are naturally gluten-free.
Most traditionally, they’re black in colour, but there are also white coloured pearls too. It is usually made with a black tea base, milk powder, or standard whole milk, and sweetened with refined sugars white sugar, brown sugar syrup, or simple syrup (a lot of it too!).
So while it CAN potentially be healthy depending on where you order it, and what you add to your order, making it at home will almost always give you a healthier result. You can find vegan options at your local bubble tea shop or boba shops since so many of them offer milk alternatives now, but I still find that homemade bubble tea is so much better (and more budget-friendly!).
Bubble Tea vs. Boba
Do you call it bubble milk tea or boba milk tea? I personally always say bubble tea because growing up in Taiwan, I had only ever heard “bubble tea” or “pearl milk tea/珍珠奶茶(zhēnzhū nǎichá).”
It really wasn’t until friends from the West Coast started calling it “boba tea” that I had ever heard the word used at all. I don’t think I’ll ever be able to call it boba myself, but that’s just me hehe.
Whether you call them boba peals or chewy tapioca balls, bubble tea drink or boba tea drinks, boba straws or bubble tea straws– none of it really matters! You’re going to LOVE making your own, regardless of what you name the final product.
What Makes This Recipe Great
In addition to being able to control the ingredients, level of sweetness, and type of milk used, making this Bubble Tea Recipe at home is also super cost-effective and creates less waste.
On average, buying out can be anywhere from $5-8 in NYC, but you can easily find the ingredients to make multiple servings for the same price.
You also cut down significantly on waste as most teas are served in a single-use plastic cup, with a plastic seal that you break through with a plastic straw. Making it at home means no single-use plastic is needed, especially if you invest in a reusable straw! Think metal straws, but big enough for bubbles.
Ingredient Notes
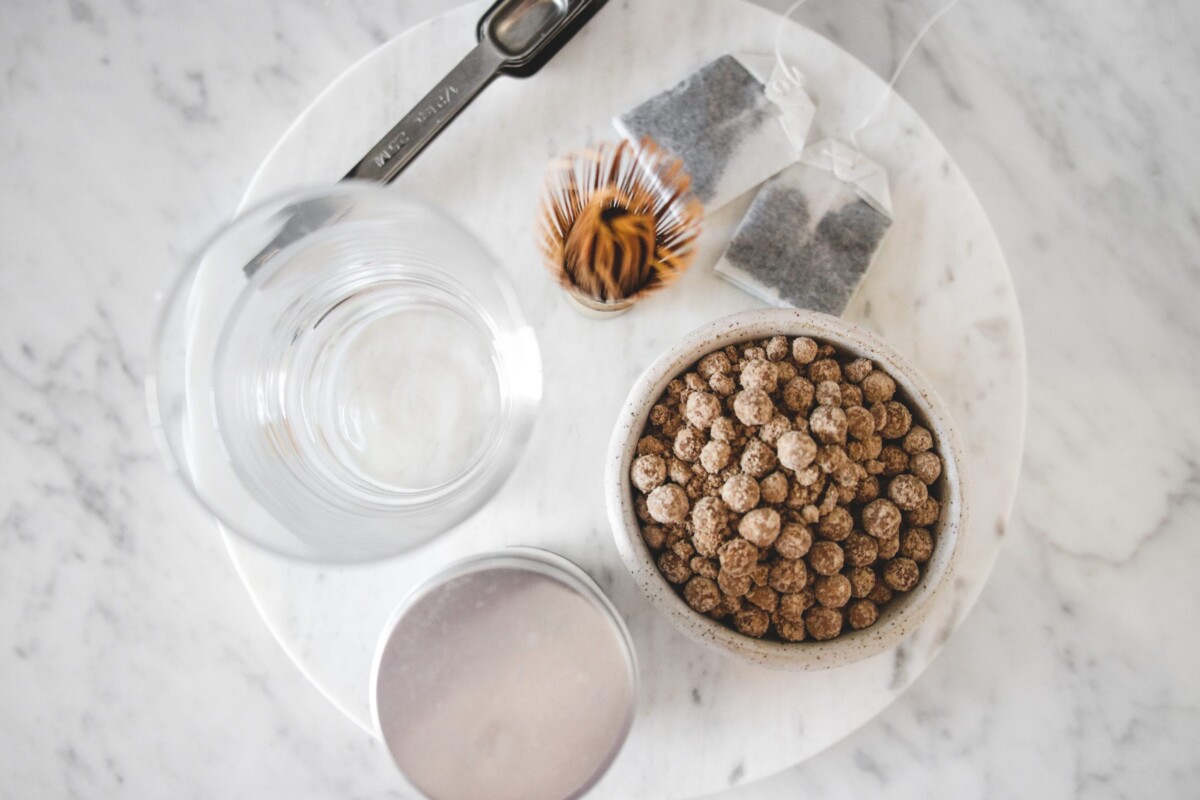
- Dry tapioca pearls: I recommend browsing your local Asian grocery store if you want to find dry tapioca pearls in stores, or you can browse amazon as well. I got mine from nuts.com
- Cold water
- Liquid sweetener: I used coconut nectar. Use your favorite! You can even make a simple syrup with coconut sugar or another sugar you prefer. Maple syrup works as well.
- Black tea: You’ll need 2 tea bags or 2 servings of tea (to make about 1 cup of dark brewed tea total).
- Vegan-friendly milk: Use the plant-based milk of your choice: soy milk, almond milk, or oat milk are my go-to. You will need 2 cups.
optional
- additional sweetener to taste
- cinnamon
- vanilla extract
How to Make Bubble Tea Step-by-Step
Making your own bubble tea at home can sound really intimidating at first, but I promise after you make it the first time, you’ll realize just how easy it is.
- In a saucepan bring 3 cups of water to a rolling boil over medium heat, add dry tapioca pearls and continue to boil on low heat for about 5-8 min, or according to the package instructions. Make sure you stir occasionally so the tapioca pearls don’t stick together. You’ll know when the tapioca is ready when it becomes a translucent black. You can also try one pearl to make sure it’s cooked through.
- While this is cooking, set aside an additional 1 cup of hot water and allow your tea of choice to steep. I recommend black tea. Make this quite strong as you’ll be adding vegan milk later on. Once your desired tea strength is reached, allow chilling in the fridge until you’re ready to serve.
- Once tapioca pearls are cooked through, remove them from heat and strain. Transfer to a bowl and cover with just enough water so it doesn’t dry out, and add 2 tablespoons of sweetener.
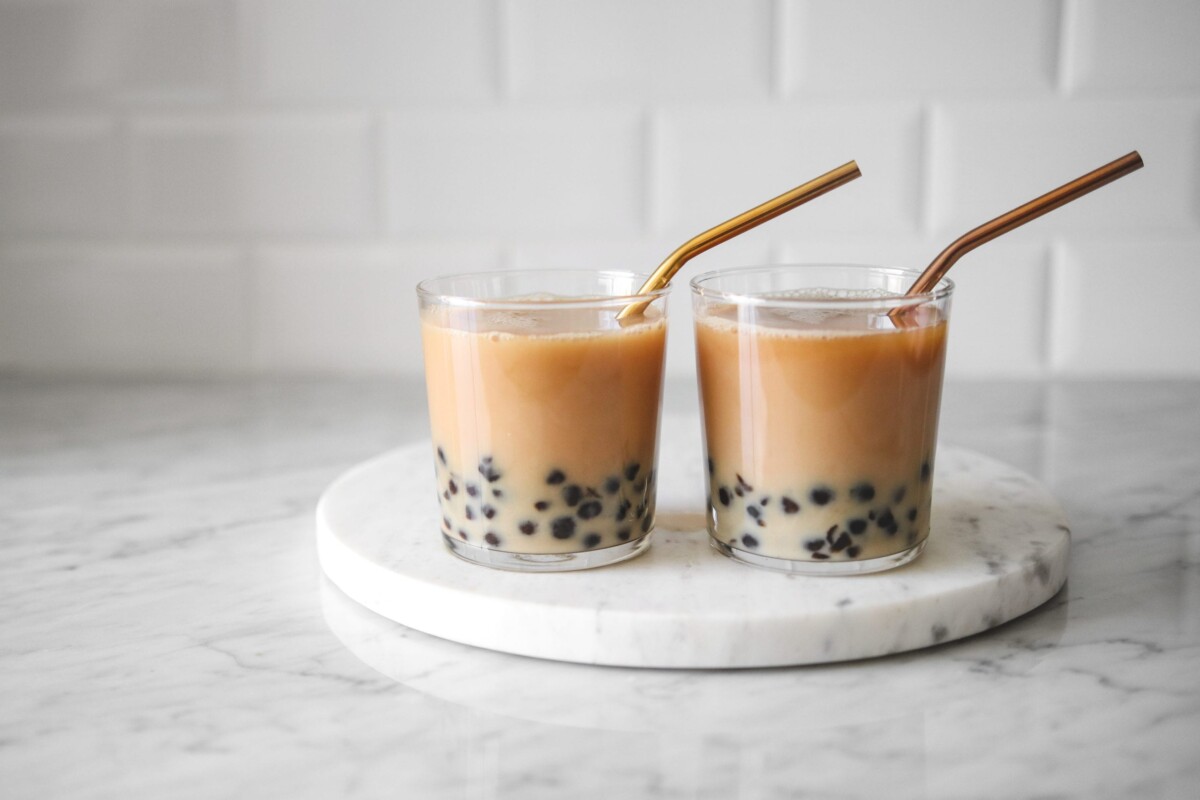
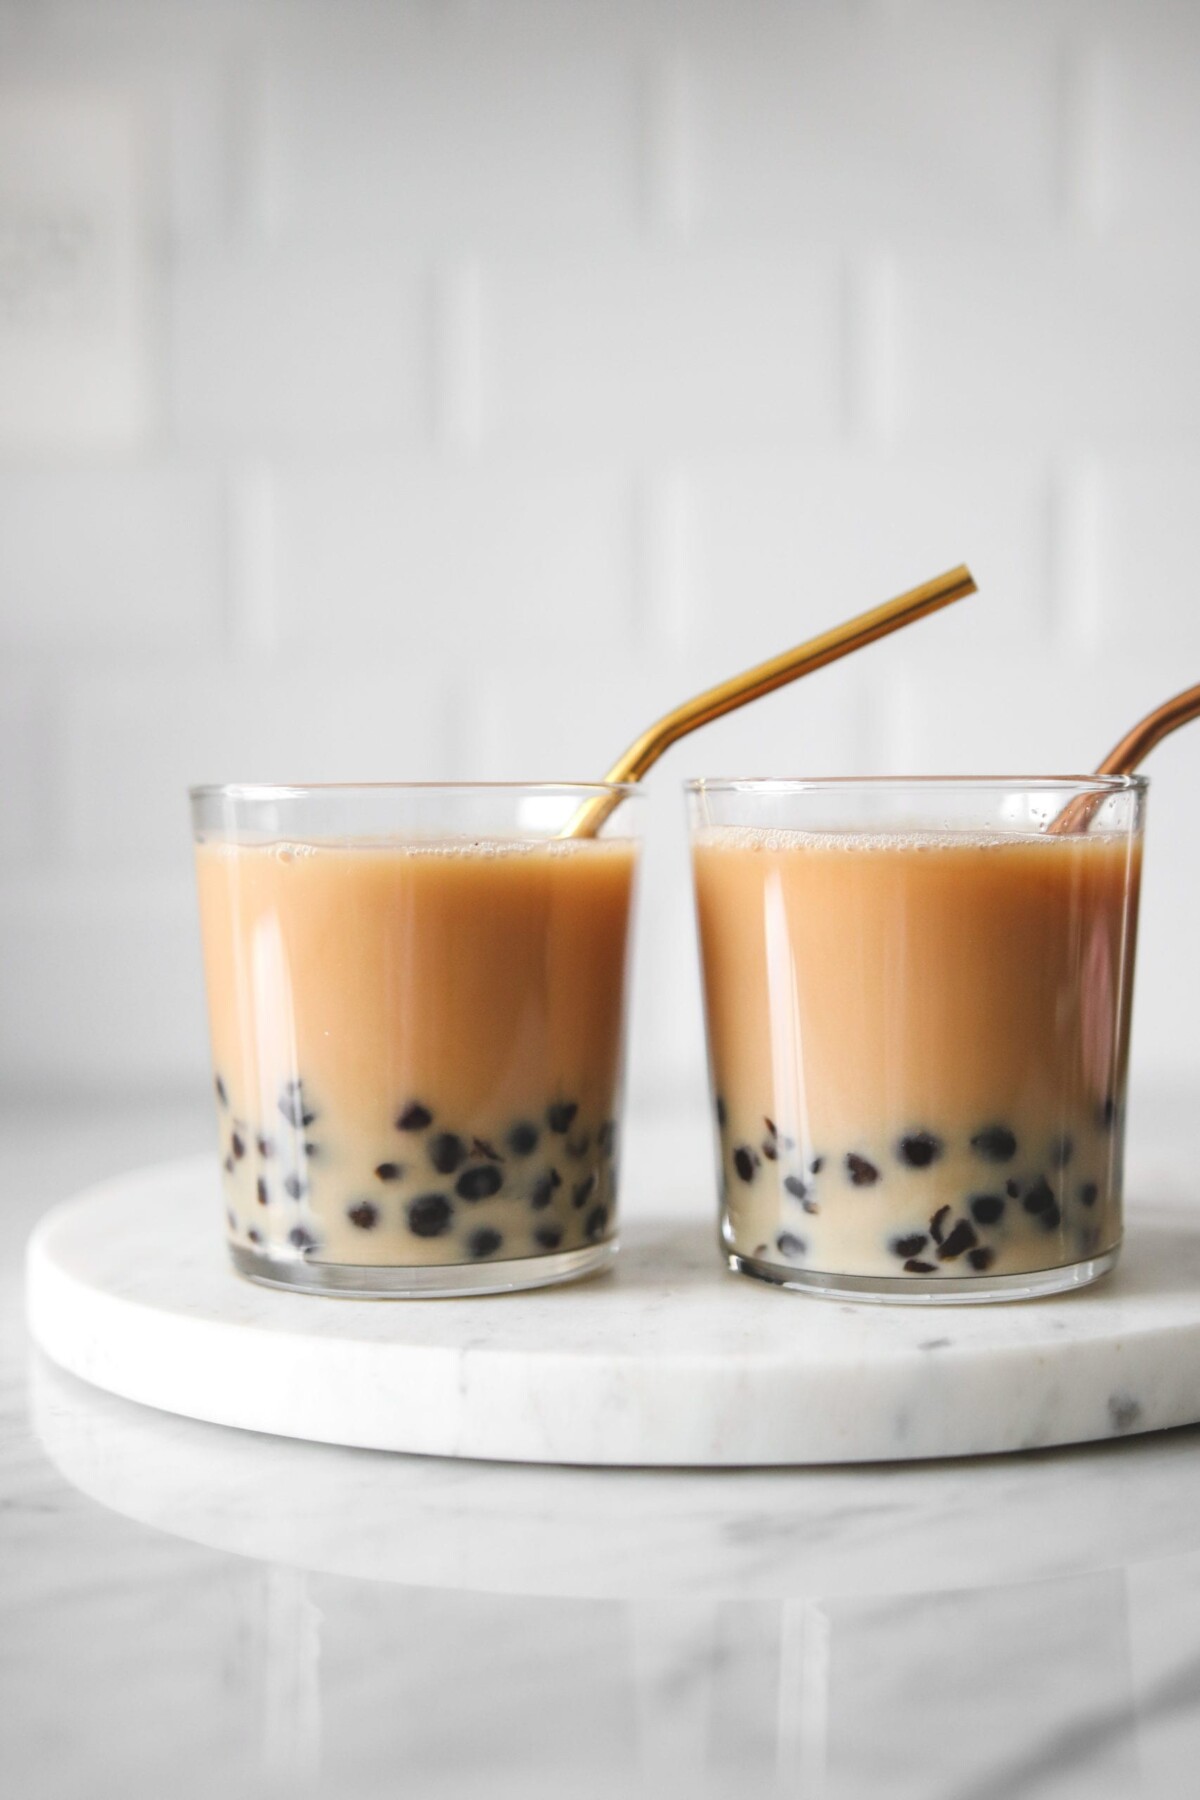
- To assemble, strain and divide the cooked tapioca between 2 cups. Add ice if desired, pour tea into each glass, and finish with non-dairy milk.
- Add additional sweetener as needed, and enjoy! Don’t forget to use a reusable metal straw.
Expert Tips
- If you want to give zero-waste a shot in stores, I always bring a mason jar, and my reusable straw with me. Most shops are really accommodating and will fill your own cup up for you. If you’re unsure or nervous about asking, you can always call ahead to ask if they’re willing to fill your cup for you too. They also sell eco-friendly cup + straw sets made just for the tapioca pearls.
- You can make this recipe hot or iced! Simply fill a glass with ice cubes, let your tea mixture and tapioca balls cool, then pour it over ice.
Storage Tips
- You can store uncooked tapioca pearls in an airtight container at room temperature for up 6 weeks and cook them when ready to use. You can store cooked tapioca pearls in cold water for one day.
- In advance, you can mix together the tea, milk, and sweetener and store them in the refrigerator for later use. Use within 2 days for best results.
Variations
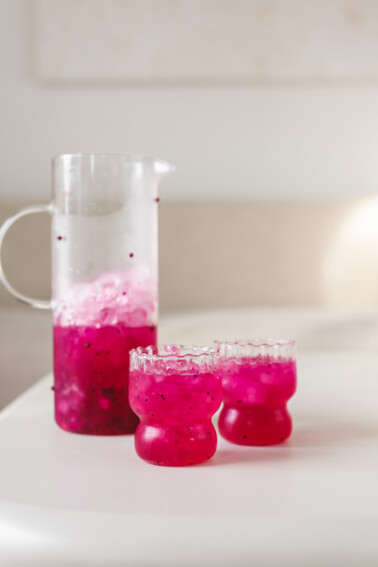
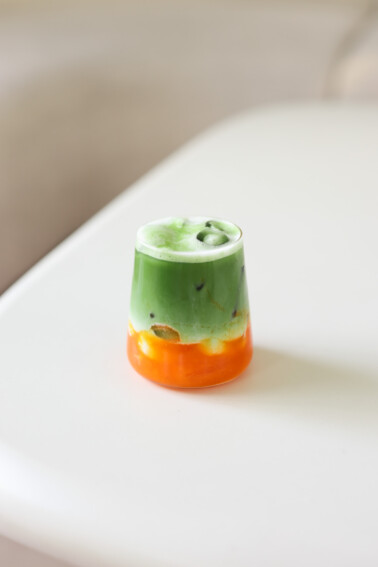
There are so many different types of bubble tea to choose from! Here are some more vegan bubble tea recipes that I’ve created.
Recipe FAQs
Actually, nothing! They are the same drink, just different names. Boba often refers to the tapioca pearls in the drink. Calling it bubble tea or boba is perfectly fine.
Yes! The balls are made of a sweet and chewy tapioca mixture called tapioca pearls. Part of the experience of drinking bubble tea is to enjoy popping the boba! They have the most addicting chewy texture!
You can! You can mix together the tea, milk, and sweetener and store them in the refrigerator for later use. Make fresh tapioca pearls when ready to serve your vegan bubble tea. See storage tips for more details.
If you try this vegan bubble tea please leave a comment below. It’s so fun for me to see your creations. Follow me on Instagram for more fun recipes coming your way.
Homemade Vegan Bubble Tea Recipe (Boba)
Ingredients
- 1/2 cup dry tapioca pearls I used one from nuts.com, but amazon sells many
- 3 cups of water
- 2 tablespoons liquid sweetener of choice I used coconut nectar
- 2 tea bags or 2 servings of tea to make about 1 cup of dark brewed tea total
- 2 cups of vegan milk of choice
- optional
- additional sweetener to taste
- cinnamon
- vanilla
Instructions
- In a saucepan bring 3 cups of water to a boil, add dry tapioca pearls and continue to boil on low heat for about 5-8 min, or according to package directions. Make sure you stir occasionally so the tapioca pearls don’t stick together. You’ll know when the tapioca is ready when it becomes a translucent black. You can also try one pearl to make sure it’s cooked through.
- While this is cooking, set aside an additional 1 cup of hot water and allow your tea of choice to steep. I recommend black tea. Make this quite strong as you’ll be adding vegan milk later on. Once your desired tea strength is reached, allow to chill in the fridge until you’re ready to serve.
- Once tapioca pearls are cooked through, remove from heat and strain. Transfer to a bowl and cover with just enough water so it doesn’t dry out, and add 2 tablespoons of sweetener.
- To assemble, strain and divide the cooked tapioca between 2 cups. Add ice if desired, pour tea into each glass, and finish with non-dairy milk.
- Add additional sweetener as needed, and enjoy! Don’t forget to use a re-usable metal straw 🙂
Notes
Expert Tips
- If you want to give zero-waste a shot in stores, I always bring a mason jar, and my reusable straw with me. Most shops are really accommodating and will fill your own cup up for you. If you’re unsure or nervous about asking, you can always call ahead to ask if they’re willing to fill your cup for you too. They also sell eco-friendly cup + straw sets made just for bubble tea!
Storage Tips
- You can store uncooked tapioca pearls in an airtight container at room temperature for up 6 weeks and cook them when ready to use. You can store cooked tapioca pearls in cold water for one day.
- In advance, you can mix together the tea, milk, and sweetener and store them in the refrigerator for later use. Use within 2 days for best results.
Variations
There are so many different flavors to choose from! Here are some more bubble tea recipes that I’ve created.Nutrition information is automatically calculated, so should only be used as an approximation.
Love & bubbles,

1 Comment