How to Make Vegan Condensed Milk with 2 Ingredients!
Jul 24, 2023 • Updated Sep 11, 2023
This page may contain affiliate links, which means I will make a small commission for products purchased through my link.
An easy, creamy, 2-ingredient Vegan Condensed Milk recipe that takes vegan baking to a whole new level! Use this delicious homemade condiment anywhere you’d use the regular version- in baking, coffee, sweet treats, and more!
What is Vegan Condensed Milk?
Vegan condensed milk is a dairy-free, vegan version of traditional sweetened condensed milk, which is typically made from cow’s milk and sugar. It contains plant-based ingredients to replicate the creamy texture and sweetness of regular condensed milk. It is a versatile ingredient in various vegan recipes, including dessert recipes, beverages, and traditional baking recipes.
Soy milk and canned coconut milk work best for this recipe, as opposed to plant-based milk like almond milk. Keep in mind that the type of non-dairy milk and sweetener you choose will influence the flavor and texture of the final product. For instance, using full-fat coconut milk can produce a creamier and richer condensed milk, while almond milk might yield a lighter texture.
What Makes This Recipe Great
This sweet, delicious, and creamy recipe uses simple ingredients to make the ultimate condiment! Enhance your favorite vegan recipes with this sweet and lovely sauce.
Use it for sweet treats, such as vegan ice cream, cakes, cookies, puddings, vegan caramel sauce, coffee beverages, and more.
It’s a popular ingredient for those following a vegan lifestyle because the main difference between the real thing and vegan alternatives is just simply the milk that’s used. It’s super easy to create this homemade recipe, and it works so beautifully in a variety of dishes!
Ingredient Notes

- unsweetened soymilk: You can use most plant milk to make this, but I highly recommend soy milk or full fat coconut milk for a thicker consistency.
- organic cane sugar: I used organic cane sugar for this recipe, but a variety of plant-based sweeteners will work if you don’t want to use white sugar. Maple syrup, coconut sugar, and agave nectar are all great options.
- vanilla bean paste: Or vanilla extract. Optional for flavor.
- kosher salt: Optional
Step-by-Step Instructions

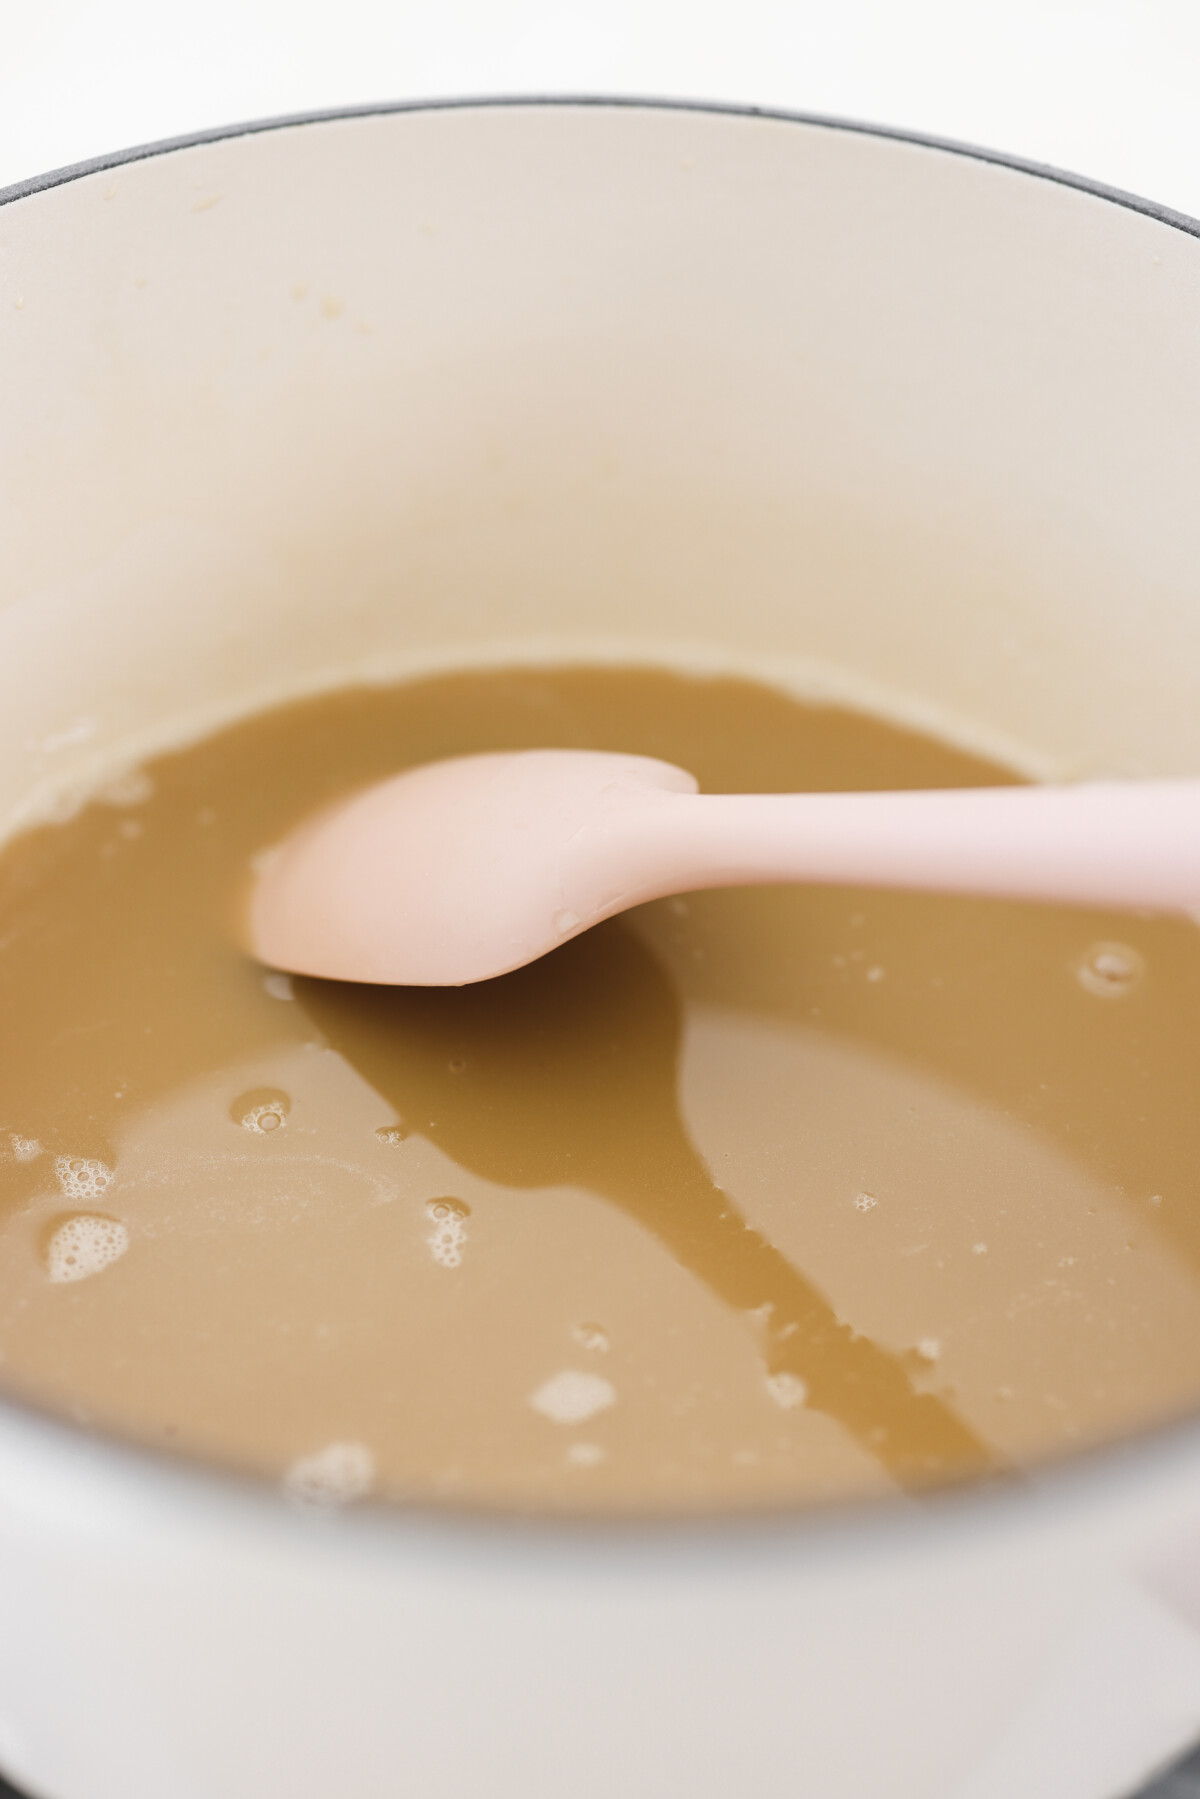
- Add sugar and soy milk to a medium saucepan over medium-high heat. Stir until all the sugar has dissolved, then bring the mixture to a simmer on low heat.
- Continue to cook the mixture down for roughly 55 minutes or until the volume has reduced by half. You can always pour out the mixture into a measuring cup to gauge how much it has reduced if you’re not sure. Do not increase the heat. Cook the mixture low and slow, it will slowly start to thicken and become a little more viscous.
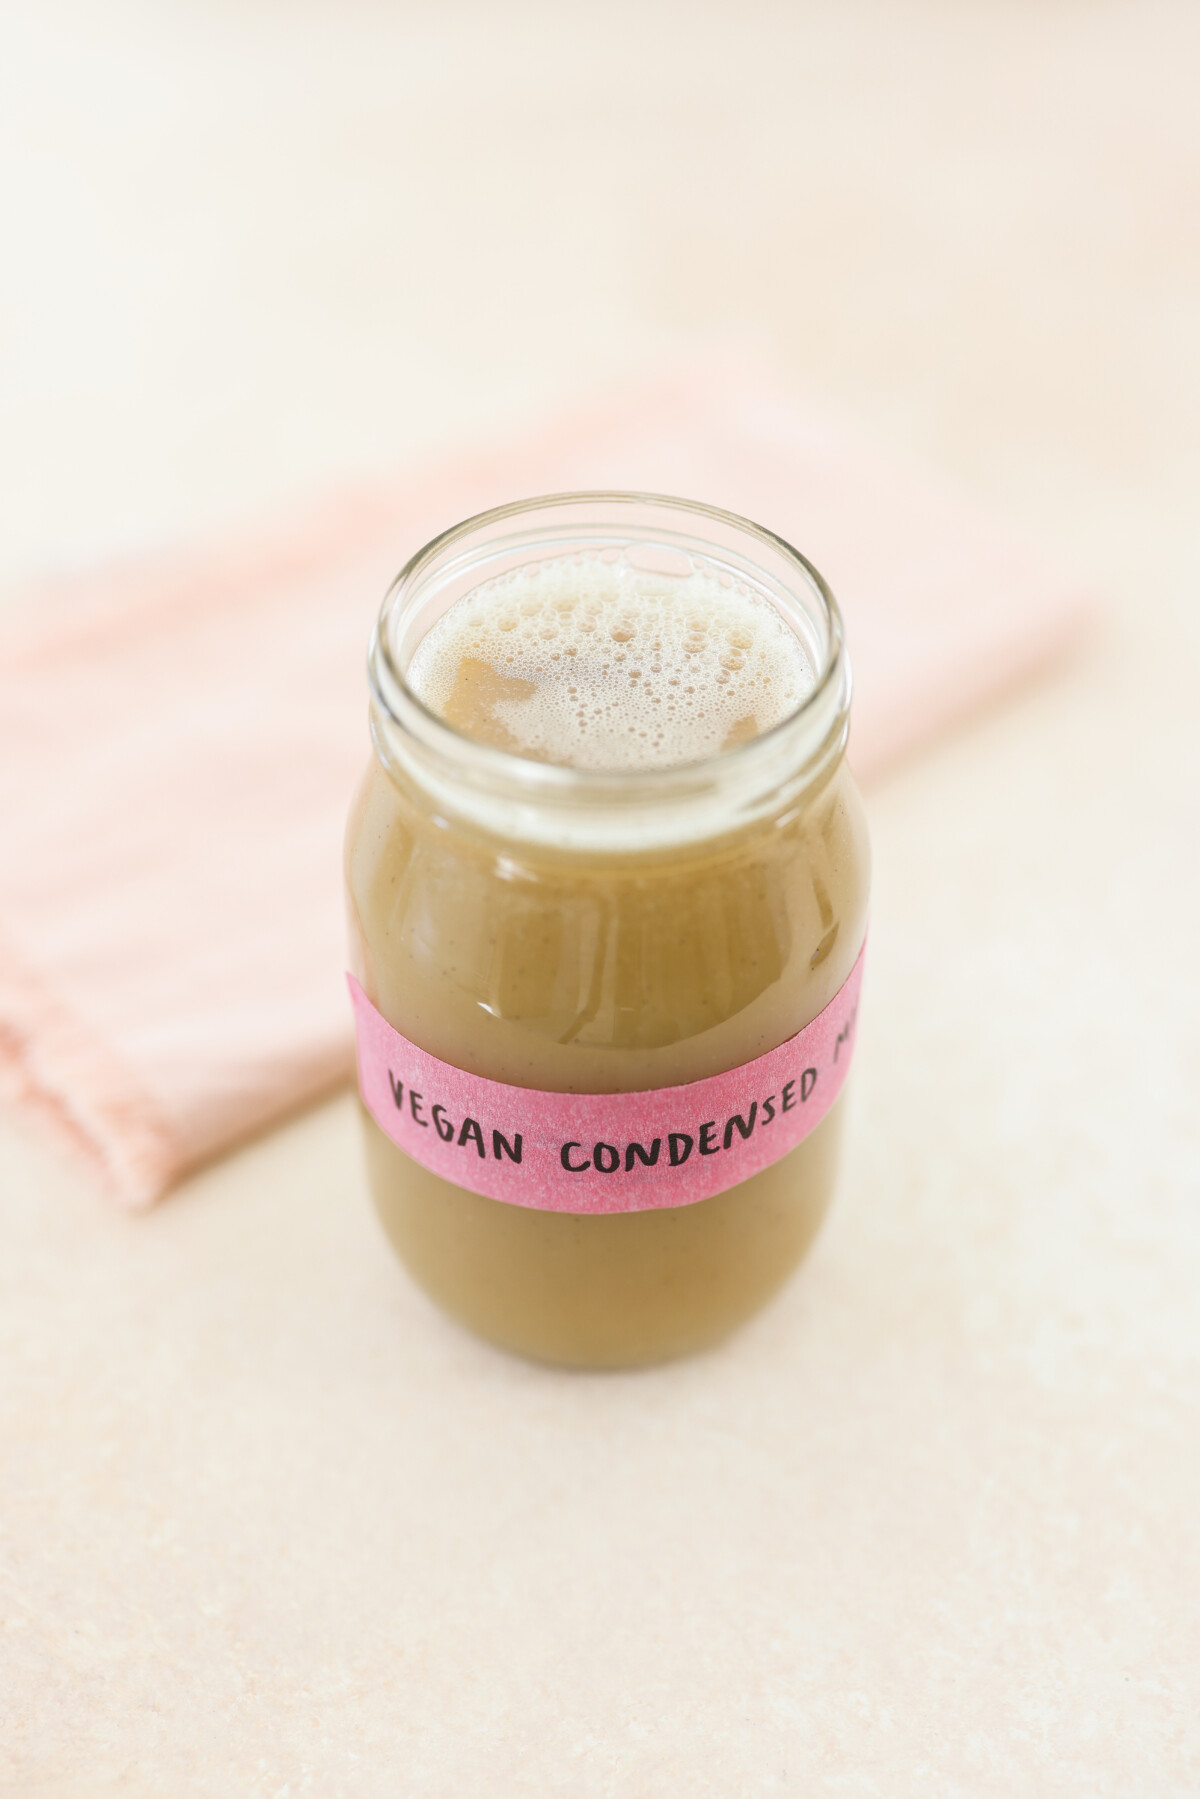
- Once the volume has been reduced by half, transfer it to a sterile mason jar or other covered container and allow it to cool to room temperature. The mixture will thicken as it cools.
- Once the mixture is completely cool, cover and store in the refrigerator.
Secrets to Success
- I highly recommend soy milk or full-fat coconut milk. Some plant milks are more watery and thin than others, which will result in a thinner texture in the end result and may also require more sugar to achieve the right level of sweetness.
- It’s also best to avoid added ingredients in the milk, which is why soy milk and coconut milk are great options.
- If you have any food allergies, like a soy or coconut allergy, you can use an alternative, like oat milk.
- You can’t cheat this one by cranking the heat, it really needs to be reduced low and slow. Be wary that the ingredients in the plant milk you’re using also have the potential to impact the final result of your condensed milk.
- The mixture will thicken more as it cools, but you want to get to something quite syrupy before you allow it to cool. If you’re unsure, you can let it cool, then return it to the heat to reduce it further.
Serving Tips
- Use this delicious condiment in baked goods, ice cream, coffee, tea, fresh fruit, and any other recipes that call for condensed milk.
Storage Tips
- Store in an airtight container or glass jar with a lid in the refrigerator for up to 2 weeks.
Recipe FAQs
The only difference between regular sweetened condensed milk and a vegan substitute is milk! Canned coconut milk is a popular non-dairy substitute, and I have found that soy milk works really well too. Regular versions of this condiment use cow’s milk, which is not dairy-free or vegan.
More Homemade Condiments!
Best-o Pesto (Vegan Pesto Recipe!)
If you make this recipe, be sure to let me know what you think with a star rating and comment below! Follow me on Instagram for more delicious recipes!
Vegan Condensed Milk Recipe (Easy & Creamy, 2 Ingredients)

Equipment
- 1 large pot
Ingredients
- 2 cups unsweetened soymilk or canned coconut milk see notes for substitutions
- 1 cup organic cane sugar
Optional, For Flavour
- 2 tsp vanilla bean paste
- 1/2 tsp salt kosher
Instructions
- Add sugar and soy milk to a medium pot over medium high heat. Stir until all the sugar has dissolved then bring the mixture to a low simmer.
- Continue to cook the mixture down for roughly 55 minutes, or until the volume has reduced by half. You can always pour out the mixture into a measuring cup to gauge how much it has reduced if you're not sure. Do not increase the heat, cook the mixture low and slow, it will slowly start to thicken and become a little more viscous.
- Once the volume has reduced by half, transfer it to a sterile mason jar or other airtight container and allow to cool to room temperature. The mixture will thicken as it cools. Once completely cool, cover and store in the refrigerator.
Notes
- Low and slow is key: Rushing the simmering process will prevent the mixture from thickening properly and may cause it to burn.
- Start with the right milk: Stick to soy milk or full fat coconut milk for a thicker, creamier result.
- For extra richness, stir in a spoonful of coconut cream during the last 5 minutes.
- Measure reduction by volume: Aim to reduce the liquid by half — a quick check with a measuring cup helps.
- Let it cool fully: The mixture continues to thicken as it rests. Don’t judge it too early!
Nutrition information is automatically calculated, so should only be used as an approximation.