Homemade Gluten Free Udon Noodles (vegan, grain free, paleo)
Jun 13, 2021 • Updated Jun 20, 2023
This page may contain affiliate links, which means I will make a small commission for products purchased through my link.
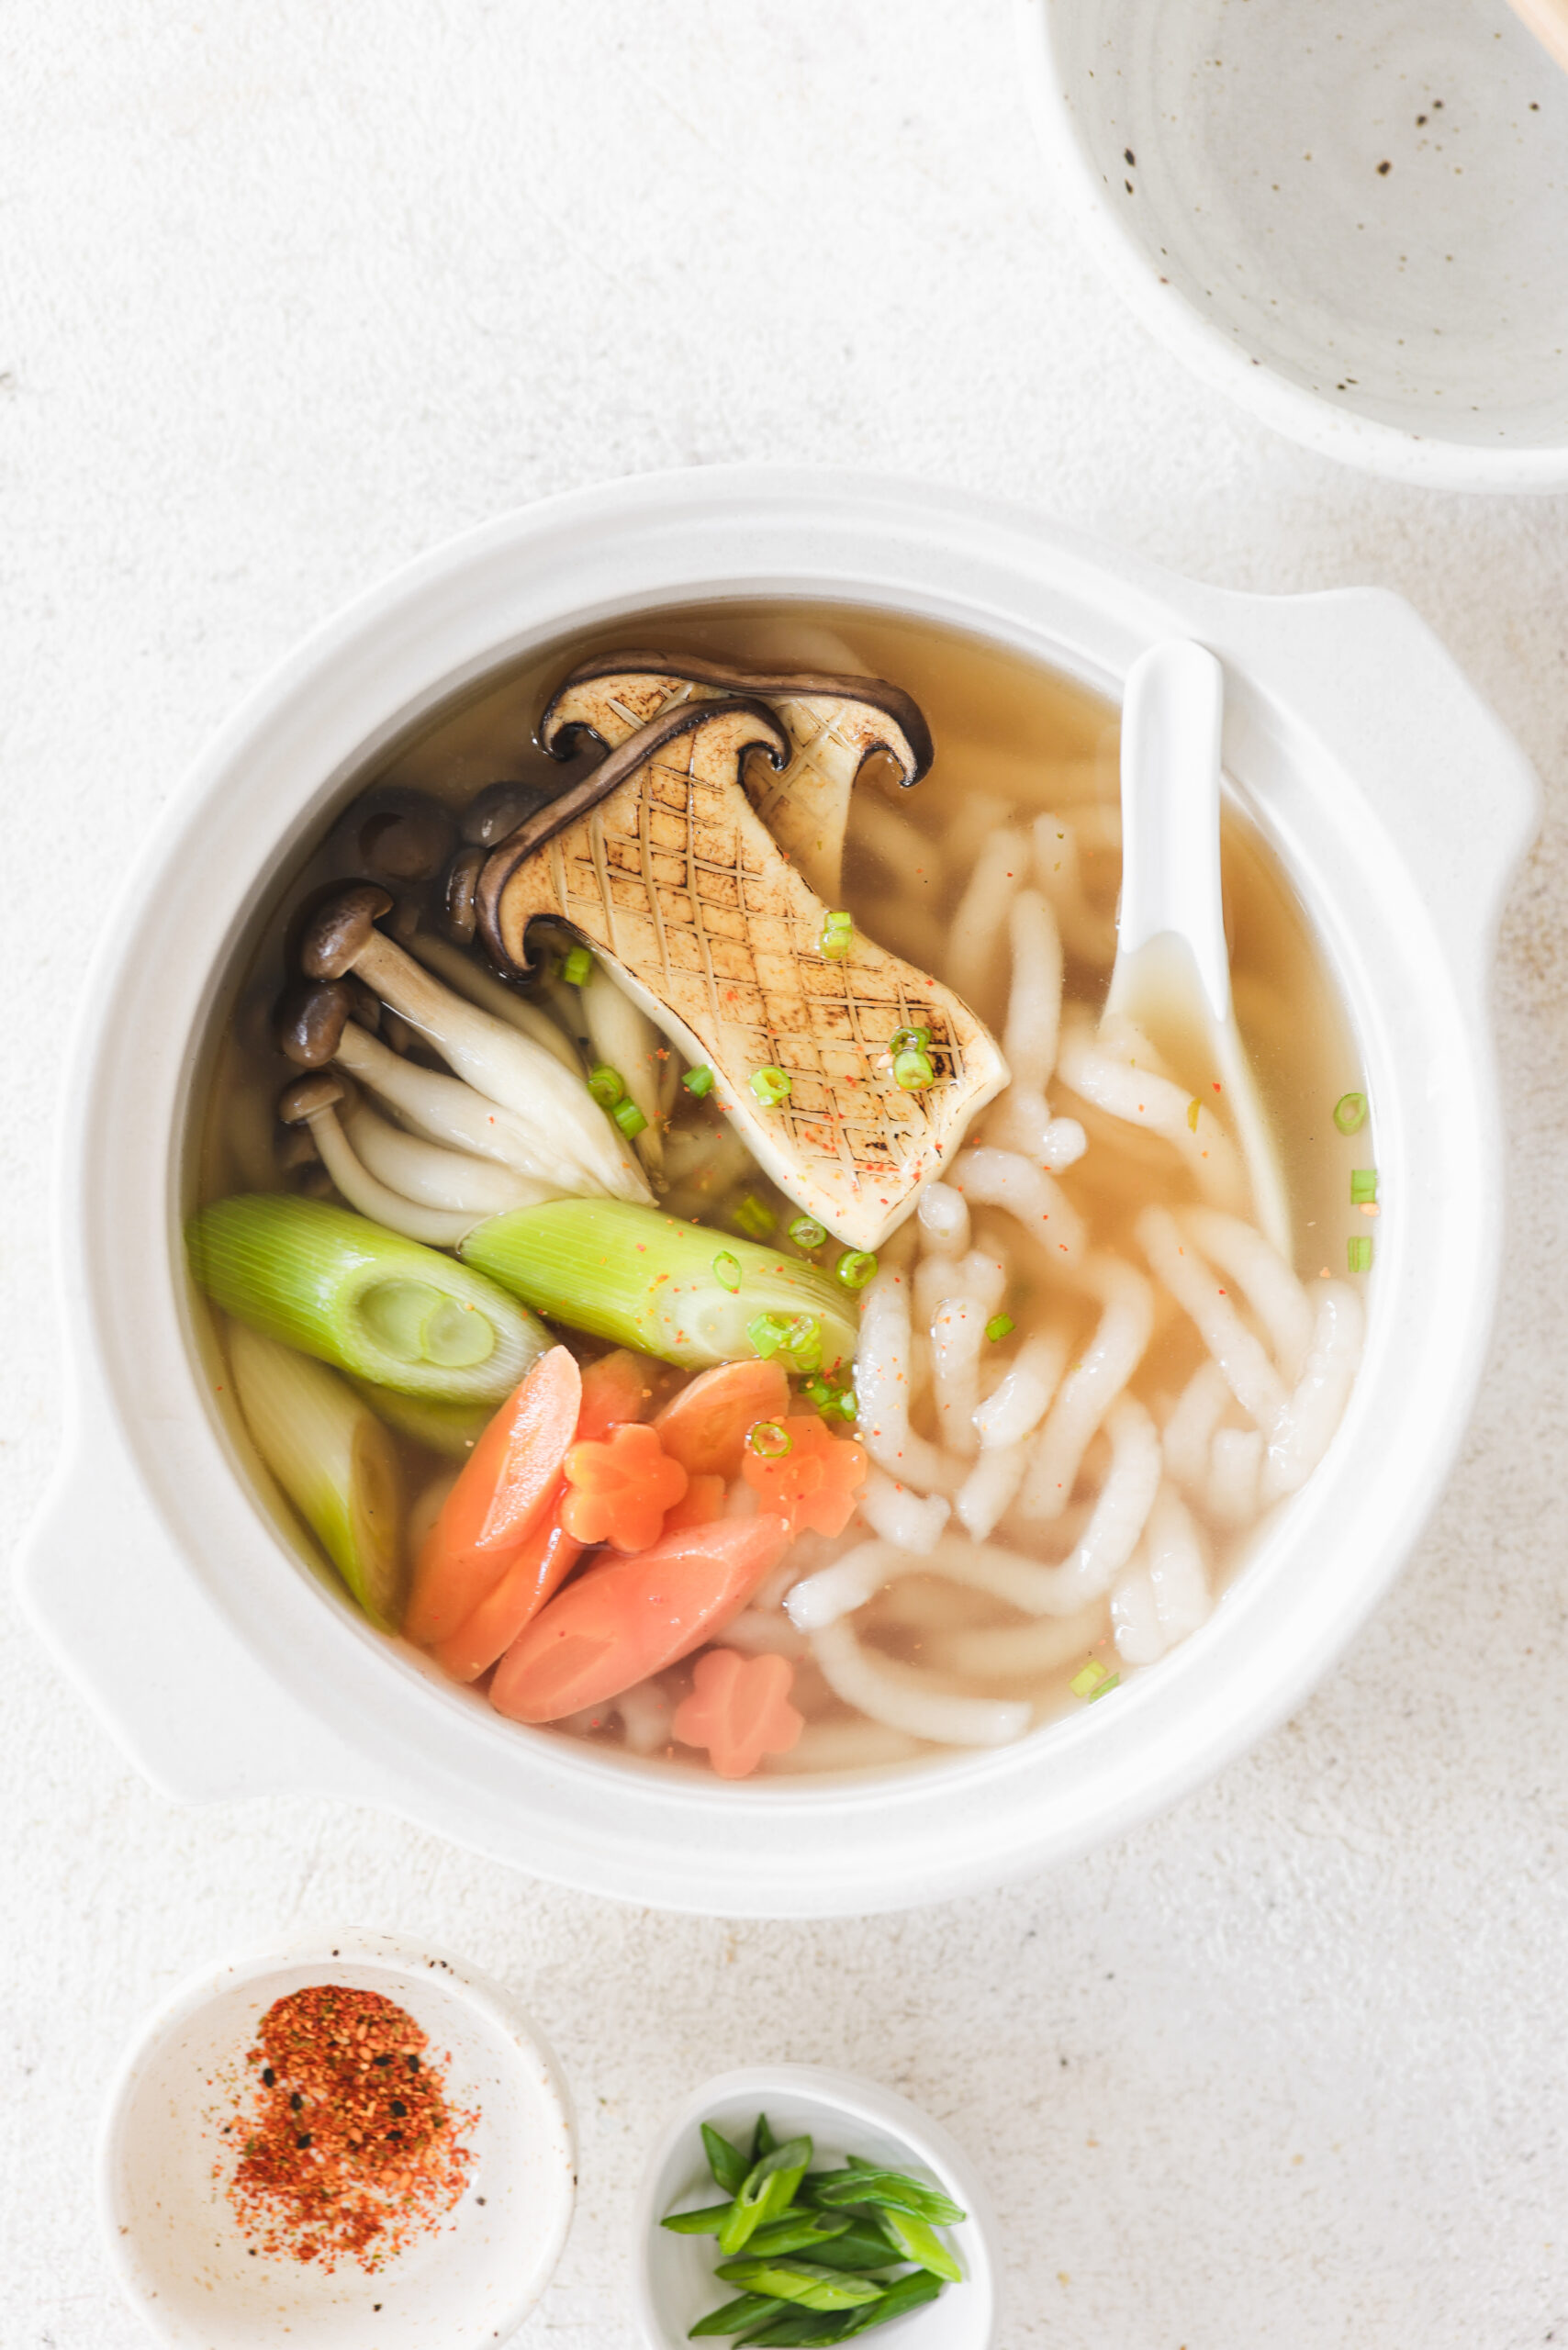
Learn to make homemade, gluten free udon noodles that are thick, chewy and perfect for your favorite Japanese soups and stir-fries.
It can be hard to find gluten-free udon noodles that are as thick and satisfying as non-gluten-free options. So instead of settling for brittle, flat or thinner noodles for your udon noodle soup, why not make your own udon?
It’s easier than you think to whip up fluffy and realistic udon noodles without any gluten. Plus, you can use this gluten-free udon in any stir-fry, soup or other noodle dishes you love.
How to Make Gluten Free Udon Noodles
The key to the perfect thick and chewy udon noodle is a combination of two types of flour:
- Cassava flour. If you haven’t used cassava flour before, it’s an amazing gluten-free option. It’s very absorbent and high in protein. It comes from cassava root, which is similar to sweet potatoes or yams. It’s also grain free, which makes it an amazing option for anyone following a paleo diet.
- Tapioca flour. Just like boba pearls are soft and chewy, tapioca flour is the key to making chewy and springy udon noodles.
You can find all of these flours online or at Whole Foods and other natural foods stores.
Aside from these gluten-free flours, all you need to make udon is water, oil, and salt for flavor.
Ingredient Substitutions
After testing these homemade gluten-free noodles with many different flour blends and proportions, I’ve concluded that this is truly the winning combo. The original inspiration came from this blogpost, which is essentially a recipe for bánh canh, however I found that using cassava flour in place of rice flour resulted in more of a “wheaty” texture, versus a springy rice noodle texture.
I don’t recommend substituting any of the flours in the recipe below if you want truly soft, stretchy and tasty udon noodles.
Shaping Homemade Udon Noodles
Because the noodle dough won’t have the same natural structure as gluten-containing noodles, you’ll need to shape your udon with an extruder. I use this cookie press to shape the noodles and extrude directly into boiling water. Alternatively, work enough cassava flour in to achieve a kneadable dough, then roll out flat, layer and cut into noodle shapes.
Storage
I recommend serving these noodles once ready to eat because they will stretch and absorb water but you can toss with a touch of oil and refrigerate overnight if needed.
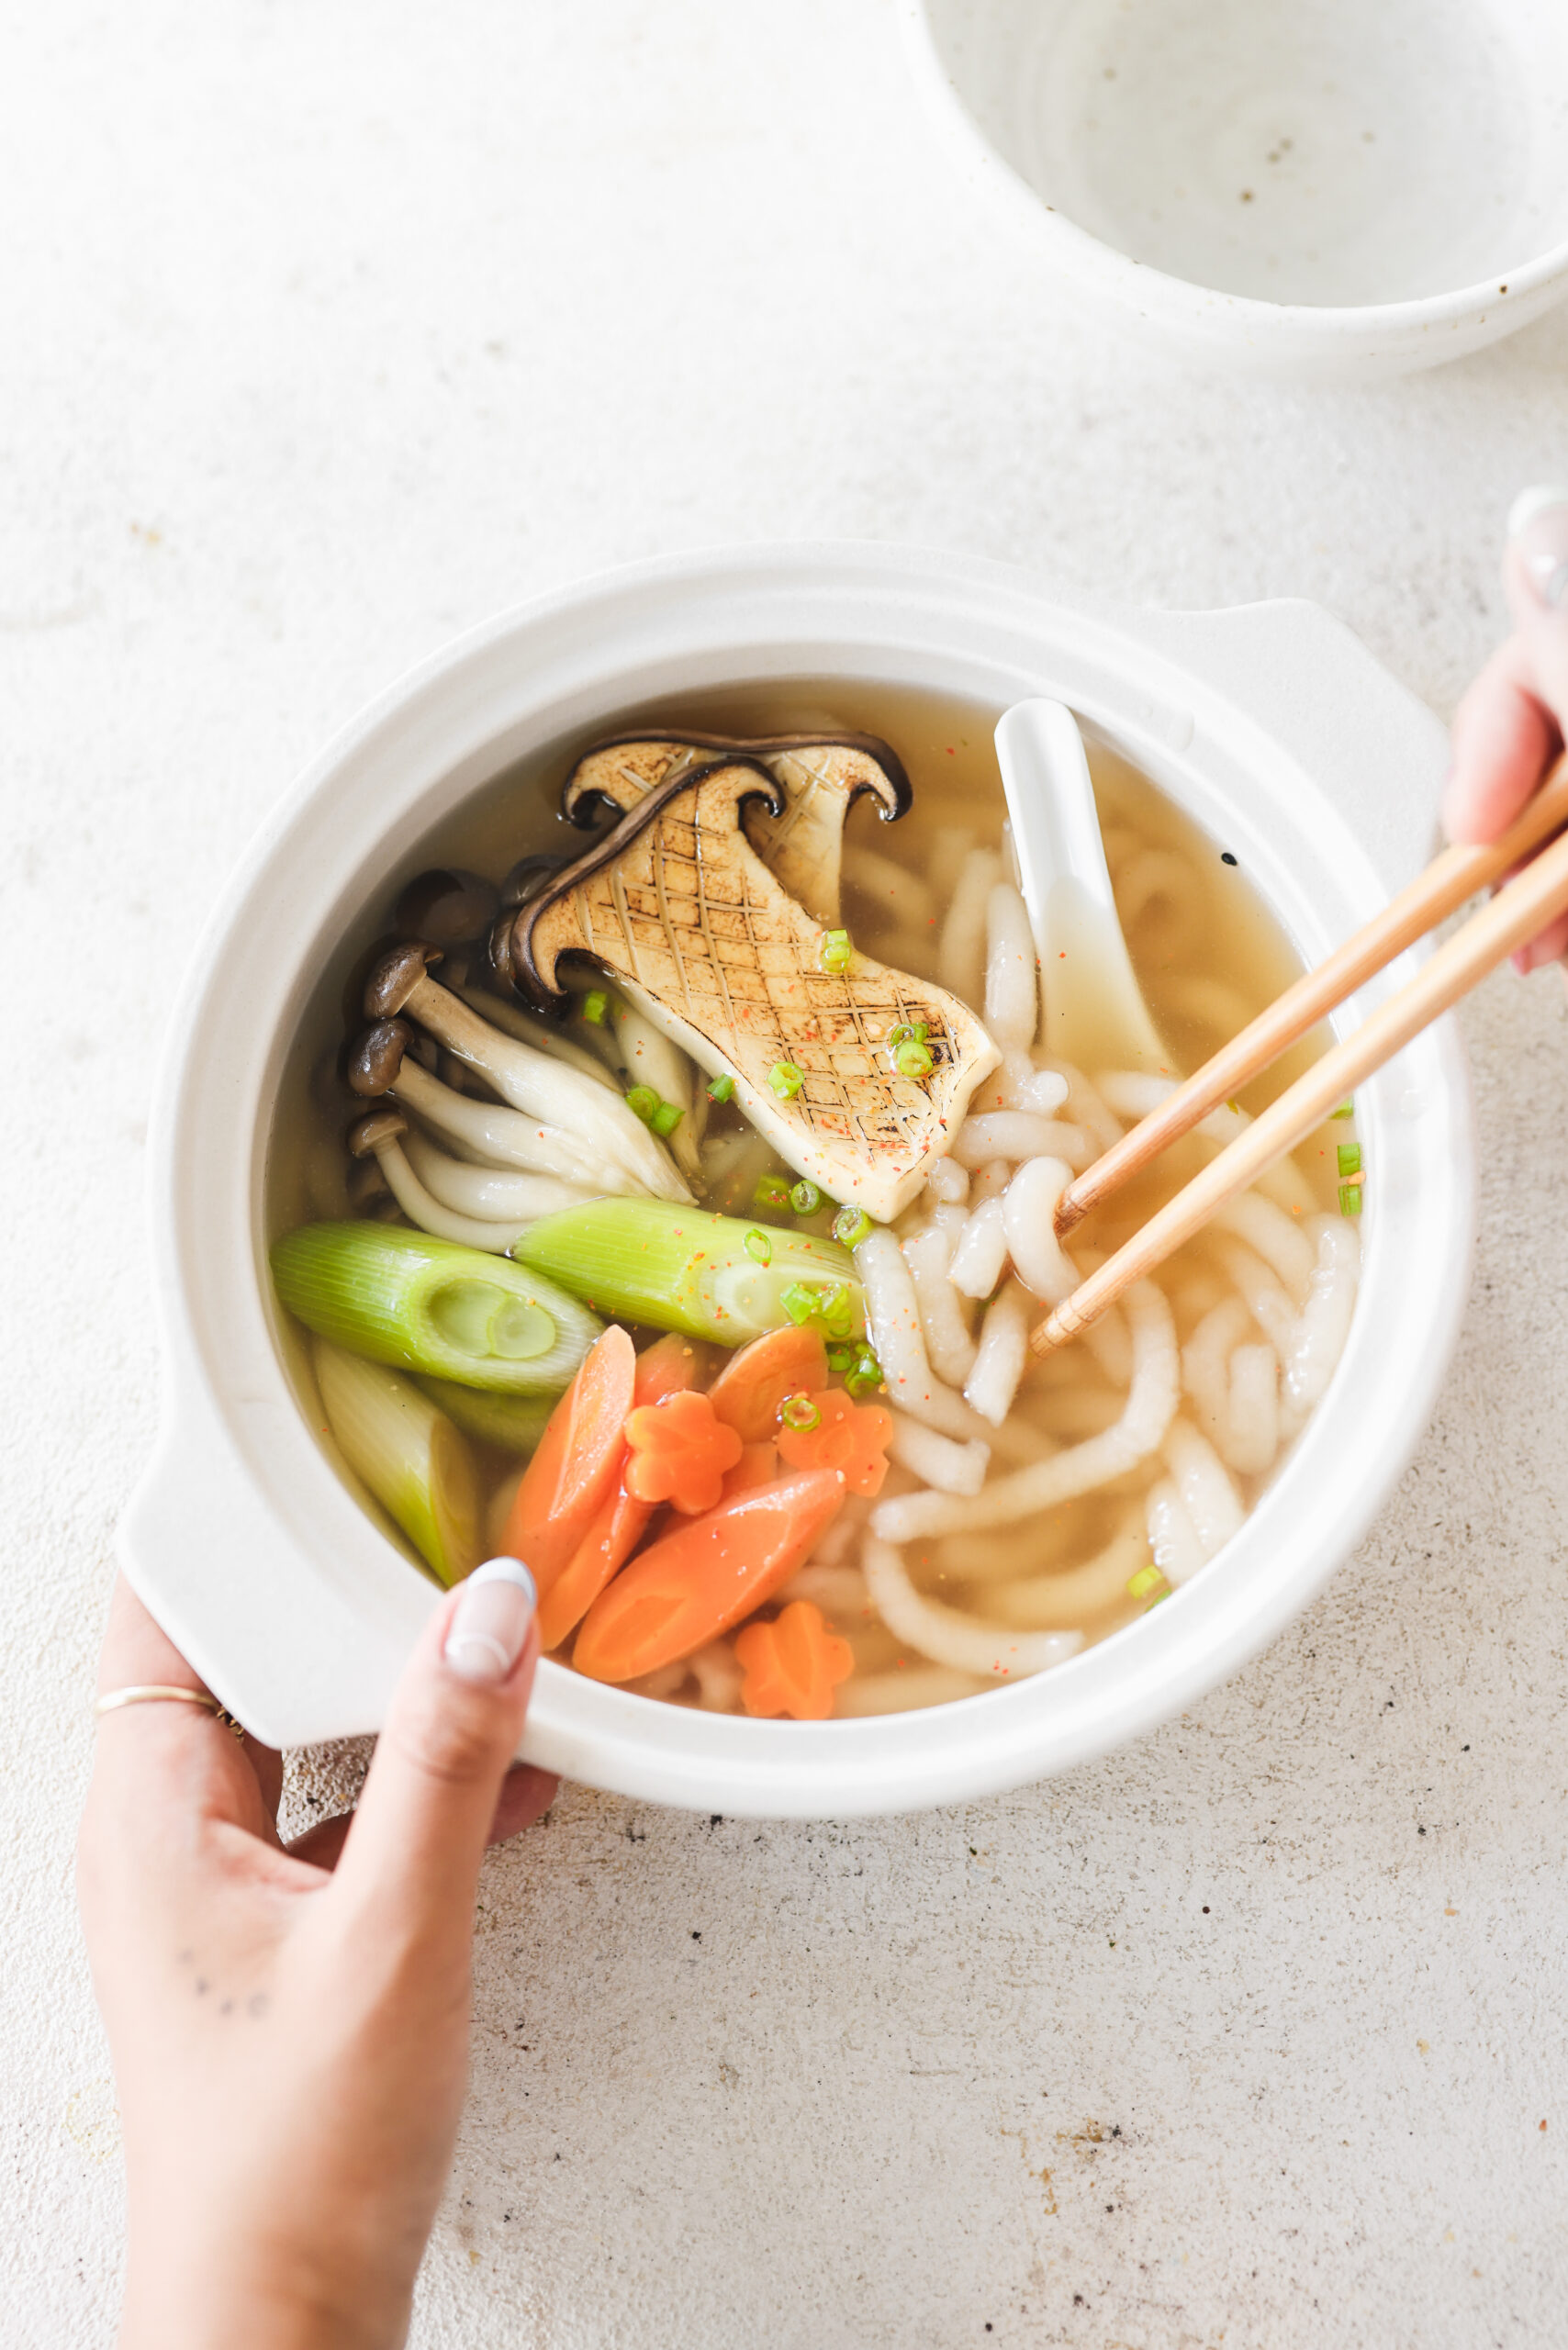
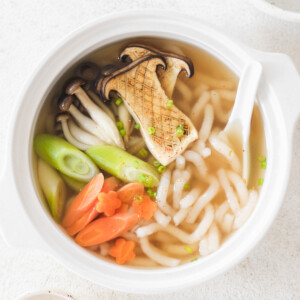
Recipes to Use Gluten-Free Udon Noodles
There are dozens of delicious ways to use your homemade udon. Start with these favorite recipes:
- Gluten Free Udon Broth (vegan, gluten free, oil free)
- Red Curry Noodles (vegan, gluten free, refined sugar free)
- Oil-Free Stir Fried Noodles (vegan, gluten-free)
- 7-Ingredient Sweet and Spicy Noodles (vegan, gluten free, oil free)
- Spicy Almond Butter Noodles (vegan, gluten-free, oil free)
If you make gluten-free udon noodles at home, be sure to tag me on Instagram with a pic; I love seeing your creations!
Homemade Gluten Free Udon Noodles (vegan, grain free, paleo)
Ingredients
- 1 3/4 cups water
- 125 g tapioca flour
- 160 + 125g cassava flour*
- 1 tsp oil
- pinch of salt
Instructions
- Bring a pot of water to a boil, and a glass or metal bowl that sits nicely on top.
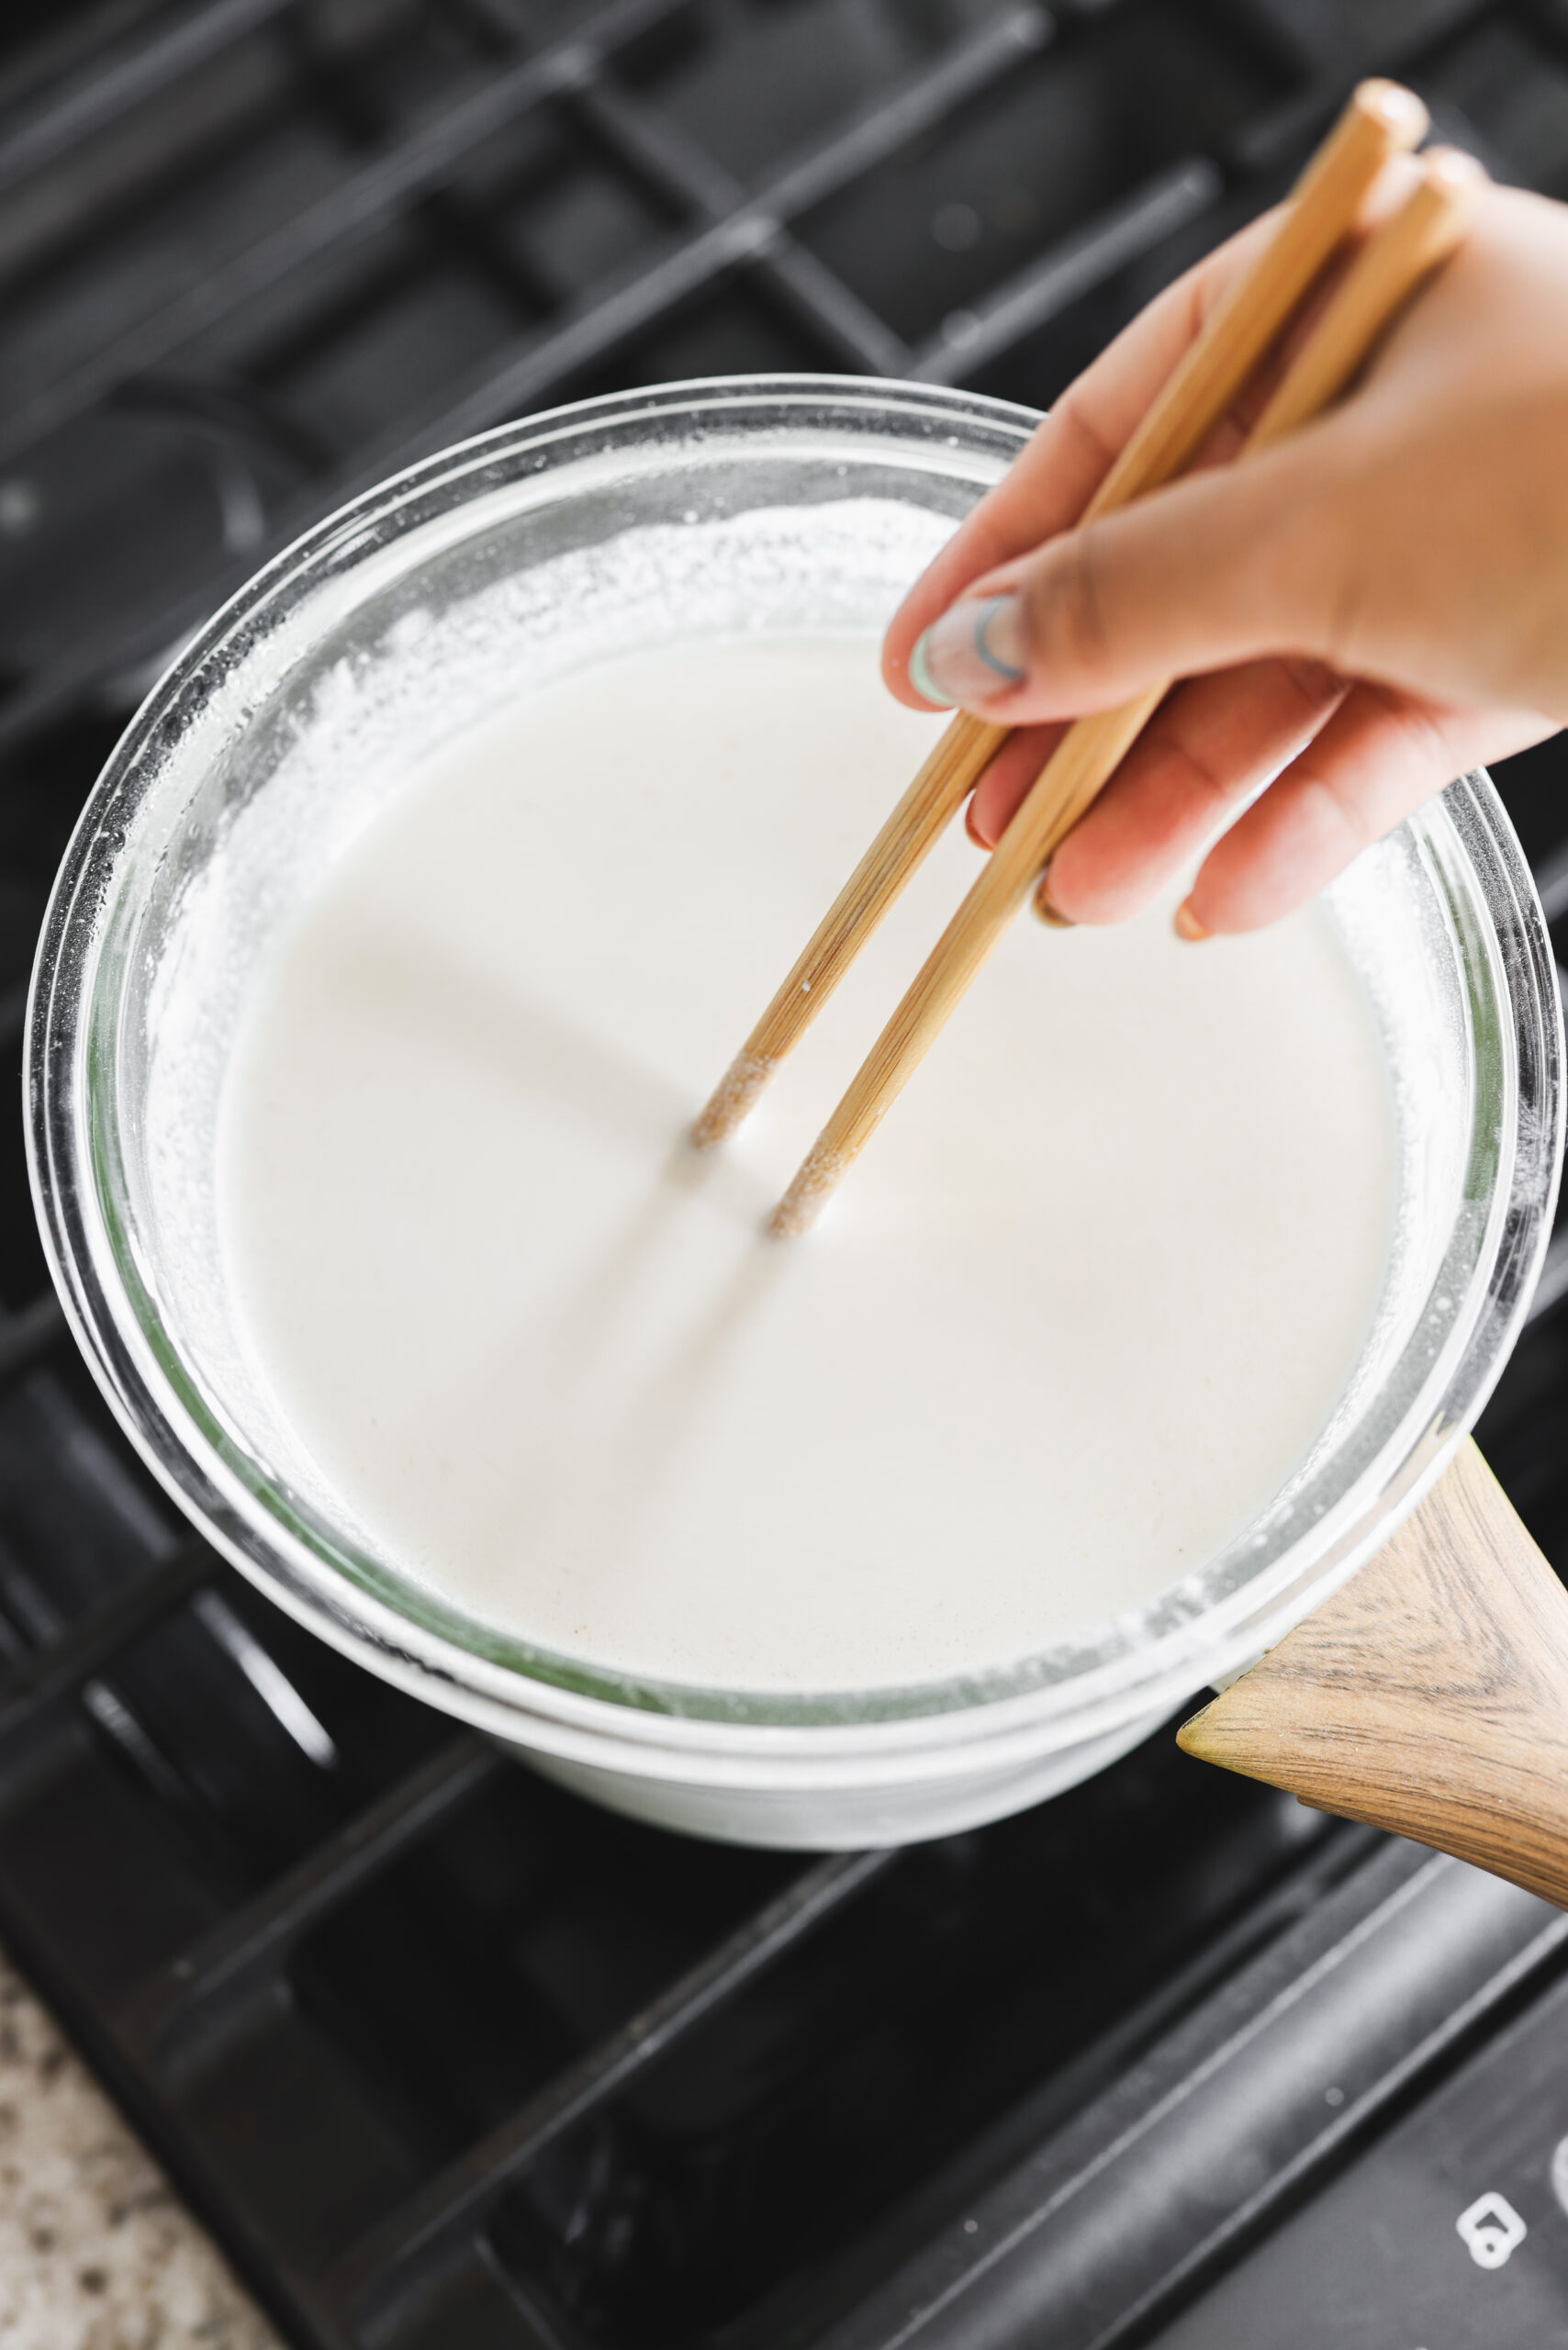
- To the bowl add 160 grams of cassava flour, oil, salt and your 1 3/4 cups water. Stir continuously and cook for 2-3 minutes, until batter thickens slightly. Remove the bowl from the heat.
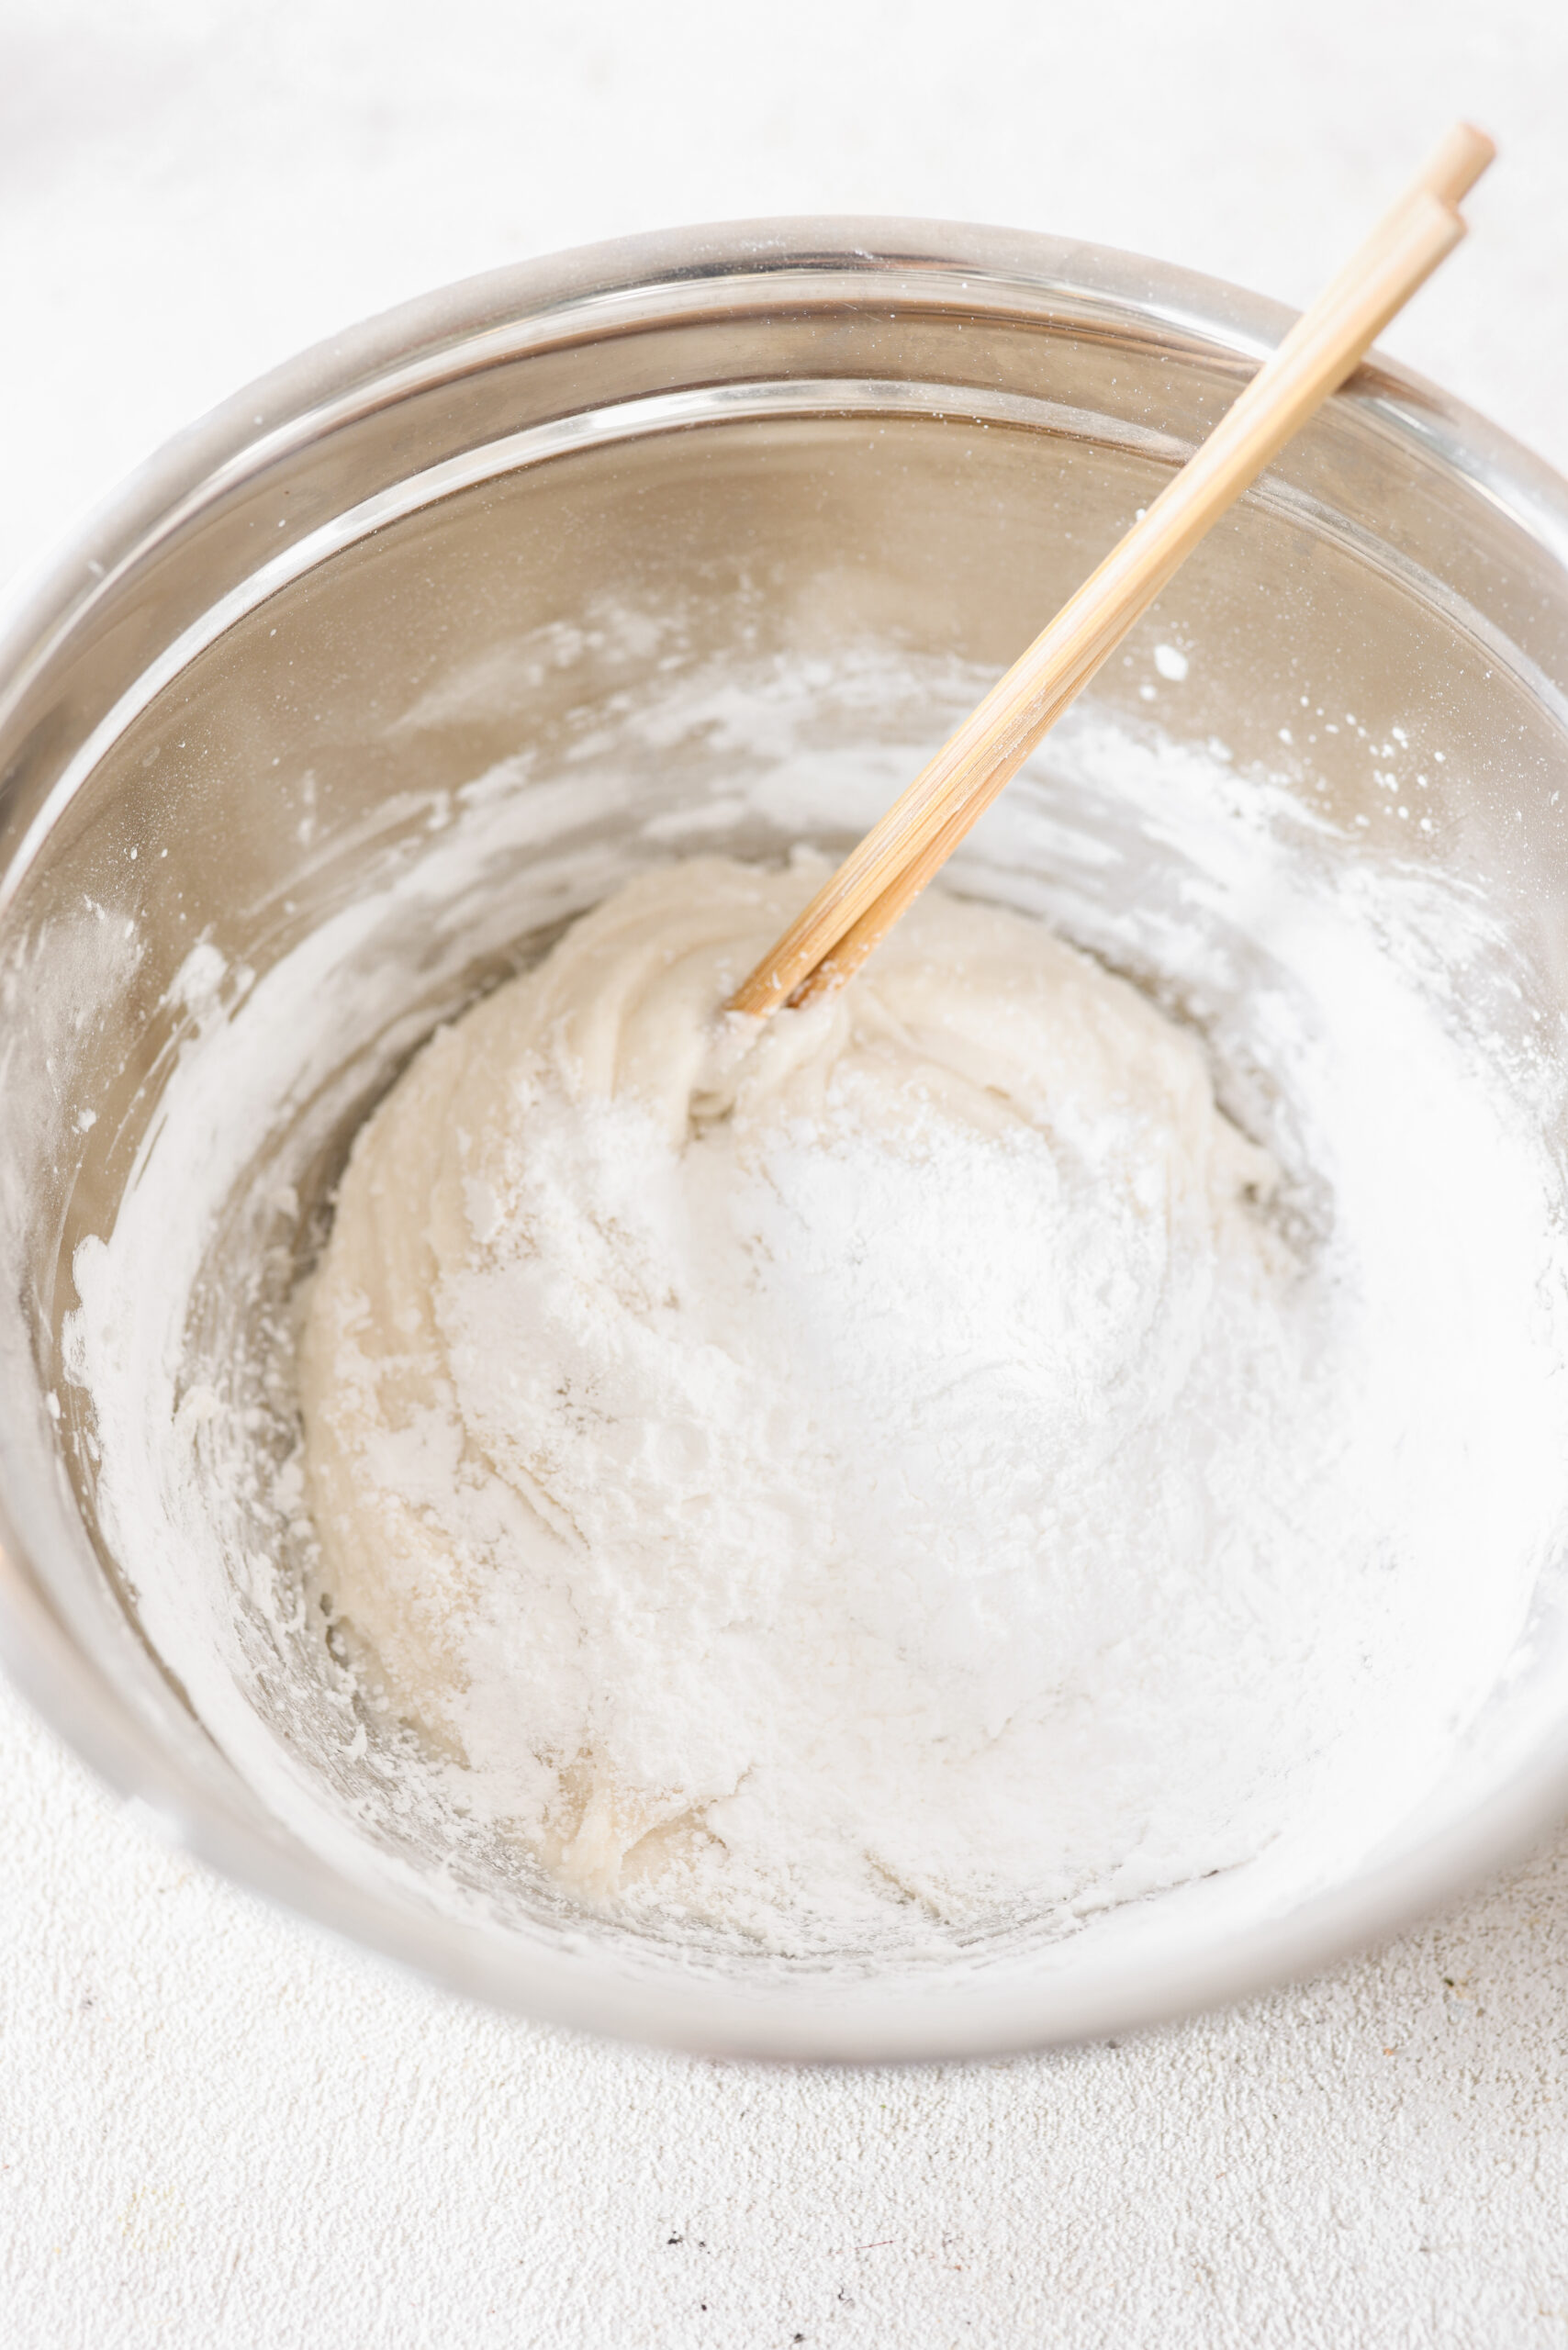
- Next add your tapioca flour to the bowl and stir to incorporate. You should end up with a thick paste, and this is where you want to start adding your cassava flour in parts. Add as needed (from the remaining 125 grams) until you get a dough that pulls away from the side of the bowl but is still a little tacky, not as dry as pasta dough would be.
- Transfer your dough into a cookie press and add more water to the pot with a touch of oil and pinch of salt and bring to a boil once again.
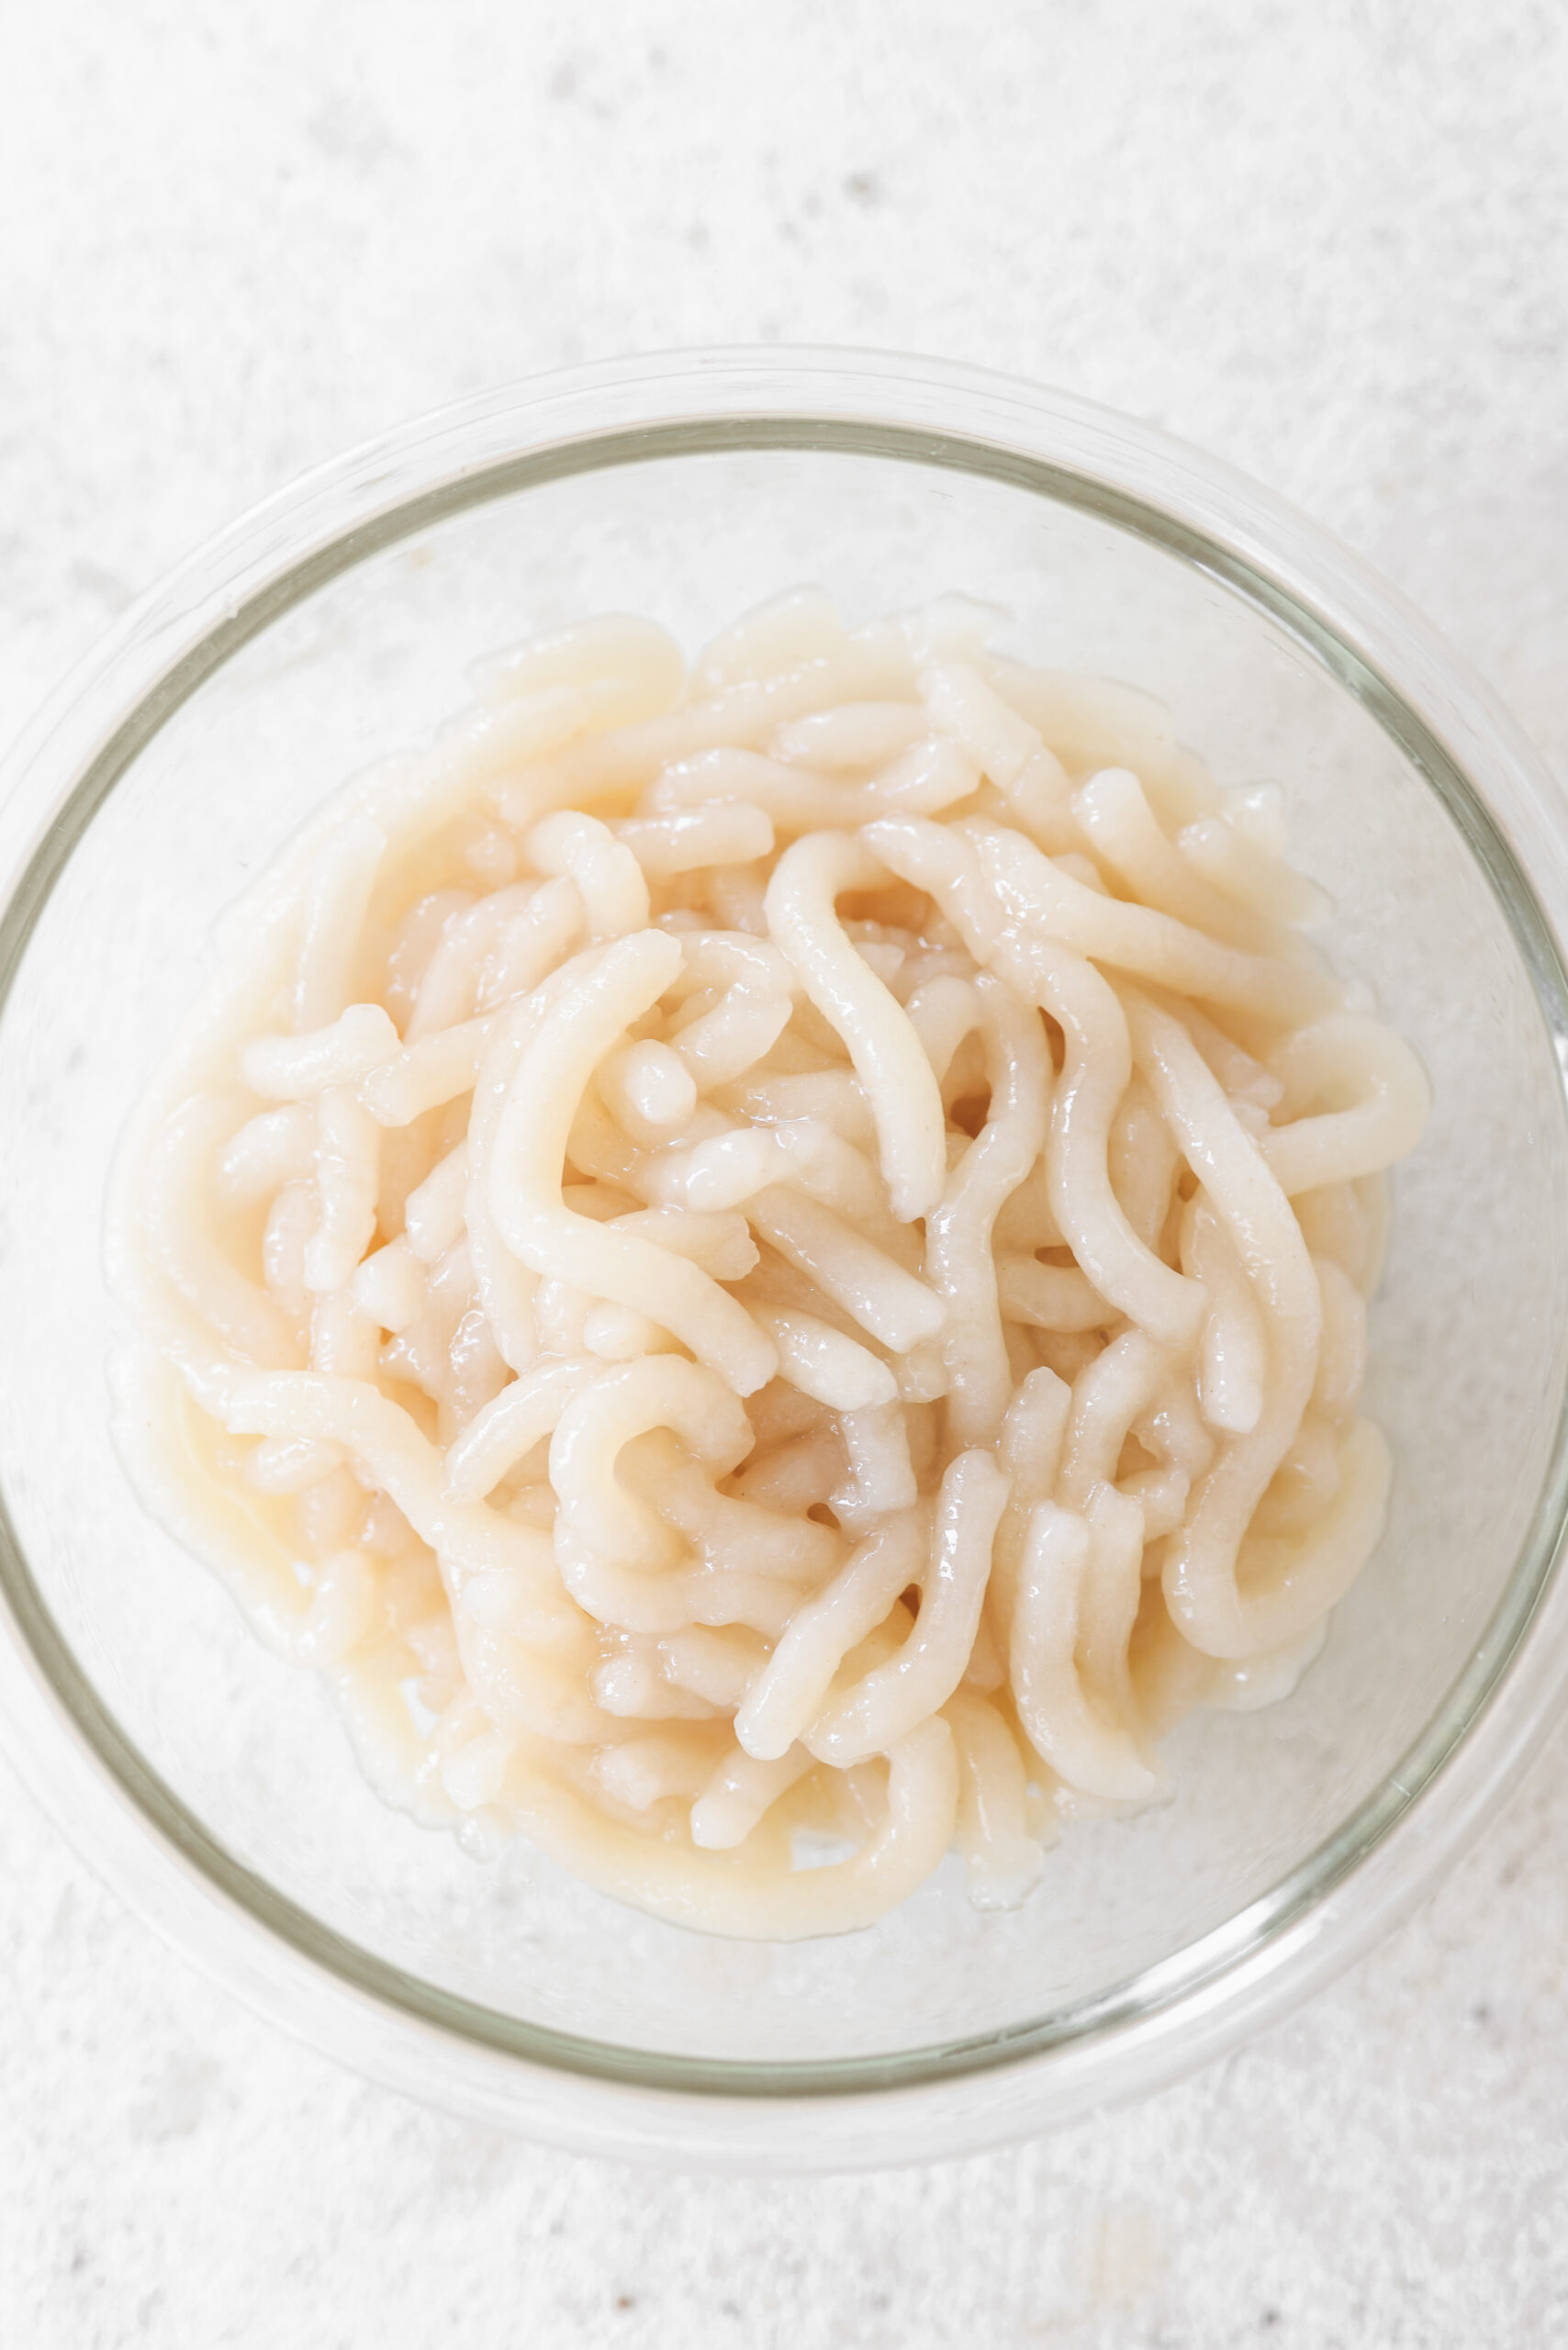
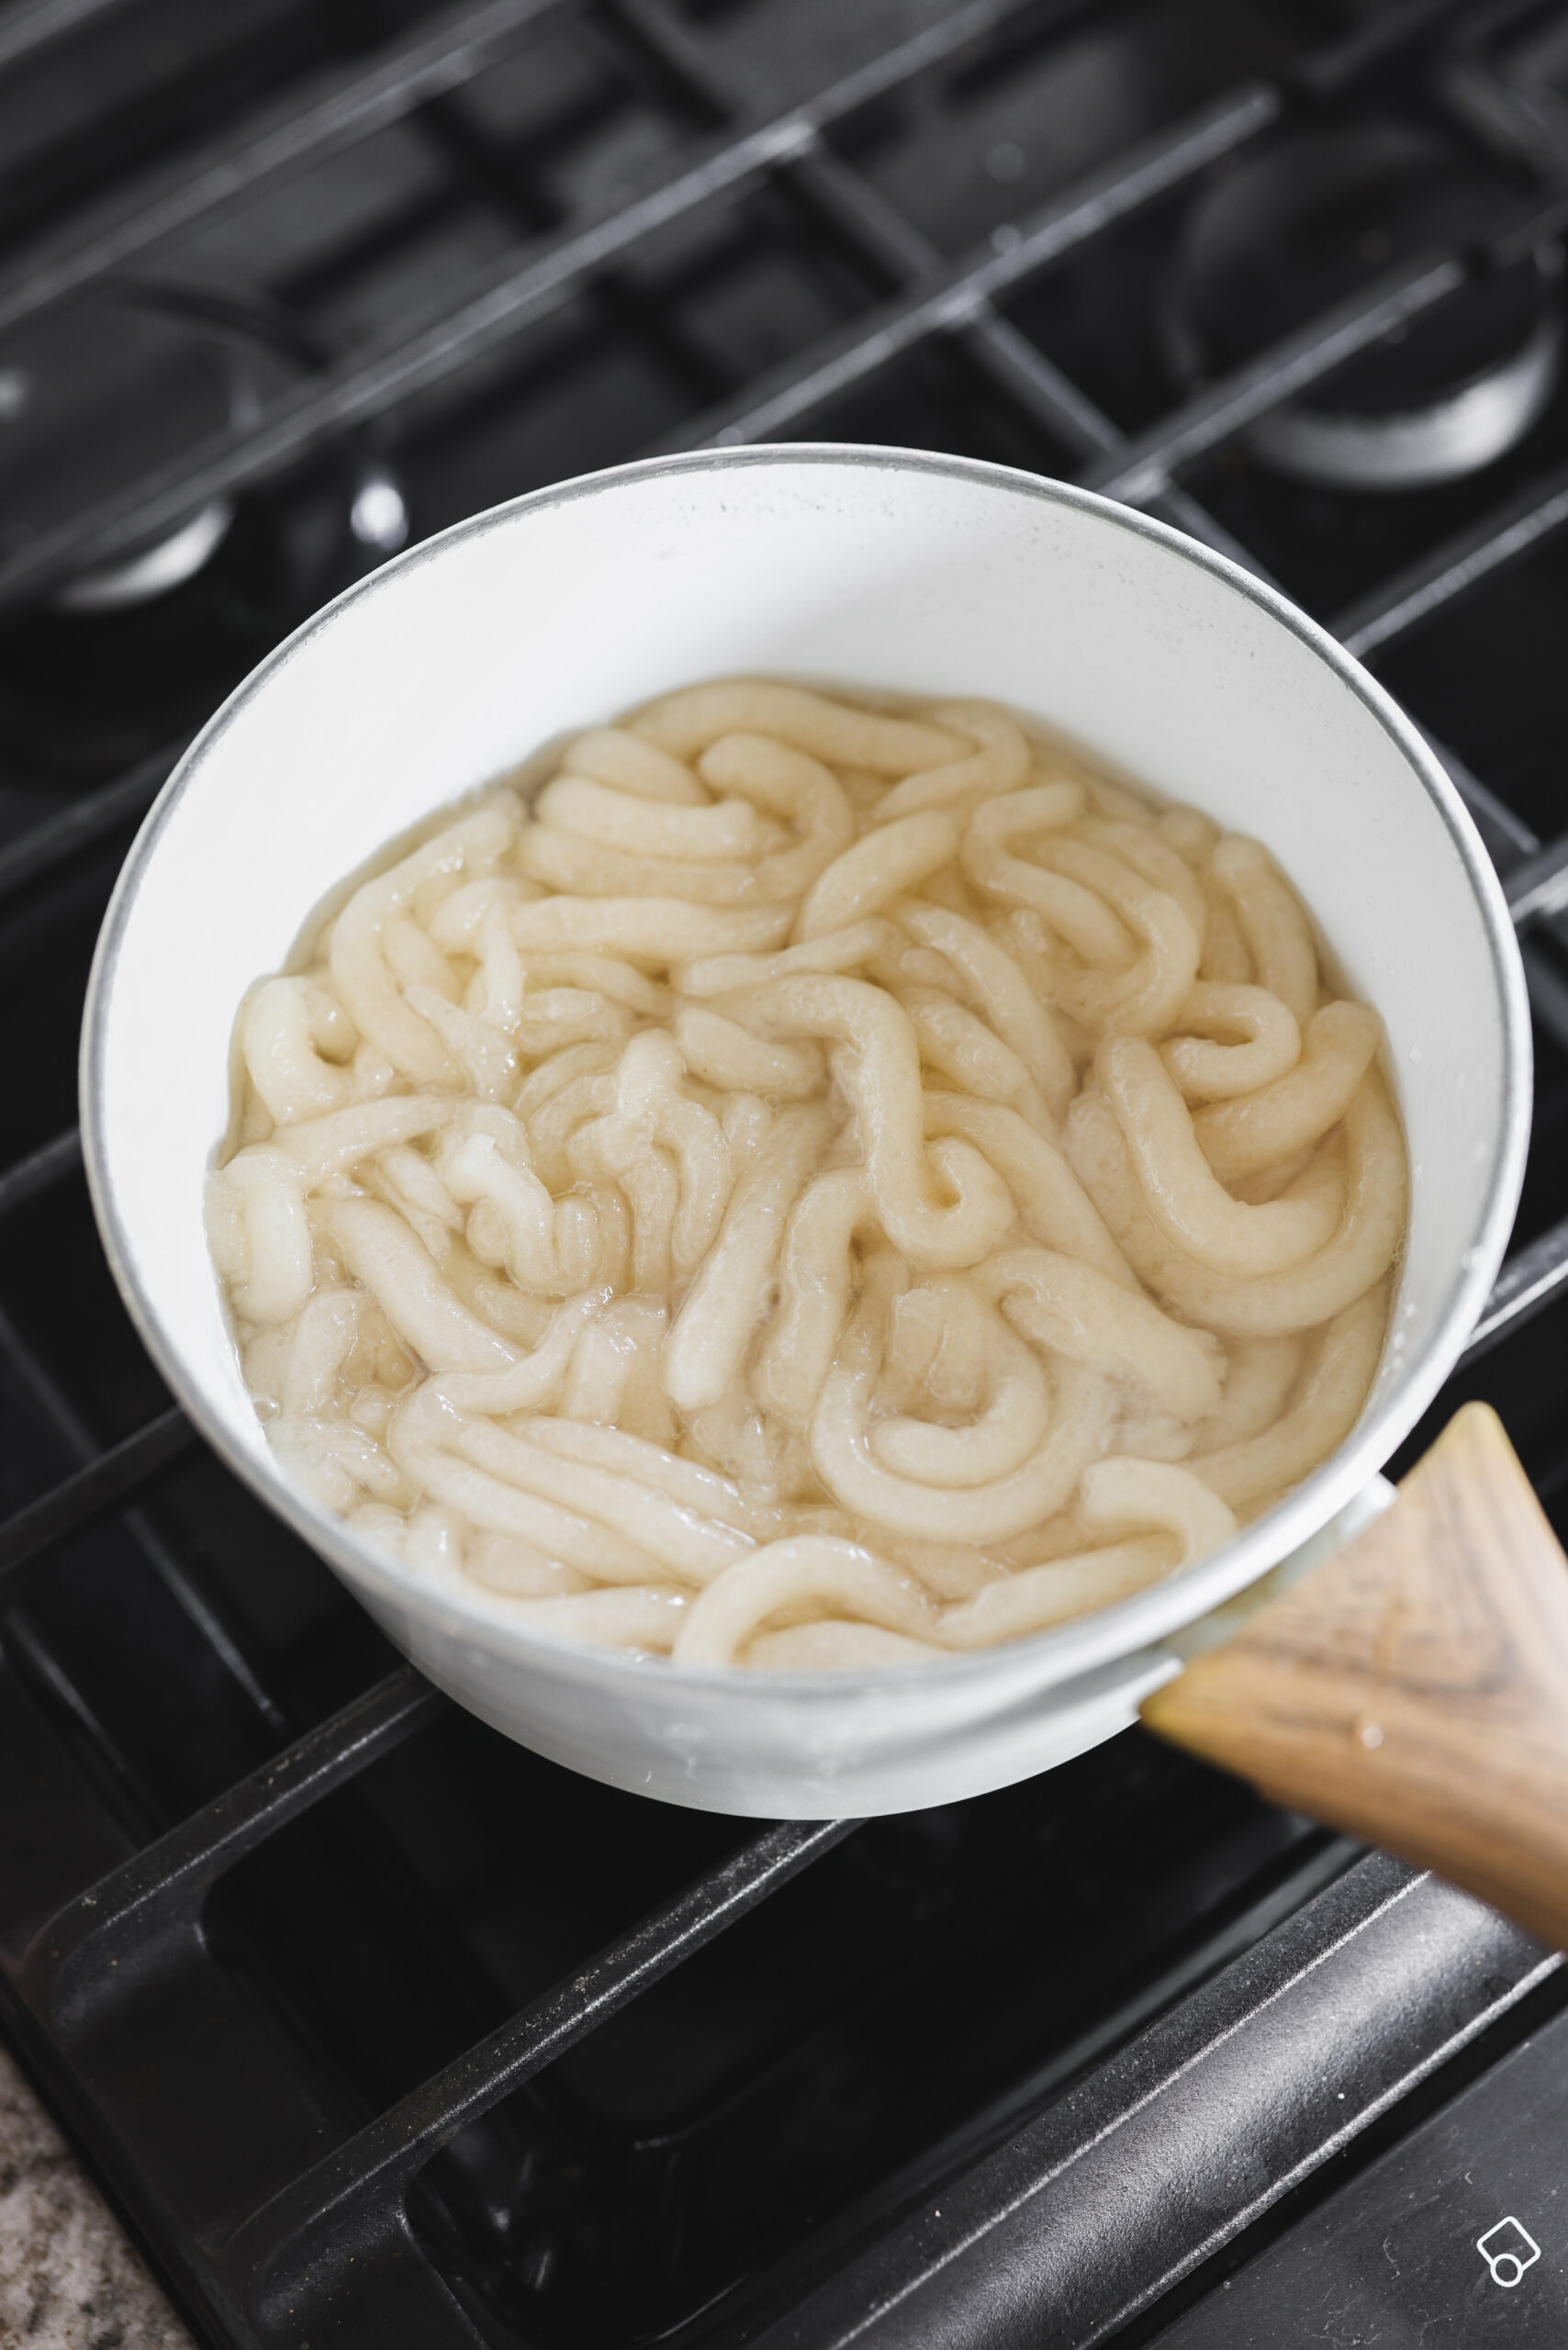
- Squeeze long strands of dough directly into the boiling water. Do not stir, first let cook for about a minute before gently separating with a spatula. Let cook for 2-3 minutes total, until the noodles float.
- Use a colander to remove the noodles and transfer into a small bowl with cool water. Once all the noodles are ready, rinse with cool water, toss with a touch of oil to keep separate and enjoy.
Notes
- I find that cassava flour tends to vary by brand, so use your judgment and add as needed to achieve your dough.
Nutrition information is automatically calculated, so should only be used as an approximation.

3 Comments