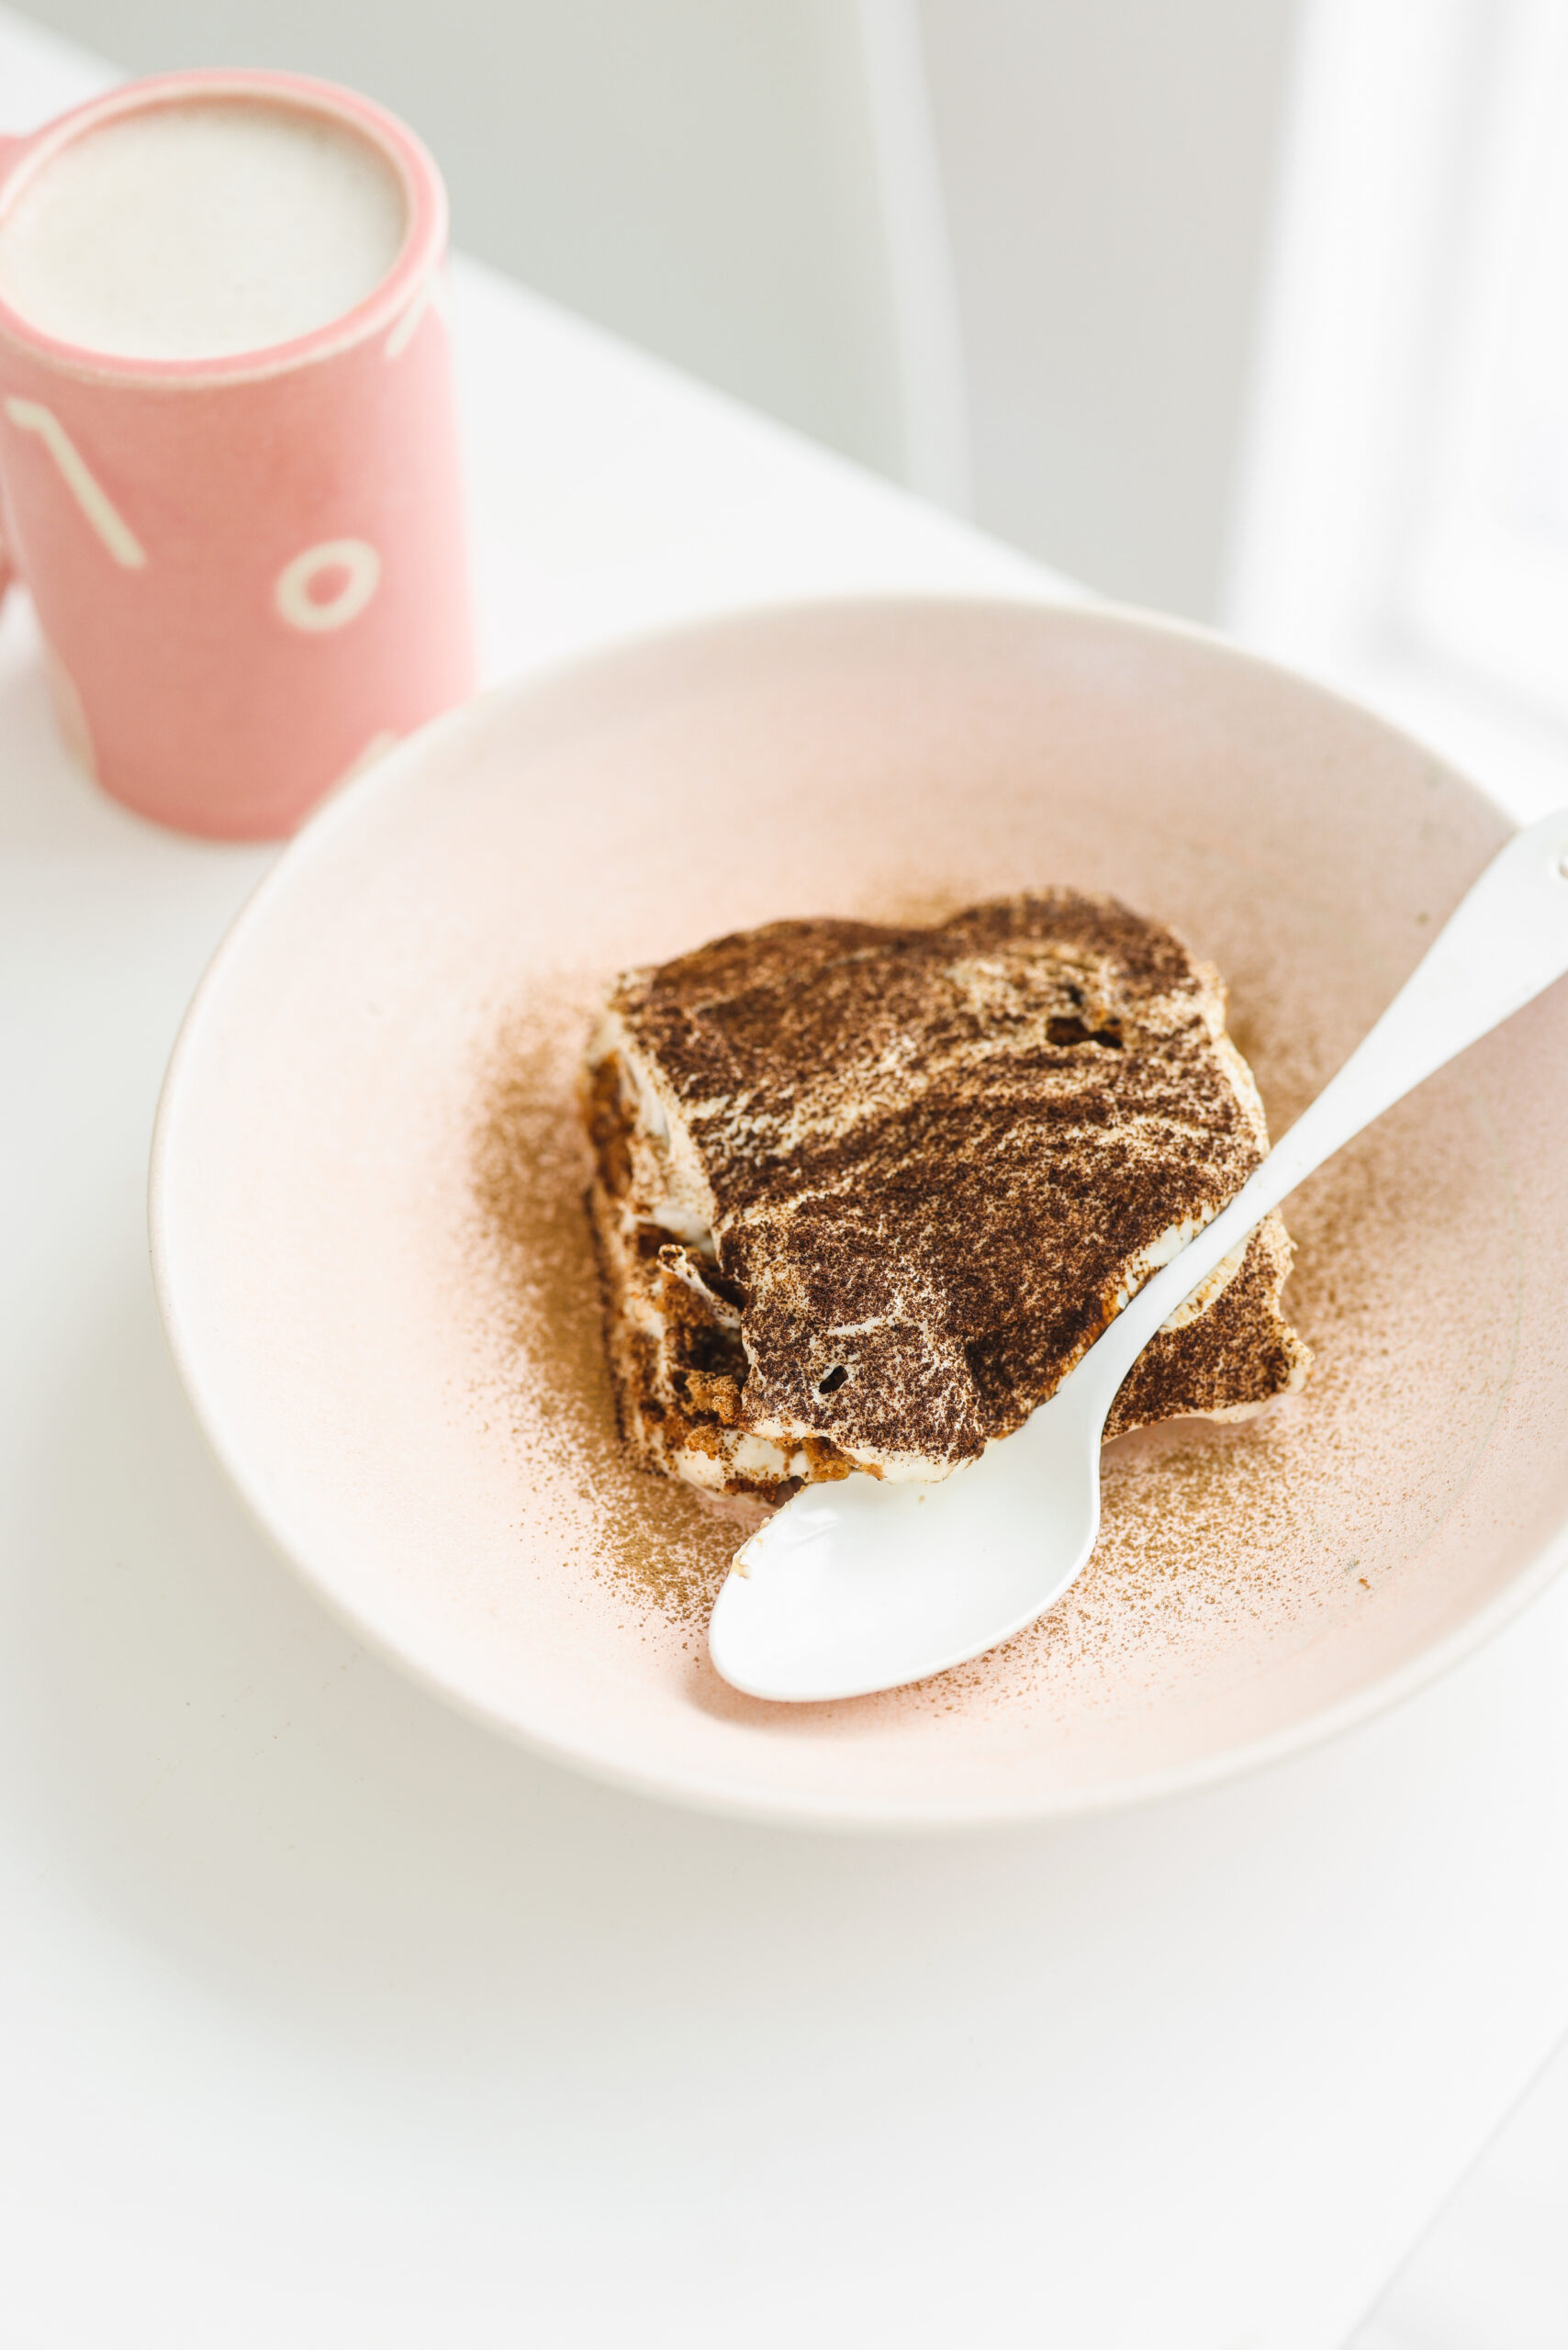
Vegan Tiramisu with Hojicha
Jun 27, 2022 • Updated Jun 20, 2023
This page may contain affiliate links, which means I will make a small commission for products purchased through my link.
This Hojicha Tiramisu recipe is a coffee-free alternative to a classic dessert dish and it’s dairy free and gluten free, too! Made with a base of vegan and gluten free cookies soaked in toasty hojicha and creamy layers of sweet vanilla vegan cream, it’s hard to resist this no-bake treat. This recipe is sponsored by Rubbermaid.

What is Tiramisu?
Tiramisu is an Italian, coffee-flavoured dessert, typically layered with ladyfingers, which are soaked in coffee and brandy or liqueur and a sweet, whipped mascarpone cheese. Traditionally, there are two layers each of the ladyfingers and cream and the dish is finished with a dusting of cocoa powder.
It is a no-bake recipe that is quite easy to assemble in my Rubbermaid DuraLite Bakeware dish (I used the 10×10 size). It’s extra lightweight, break and chip resistant, dishwasher safe and looks beautiful on the table. It also comes with a lid for easy storage in the fridge while the tiramisu sets and you can bring it all to the table with ease.
To put a spin on this Italian delight, we will be replacing the coffee with hojicha, a roasted variety of green tea. It has an amazing, toasty and almost nutty flavour to it, is much lower in caffeine but still has enough of a sharp taste to cut through the cream in this recipe.

Is Tiramisu Vegan?
Tiramisu is traditionally made with lots of dairy and eggs so it is not vegan friendly. In order to make our vegan and gluten free Hojicha Tiramisu we will be replacing the ladyfingers with vegan and gluten free cookies instead.
You can opt to make homemade vegan and gluten free ladyfingers or a thin sheet of vanilla sponge cake, but I went for cookies to preserve the easy-to-assemble nature of the original dish. Look for a cookie that is vegan and gluten free.
To replace the zabaglione filling, we will be making a sweet, vegan cream cheese filling. Once again, for convenience, I recommend using a store bought vegan cream cheese, of which there are many nowadays! Whipped with maple syrup, vanilla bean paste, coconut cream and a pinch of salt, it makes for the dreamiest filling you may want to eat with a spoon.
Hojicha Tiramisu Ingredients
- Cookies. I decided to use Partake Foods cookie butter cookies, which are gluten free and vegan. Any neutral vanilla flavoured cookie will work well!
- Hojicha. Roasted green tea, you can use tea leaves to brew or the powder form, but you will need powder to dust your dessert.
- Vegan cream cheese. Any variety will do!
- Vanilla bean paste. Or use vanilla extract.
- Coconut milk. Use full fat coconut milk from the can.
- Maple syrup. To sweeten.
- Cocoa powder. For dusting.
How to Make Vegan Hojicha Tiramisu
- To assemble your tiramisu, start by brewing or whisking up your hojicha concentrate.
- Dip cookies in the mixture or brush with a pastry brush and line along the bottom of your Rubbermaid DuraLite Bakeware dish.
- Whip together your filling mixture and spread a generous amount across the cookies to create an even layer.
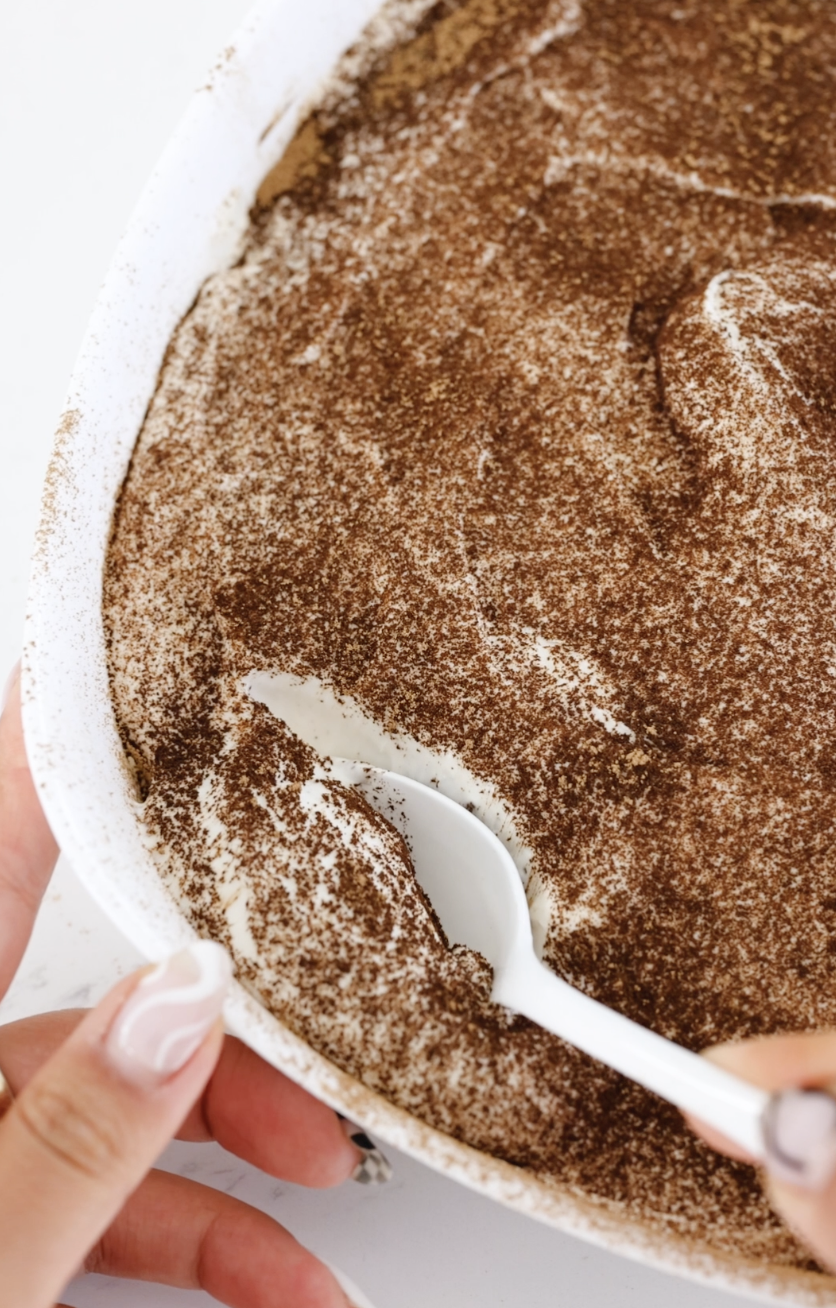
- Repeat with a layer of cookies and filling, then place in the fridge with the lid on to set.
- When ready to serve, dust with cocoa and hojicha, slice and enjoy.
Storage suggestions
I recommend making your tiramisu in a storage-friendly dish like Rubbermaid DuraLite Bakeware. If you try to move leftovers into another dish, the layers will definitely fall apart! Leftovers can be enjoyed for 2-3 days if stored in the fridge.
More Dairy Free Dessert Recipes
- Single Serve Vegan Levain Style Chocolate Chip Cookie (gluten free, refined sugar free, oil free)
- Heart Beet Brownie (vegan, gluten free, oil free)
- Best Healthy Chocolate Chip Cookies (vegan, gluten free, refined sugar free, oil free)
- High Protein Chocolate Mousse (vegan, gluten free, refined sugar free)
- Vegan Crème Brûlée
If you make this Hojicha Tiramisu recipe, be sure to let me know what you think with a comment below!
Hojicha Tiramisu (no dairy, no eggs)

Ingredients
- 300 grams vegan and gluten free cookie of choice I used Partake Foods cookie butter cookies which are vegan and gluten free
- 2 tbsp hojicha powder plus 1 tbsp for dusting
- ⅓ cup filtered hot water
- 15 oz vegan cream cheese
- ⅓ - ½ cup maple syrup adjust to taste
- ½ cup full fat coconut milk
- 1 tbsp vanilla bean paste
- ½ tsp salt
- 2 tbsp unsweetened cocoa powder
Instructions
- Start by preparing your hojicha concentrate. Whisk 2 tbsp hojicha powder with 1/3 cup filtered hot, but not boiling water with a bamboo whisk until smooth. Alternatively, you can brew 2-3 tbsp of dry hojicha tea leaves but I find that the powder breeds a stronger concentrated flavour.
- In your baking dish, add a layer of cookies to cover the base. Then, using a pastry brush, brush on the hojicha mixture until each cookie is soaked.
- Next, whip up your cream cheese filling by whisking cream cheese, maple syrup, coconut milk, vanilla and salt until smooth. Adjust sweetness to taste if needed.
- Using a spatula, spread a layer of the cream cheese filling on top of the cookie base layer.
- Repeat with another layer of soaked cookies, and another layer of cream filling.
- Cover and let sit in the fridge for about 3 hours or overnight.
- When ready to serve, mix cocoa powder and 1 tbsp hojicha powder in a metal sieve and dust over the top of your tiramisu! Slice and serve.
Nutrition information is automatically calculated, so should only be used as an approximation.