This page may contain affiliate links, which means I will make a small commission for products purchased through my link.
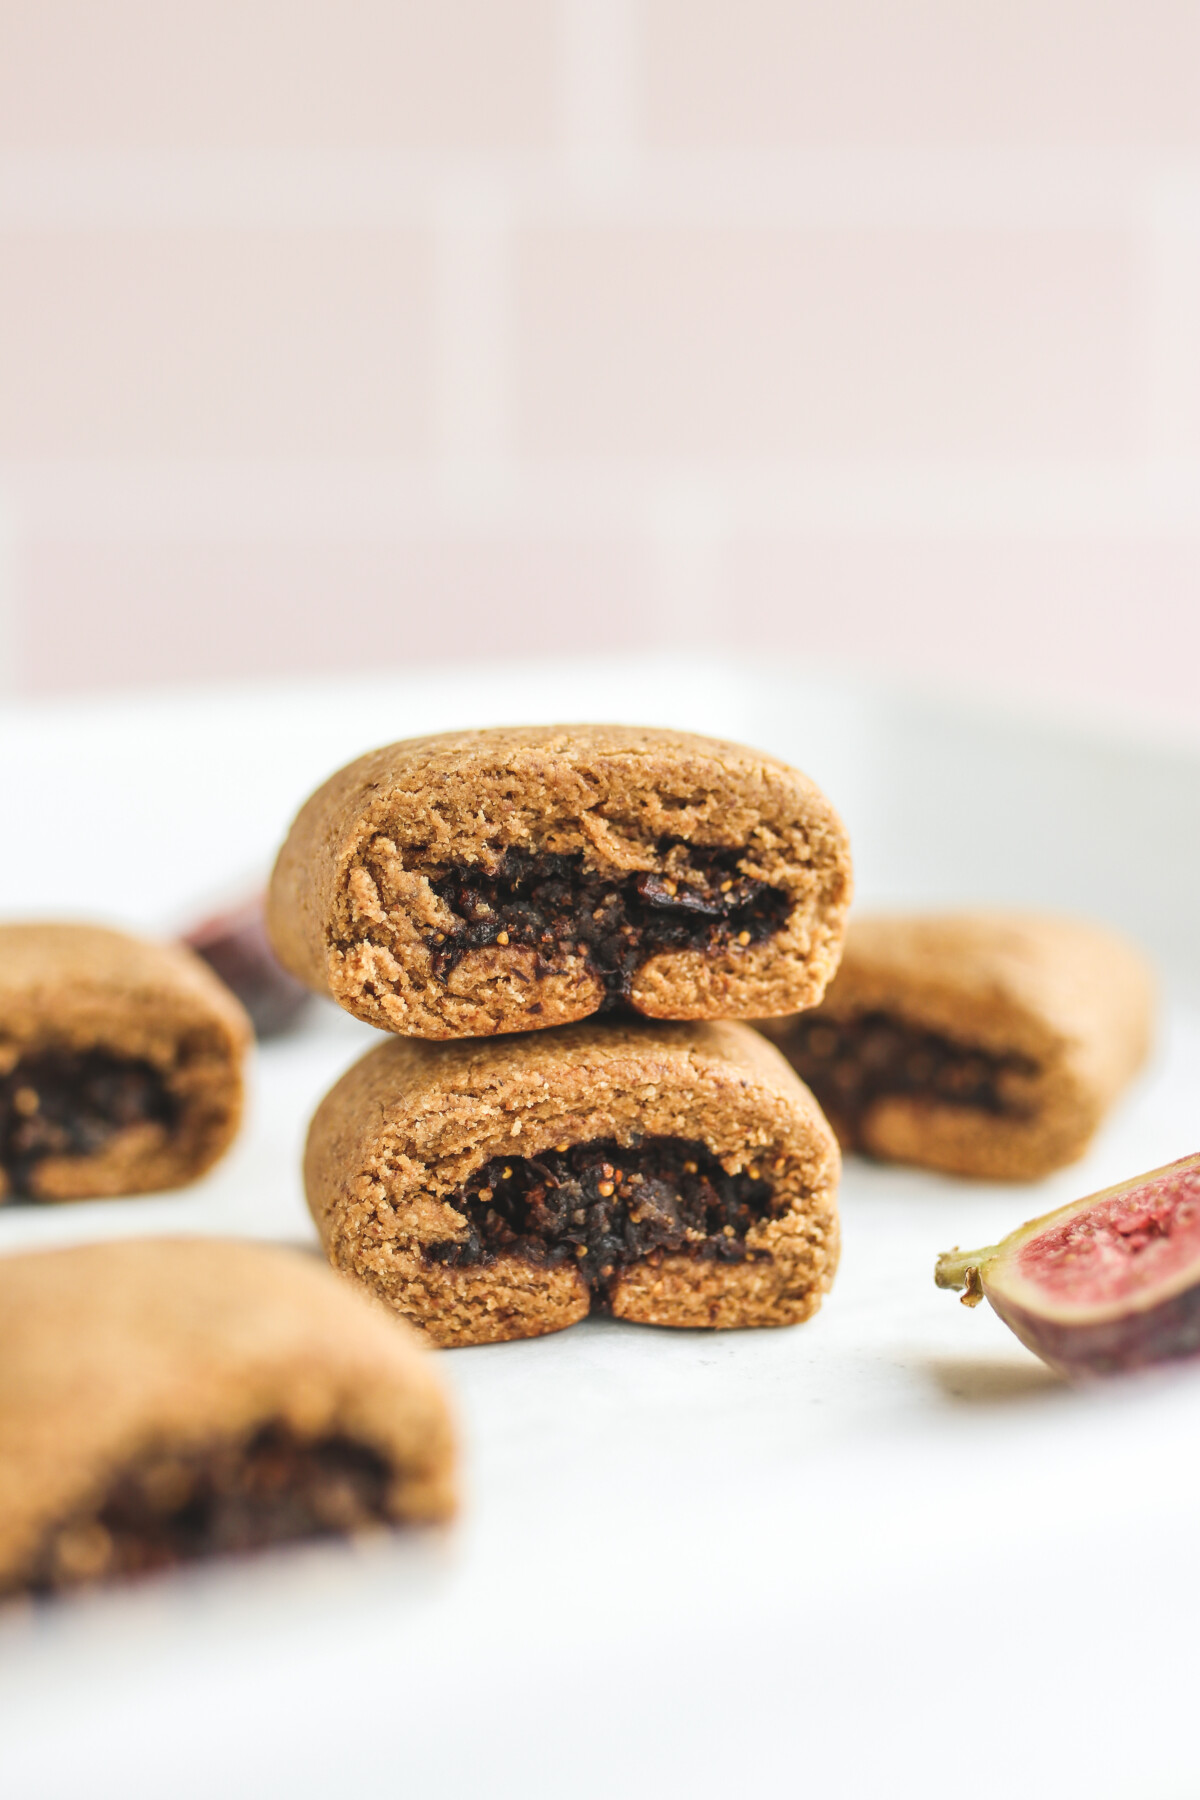
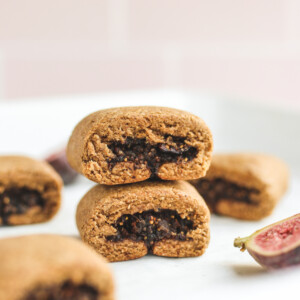
A healthy homemade take on the classic cookie, this Fig Bars recipe is delicious and easy to make with only 10 ingredients and no fuss! Vegan, gluten-free, refined-sugar-free, and no added oils!
Why You’ll Love This Recipe
This homemade Fig Bars recipe is an homage to my childhood favourite snack! Well, one of them. Growing up, I was a huge fan of Fig Newtons (even though most of my fellow first-grade peers seemed to hate them…). I loved them because they were sweet, but not Oreo-level sweet, and they had a really nice soft bite, too.
Now, while Oreos and Fig Newtons are supposedly “accidentally vegan,” neither are gluten-free, which means if I want one, I’ve gotta DIY it! One of the perks of DIY-ing is simple ingredients, so this homemade Vegan Fig Bar recipe calls for less than 10 ingredients versus 20+ in store-bought fig bars.
Initially, I tried to make this recipe using fresh figs during peak fig season, but after multiple attempts, I found that dried figs work best. This is actually great news because it means you can make these fig bars year-round! And… maybe it’s just me, but I enjoy dried figs much more than I do fresh anyway.
These Fig Bars are vegan, gluten-free, refined sugar-free, made without added oils, and can be made nut-free too! The perfect, healthy, sweet treat!
Ingredient Notes
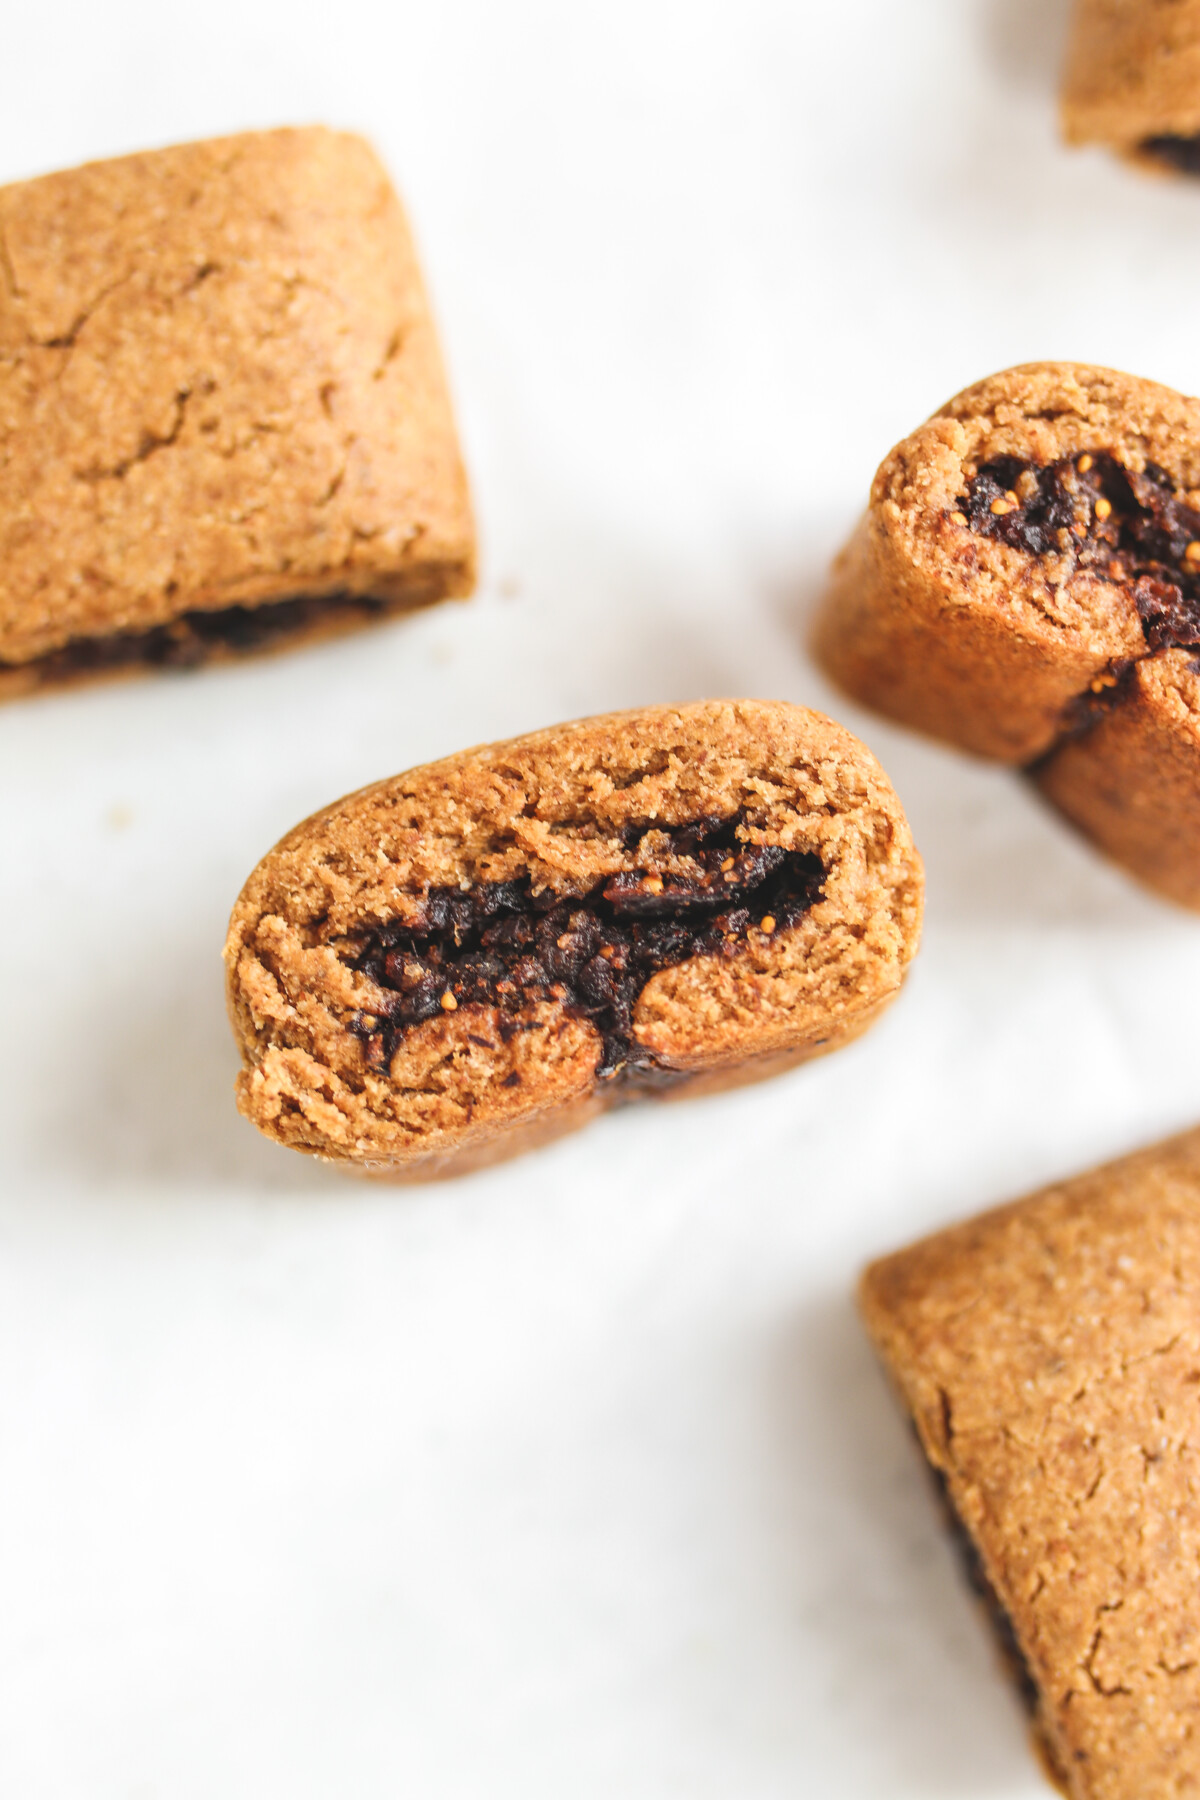
- Dried mission figs → This is the base of our fig paste, of course! They are packed with natural sweetness and have a sticky texture, which is key. Mission figs are a variety of fig that comes from fig trees. The Mission fig is a dark purple or black-skinned fig with sweet, pinkish flesh inside. You can find them at grocery stores in the dried fruit aisle.
- Oat flour → To create a gluten-free cookie, we’re using oat flour, making these even more nutritious “oatmeal fig bars.” If you have a serious gluten allergy, use certified gluten-free oat flour (which ensures that the facility it was produced in does not process any wheat/gluten products).
- Coconut sugar → This is the granulated sweetener I like to use, but you can use any other granulated sugar, like brown sugar or cane sugar.
- Almond butter → This adds a source of healthy fat and moisture (no large egg needed!) to the dough. To make it nut-free, opt for seed butter instead.
- Plant milk → I opted for coconut milk, but any unsweetened non-dairy milk should work here.
- Cinnamon → A little warm spice for your fig bar!
- Lemon juice → To brighten things up.
- And a few baking essentials like vanilla extract and baking powder, plus optional OJ (see recipe notes in the recipe card below!).
How to Make This Fig Bars Recipe
- In a small bowl, soak dry figs, covering them with hot water, for a least 1 hour. Once tender, strain the figs but reserve the soaking water for blending.
- Preheat oven to 350F.
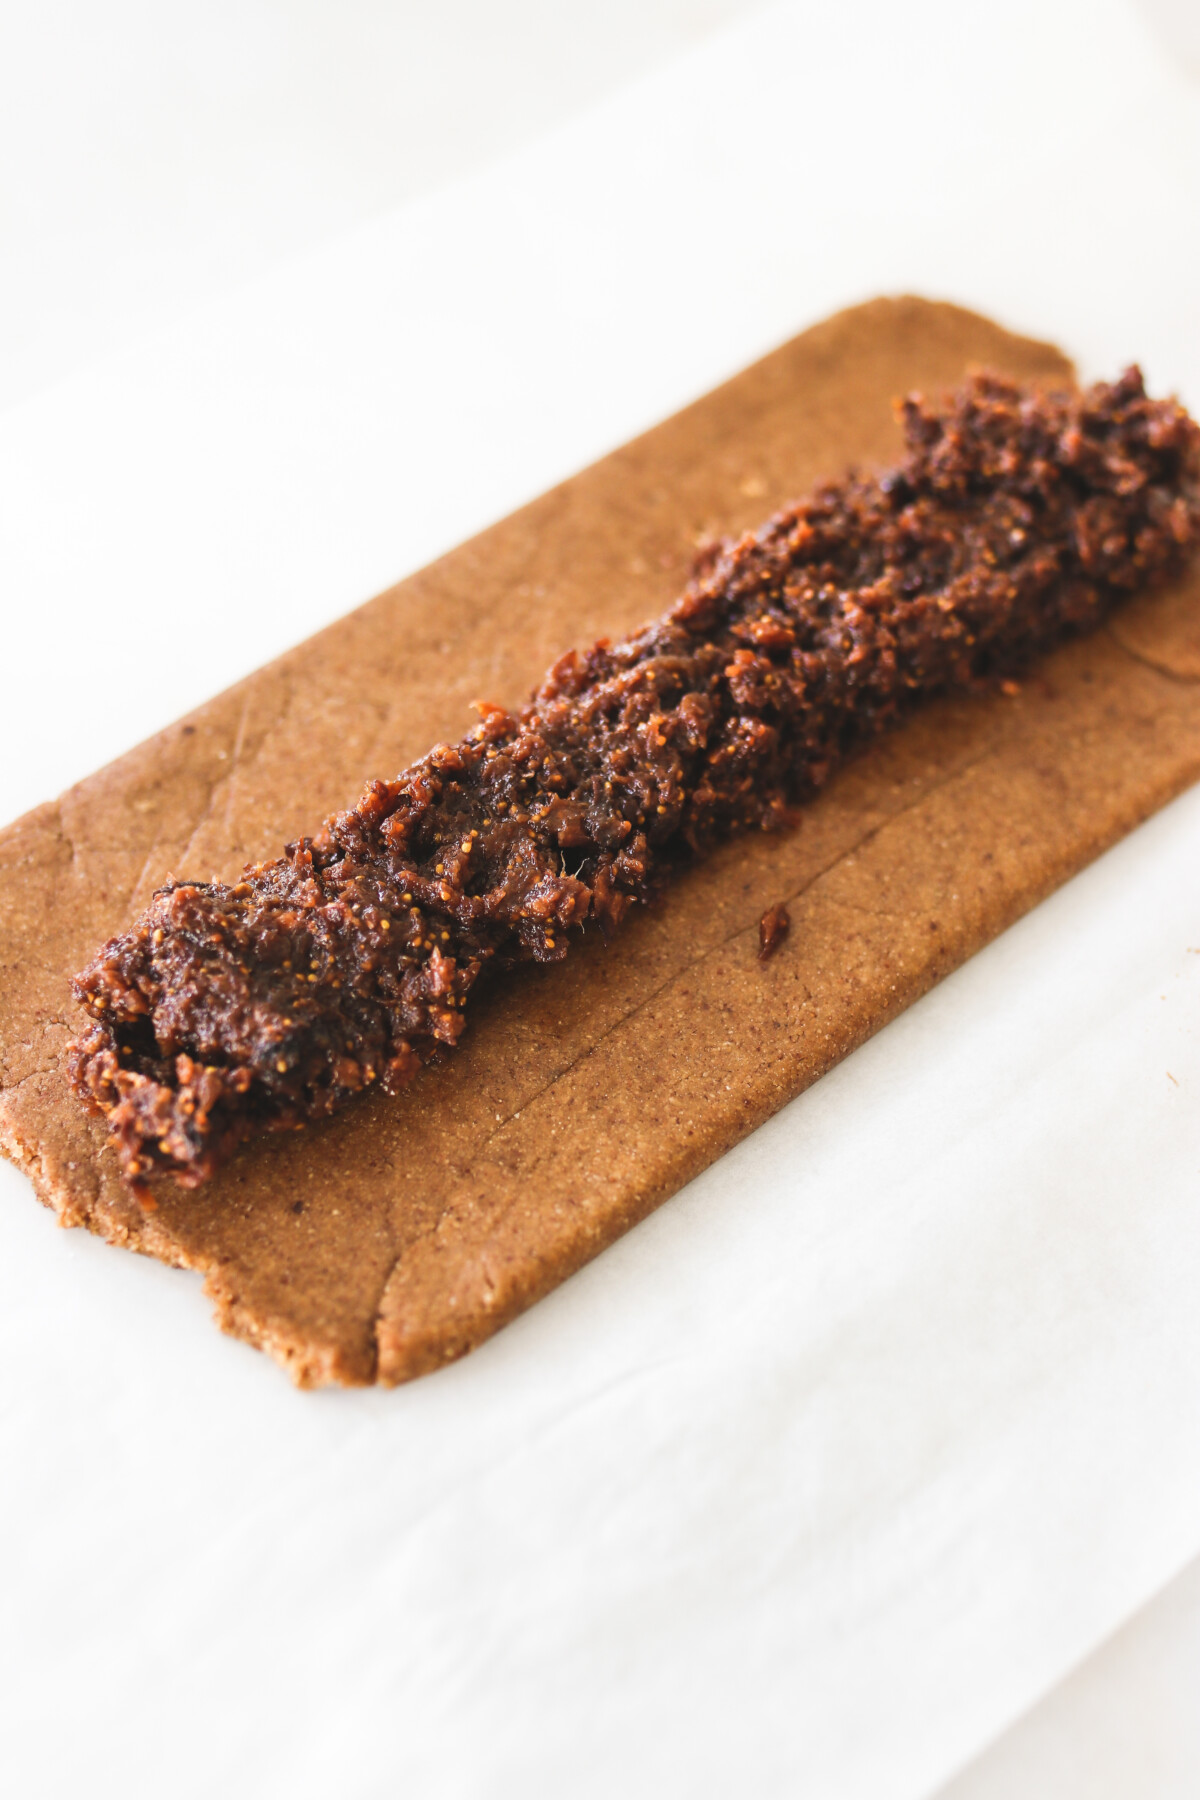
- Transfer the soaked figs to a food processor and add the juice of half a lemon. Blend to break down, then add soaking water by the tablespoon, blending in between. You want to achieve a spreadable paste, not too wet (refer to the image above). Taste, and if desired, add a touch of maple syrup to sweeten. I personally found it to be naturally sweet. Set the fig jam mixture aside.
- Now prepare your fig bar dough. In a large mixing bowl, sift flour, coconut sugar, baking powder, and cinnamon. Add almond butter, plant milk, and vanilla extract and mix with a spatula until a dough forms. Add additional plant milk as needed. The dough should be workable with your hands.
- Lay out 2 pieces of parchment paper or 2 nonstick baking sheets, and place dough in between. Use a rolling pin to roll out into a thin, long rectangle shape (see photos above). Spoon the fig paste/fig mixture into a log shape in the center of the dough rectangle, and lift the edges of the parchment paper to layer either side over the center. Flip so the seam side is down.
- Slice your log into 10 pieces or rectangle sizes of choice, then place them onto a baking pan.
- Bake at 350F for 12-15 minutes or until just golden brown on the crust’s surface. Don’t overbake, or you’ll end up with a crunchy bar instead of a soft fig bar.
- Let the fig bars cool for a few minutes, then serve!
Secrets to Success
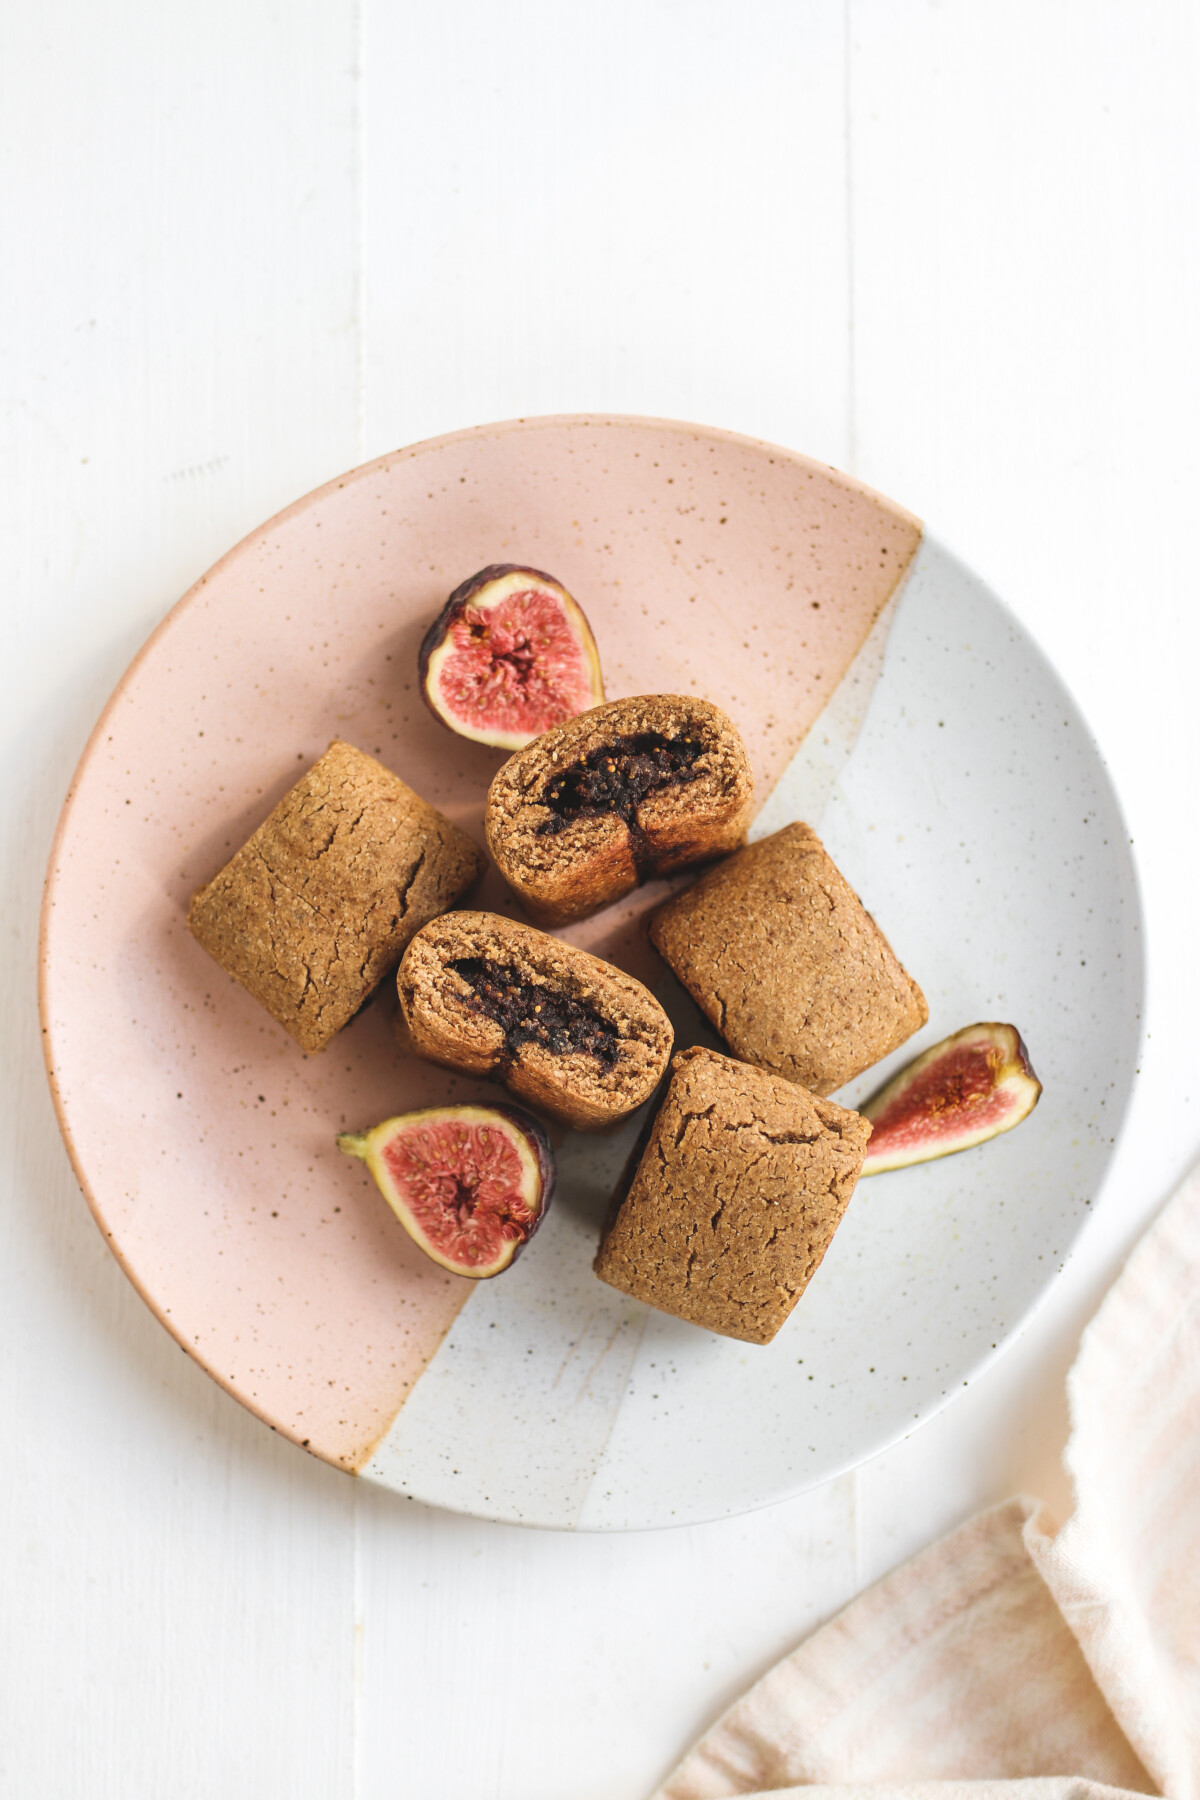
- As mentioned, you want to ensure you’re using dried figs (black mission figs) instead of fresh figs. This is important for texture (to achieve that classic fig filling texture) but also for sweetness level!
- Alternatively, you can opt to blend with orange juice instead of the soaking water to add additional sweetness if you prefer something closer to the original.
- For this fig bars recipe, you’ll need a food processor or blender, but I highly recommend a food processor because the quantity of ingredients we’re blending up is a manageable size.
- Finally, I recommend using parchment paper, which will be important to achieve the classic folded fig bar look.
Storage Tips
Store leftovers in an airtight container in the refrigerator for up to a week or two. Let sit for a few minutes at room temperature, then serve!
These make the perfect lunchtime or after-school snacks for kids!
Recipe FAQs
Yes! Of course, like anything, they should be consumed in moderation, but there’s tons of nutrition in them, plus this homemade version doesn’t contain processed ingredients or preservatives!
Your average store-bought fig bar contains whole wheat flour, dried figs, sugar, oils, nut butter, spices, leavening agents, preservatives, added fiber, and “natural flavors.” Some brands are better than others. Making them homemade, however, means there are just 10 ingredients– no preservatives or processed ingredients!
More Healthy Snack Recipes
Best Ever Healthy Chocolate Chip Cookies
Almond Butter Rice Krispie Treats
If you try this recipe out, tag me on Instagram @veggiekins so I can see your delicious re-creations and feature them! As always, I love when you share your reviews in the comments below, and if you make any fun substitutions, let me know how it worked out below too.
Healthy Homemade Fig Bars Recipe
Ingredients
- 1 cup dried mission figs roughly 6 oz
- juice of 1/2 lemon
- filtered water to soak
- 1 1/2 cup oat flour
- 2 tbsp coconut sugar
- 2 tsp baking powder
- 1/2 tsp cinnamon
- 1/4 cup creamy almond butter
- 1/4 cup room temperature plant milk I used light coconut milk, more as needed
- 1 tsp vanilla extract
- optional orange juice
Instructions
- In a small bowl, soak dry figs, covering with hot water, for a least 1 hour. Once tender, strain the figs but reserve the soaking water for blending.
- Preheat your oven to 350F.
- Transfer the soaked figs to a food processor and add the juice of half a lemon. Blend to break down, then start to add soaking water by the tablespoon, blending in between. You want to achieve a spreadable paste, not too wet (refer to image above). Taste, and if desired, you can add a touch of maple syrup to sweeten. I personally found it to be naturally sweet. Alternatively, you can opt to blend with orange juice instead of the soaking water to add additional sweetness if you prefer something closer to the original.
- Now prepare your fig bar dough. In a mixing bowl, sift flour, coconut sugar, baking powder and cinnamon. Add almond butter, plant milk and vanilla extract and mix with a spatula until a dough forms. If needed, you can add additional plant milk as needed. Dough should be workable with your hands.
- Lay out 2 pieces of parchment paper or 2 nonstick baking sheets, and place dough in between. Use a rolling pin to roll out into a thin, long rectangle shape (see photos above). Spoon fig paste into a log shape in the center of the dough rectangle, and lift edges of the parchment paper to layer either side over the center fig paste. Flip so the seam side is down.
- Slice your log into 10 pieces, or rectangle sizes of choice, then place onto a baking sheet. Bake at 350F for 12-15 minutes, or until just golden brown on the surface. Don't overbake, or you'll end up with a crunchy bar instead of a soft fig bar.
Notes
Secrets to Success
- As mentioned, you want to ensure you’re using dried figs instead of fresh figs. This is important for texture (to achieve that classic fig paste texture) but also for sweetness level!
- Alternatively, you can opt to blend with orange juice instead of the soaking water to add additional sweetness if you prefer something closer to the original.
- For this fig bars recipe, you’ll need a food processor or blender, but I highly recommend a food processor because the quantity of ingredients we’re blending up is a manageable size.
- Finally, I recommend using parchment paper, which will be important to achieve the classic folded fig bar look.
- You will end up with a little leftover jam, but I find that 1 cup of dried figs was necessary as a minimum quantity so the blades of my food processor could effectively purée.
Storage Tips
Store leftovers in an airtight container in the refrigerator for up to a week or two. Let sit for a few minutes at room temperature, then serve! These make the perfect lunchtime or after-school snacks for kids!Nutrition information is automatically calculated, so should only be used as an approximation.
This post may contain affiliate links.

4 Comments