How To Make Crunchy Puffed Quinoa Bars (Easy Recipe)
Jan 26, 2019 • Updated Mar 07, 2024
This page may contain affiliate links, which means I will make a small commission for products purchased through my link.
An easy way to make a healthy snack bar with whole food plant-based ingredients. This Vanilla Cashew Puffed Quinoa Bar is a great alternative to Rice Krispie Treats, with nourishing ingredients that will keep you full and satisfied. One bowl, 5 ingredients, and no baking required!
What is Puffed Quinoa?
Puffed quinoa is the result of taking raw quinoa and heating it under high pressure until it pops, similar to how popcorn is made. This process causes the quinoa grains to expand and become light and crunchy.
It can be eaten as a snack on its own or used as an ingredient in cereals, granola bars, and other dishes. It is often used as a gluten-free alternative to puffed rice or wheat in recipes. Today, we’re turning this delicious ingredient into the most delicious quinoa granola bars!
What Makes This Recipe Great
One of my favorite ingredients, and also one of the most difficult-to-find ingredients, is puffed quinoa. Maybe it’s just me and the neighborhood I live in, but for whatever reason, I always have trouble hunting down puffed quinoa when I need it. Anyone else? Let me know where you usually pick it up, and I’ll send you the biggest virtual hug. Anyway, last week, I picked up some puffed quinoa from a zero-waste, package-free grocery delivery service called The Wally Shop, and I could FINALLY work on photographing one of my favorite snack recipes for you–Vanilla Cashew Puffed Quinoa Bars.
This tasty snack is one of my go-to’s because it’s no bake, one bowl, and only 5 ingredients. These puffed quinoa bars are vegan, gluten-free, oil-free, and refined sugar-free, but the best part is that it’s insanely easy to make. It’s a lightly sweet, rich, and crunchy texture snack, reminiscent of rice krispie treats but actually good for you.
I love puffed quinoa because it makes for a great alternative to puffed rice, and generally speaking, I find quinoa to be a little more nutritious than rice. If you can’t find it or can relate to my sourcing struggle, I recommend purchasing online (here) OR substituting. Alternatives include other crispy popped grains, OR just using puffed rice works just fine!
The key thing to look for is that they’re crispy. Although soft puffed grains work too, the texture is just a little bit different from the rice krispies texture you probably know. Full of nutritious ingredients, these bars make for a great quick breakfast, or a deliciously crunchy addition to your snack rotation!
Ingredient Notes
Let’s talk about the other 4 ingredients in this recipe: The cashew butter holds the bar together and provides healthy fats and a creamy texture, while the maple syrup or Medjool dates add just enough sweetness and help the bar firm up in the fridge. Vanilla packs flavor in these bars, and the little pinch of salt is optional but always a must in my book when it comes to sweet dishes.
- puffed quinoa: Our main ingredient! Puffed quinoa has a slightly nutty flavor which enhances the overall flavor of these “nut bars”. The taste is mild so it’s easy to flavor with your favorite spices and extracts.
- cashew butter: You can also use no stir natural peanut butter or almond butter if preferred.
- maple syrup or Medjool dates: You can also use agave nectar.
- vanilla extract
- pinch of salt to enhance flavor
Other optional add-ins that I highly recommend are
- ground cinnamon (which creates a snickerdoodle-y flavor)
- cacao powder
- chocolate chips
- crushed nuts
- drizzle of your favorite vegan dark chocolate.
This recipe as is can be modified with the addition of just one ingredient to spice the flavor up, and if you like this one, I’ll share a few different flavors and variations soon!
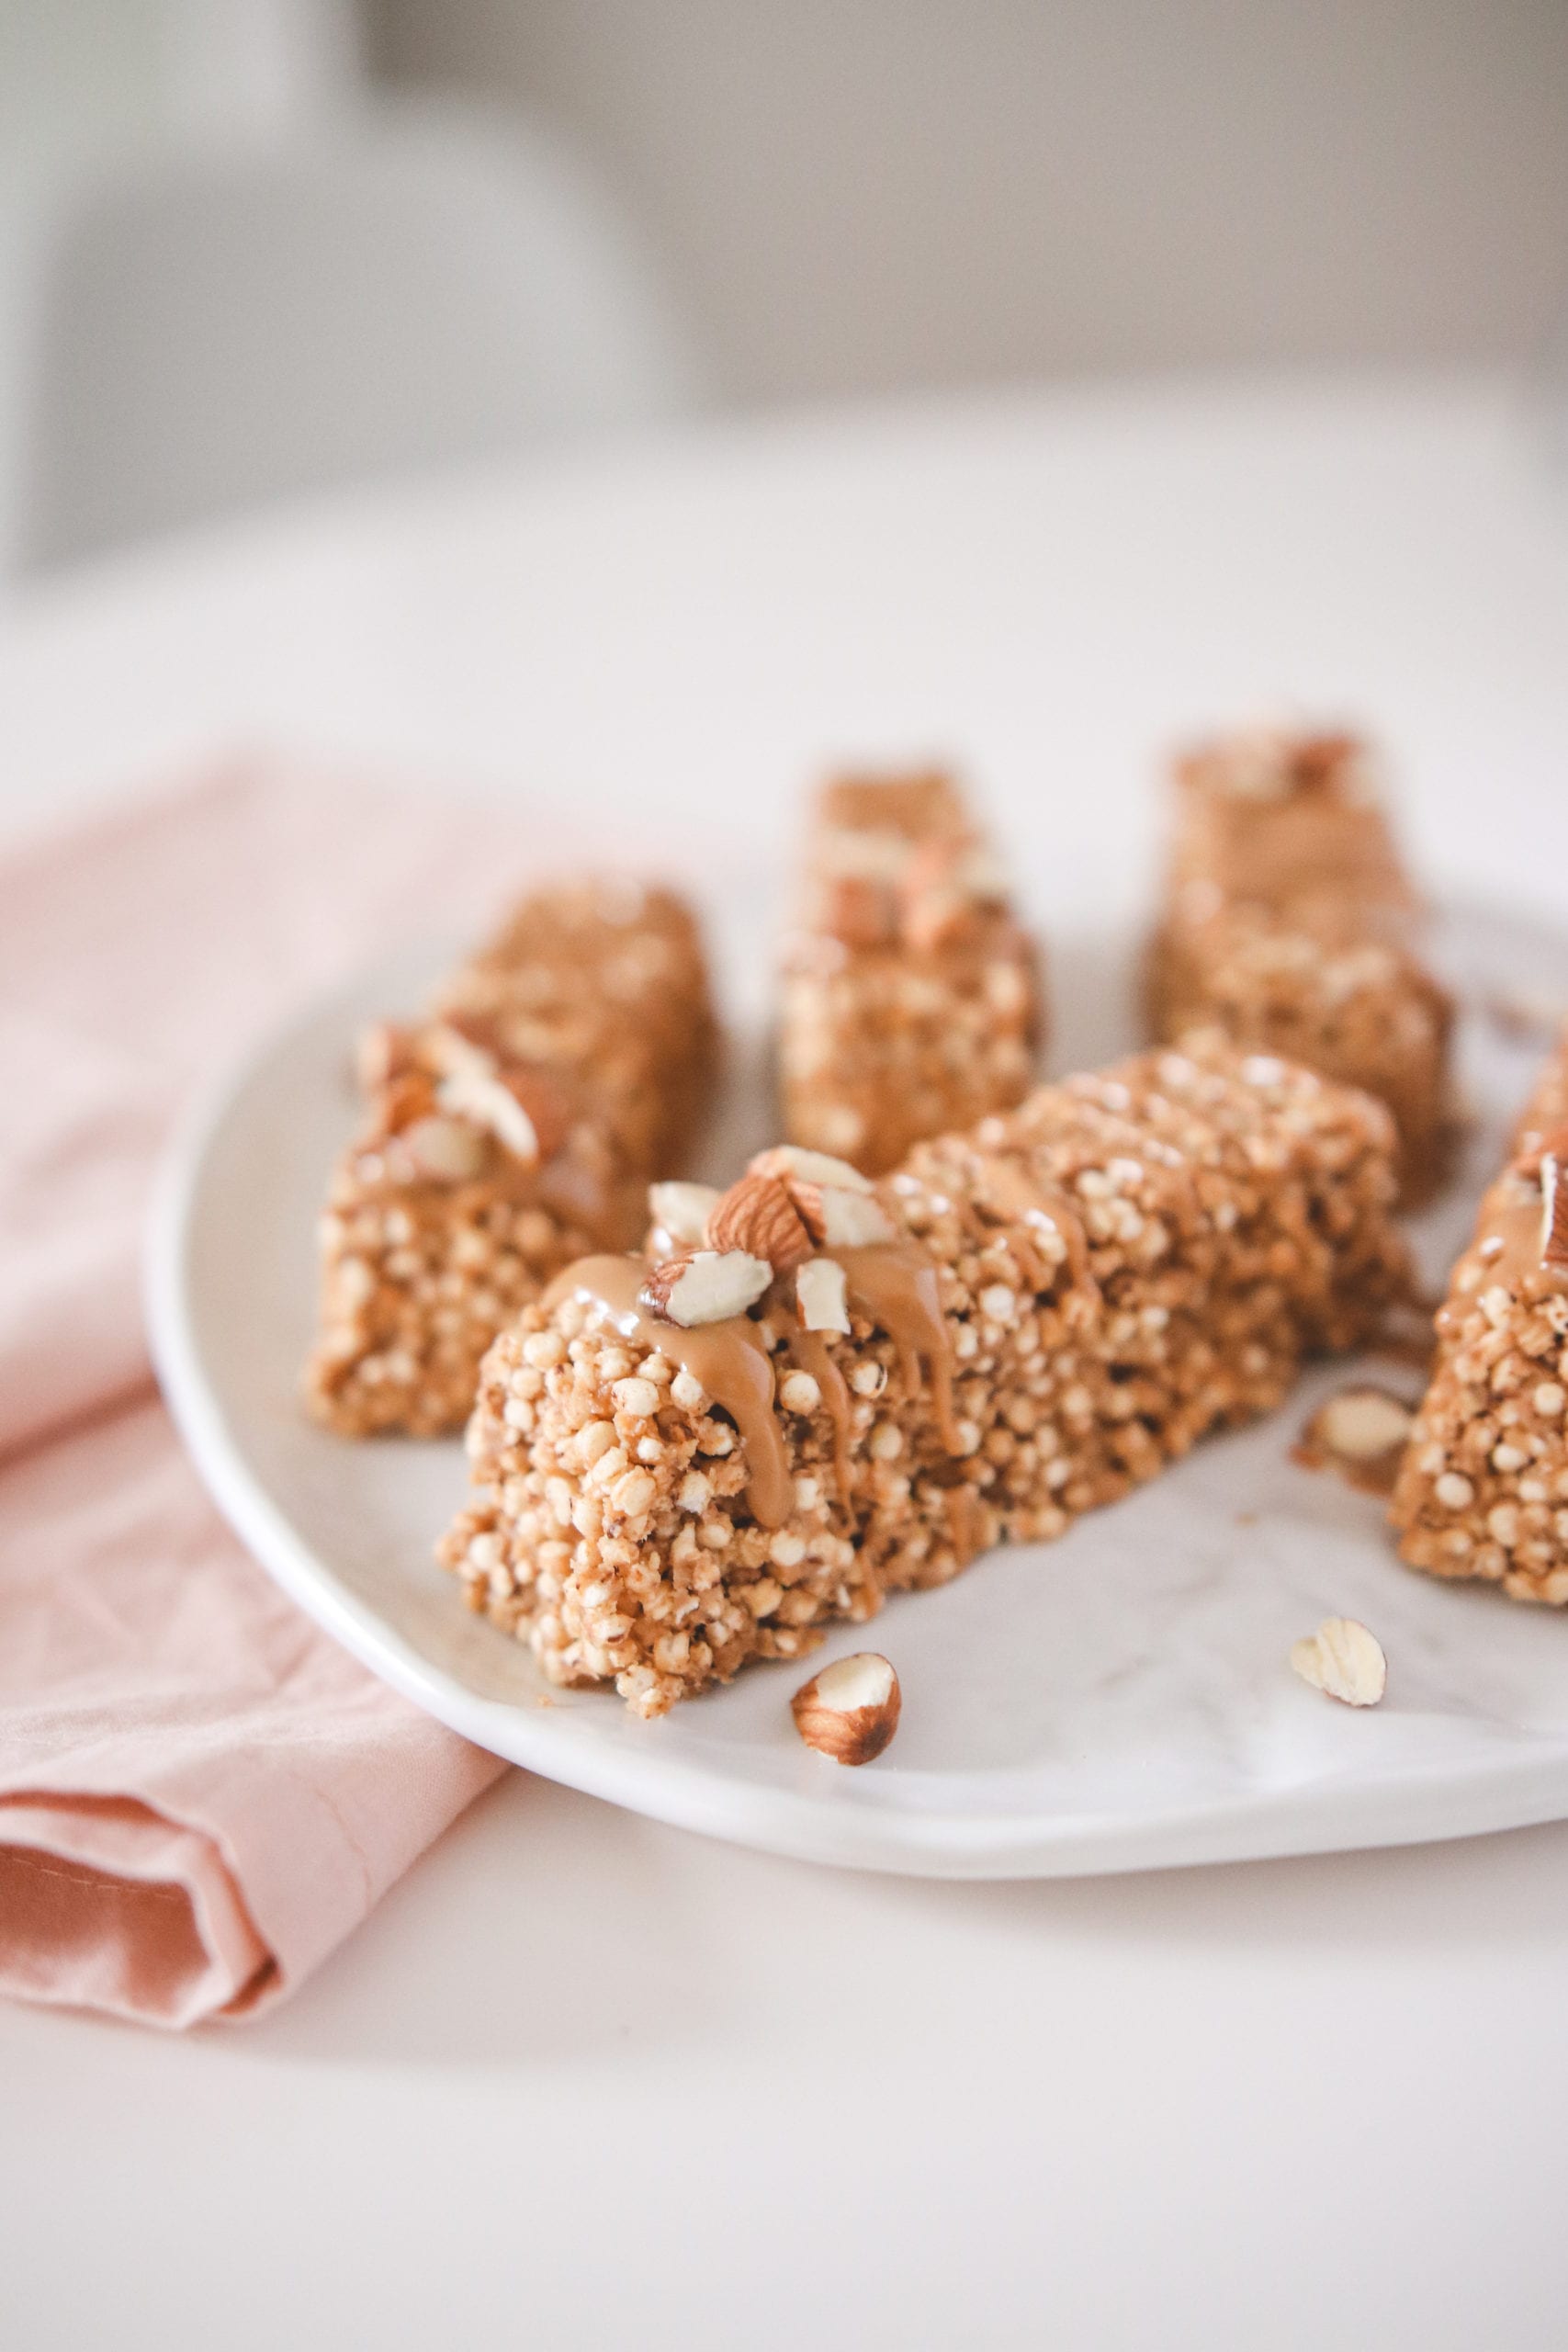
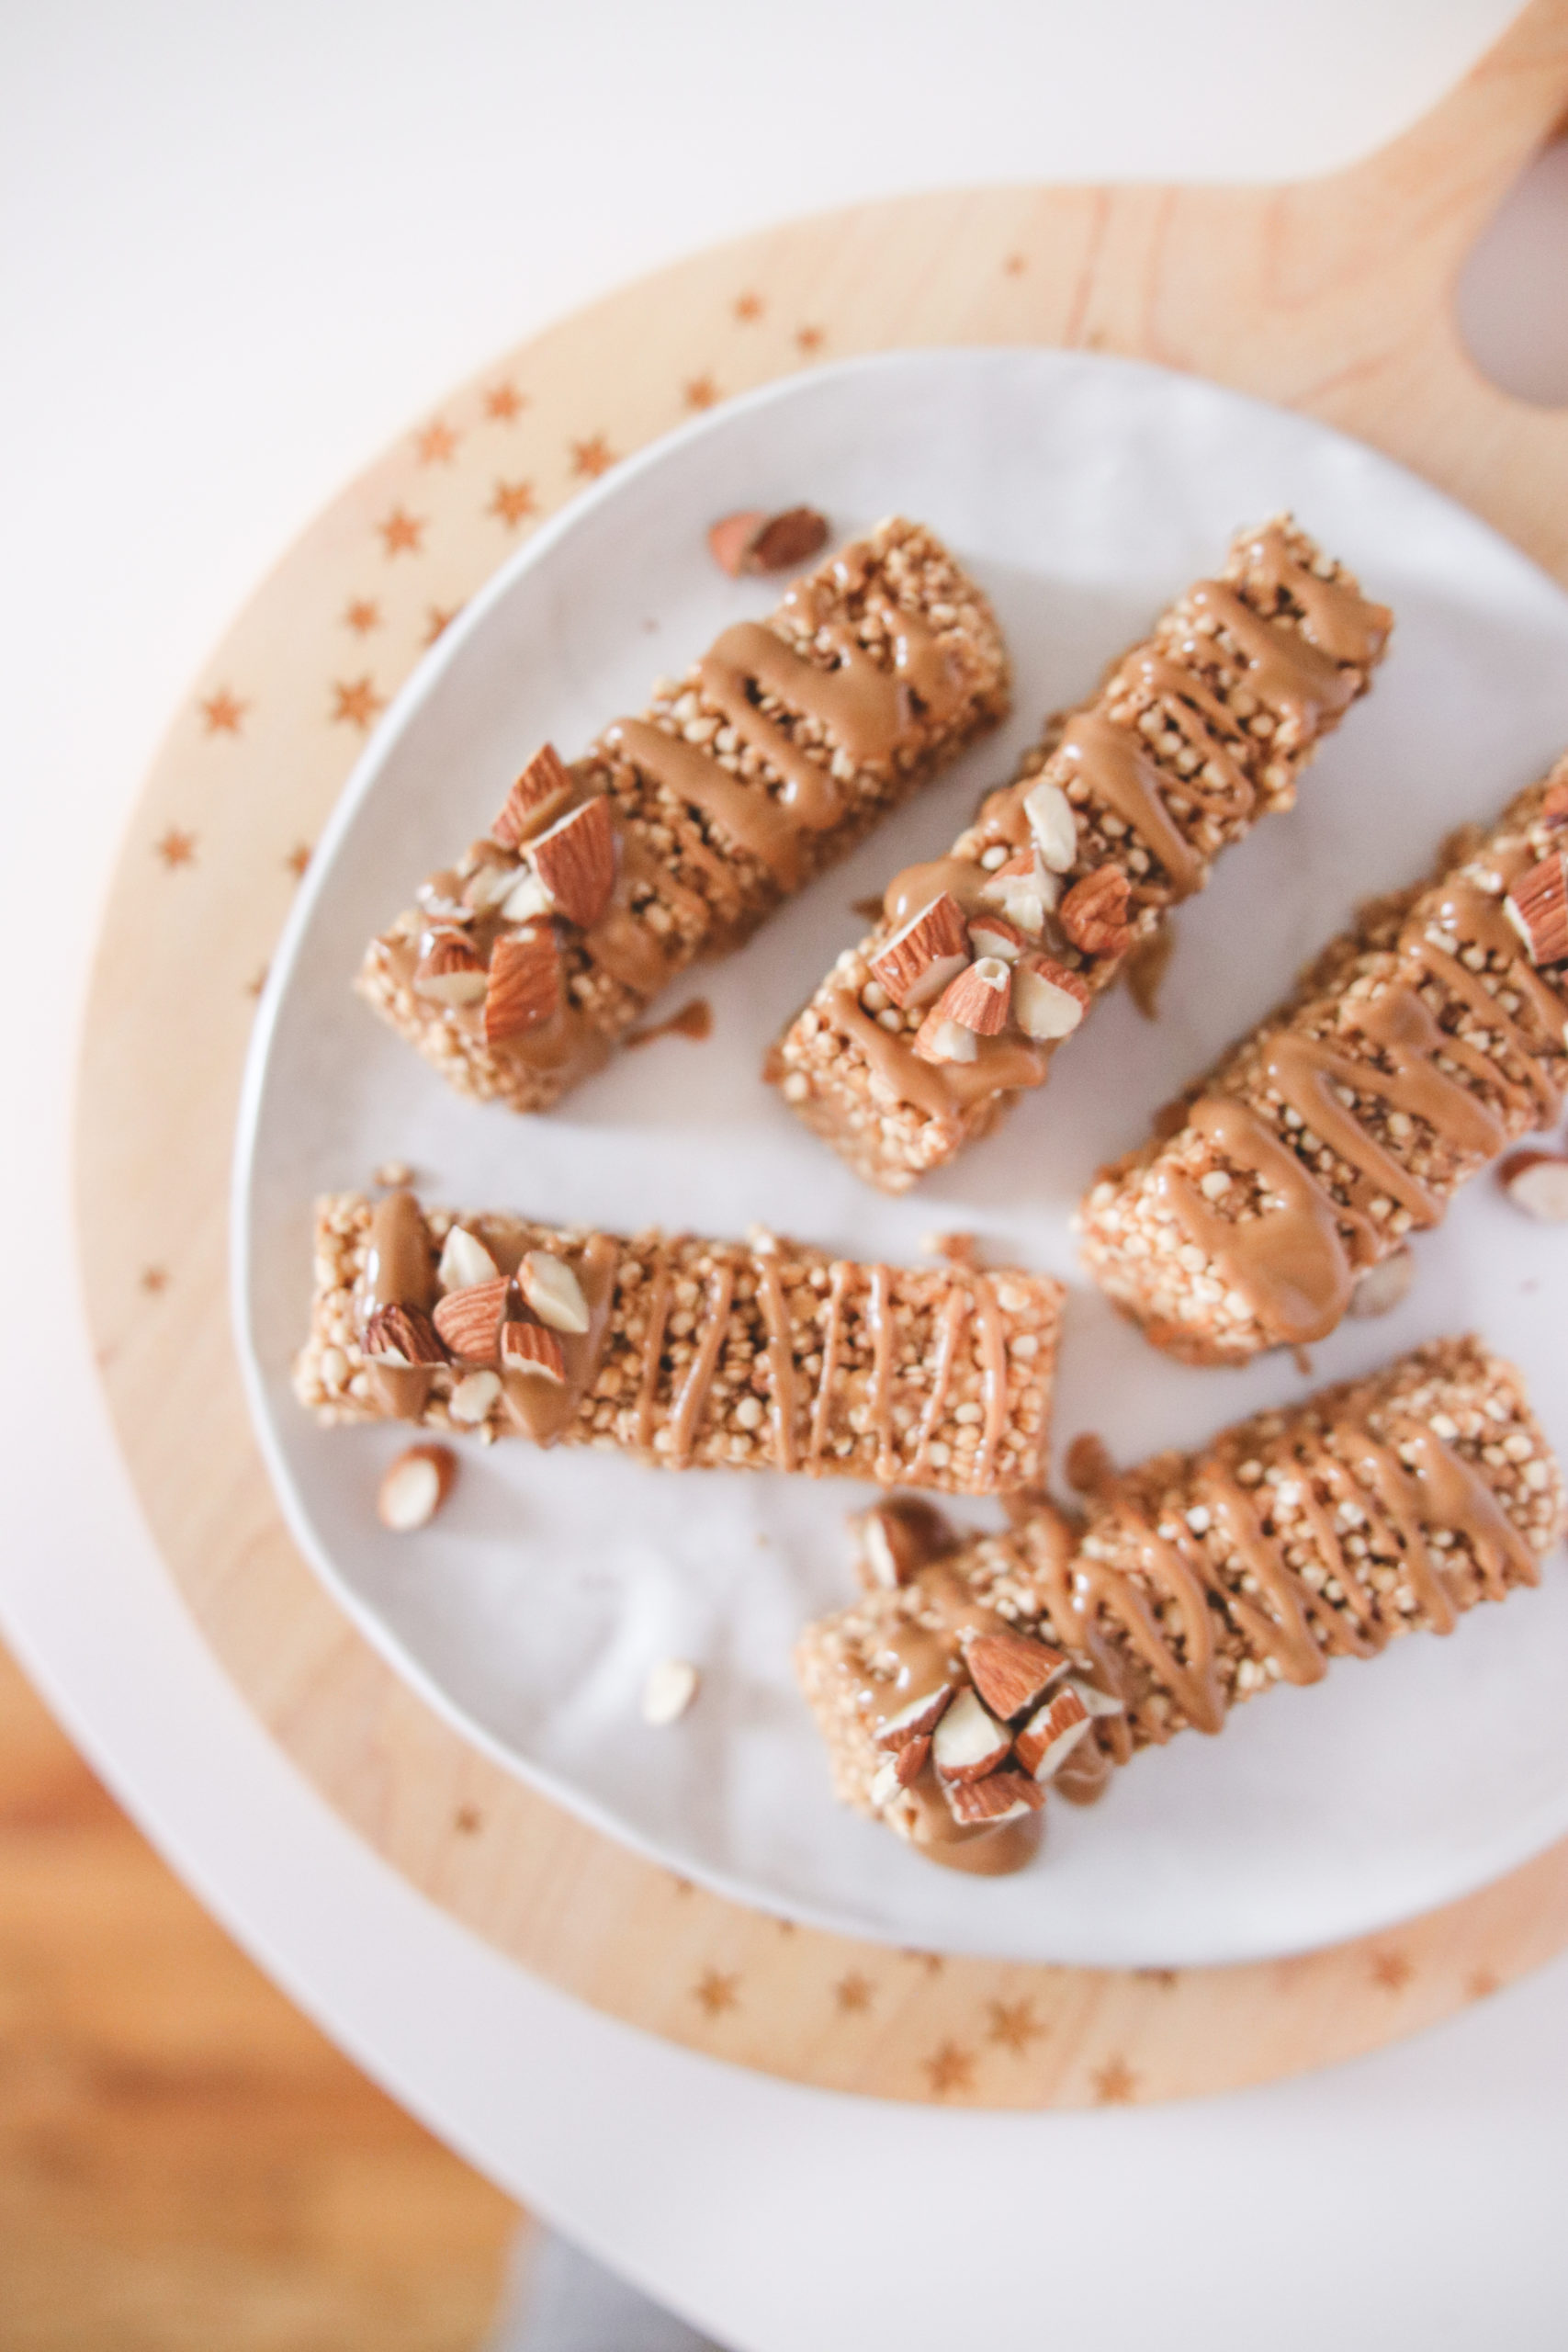
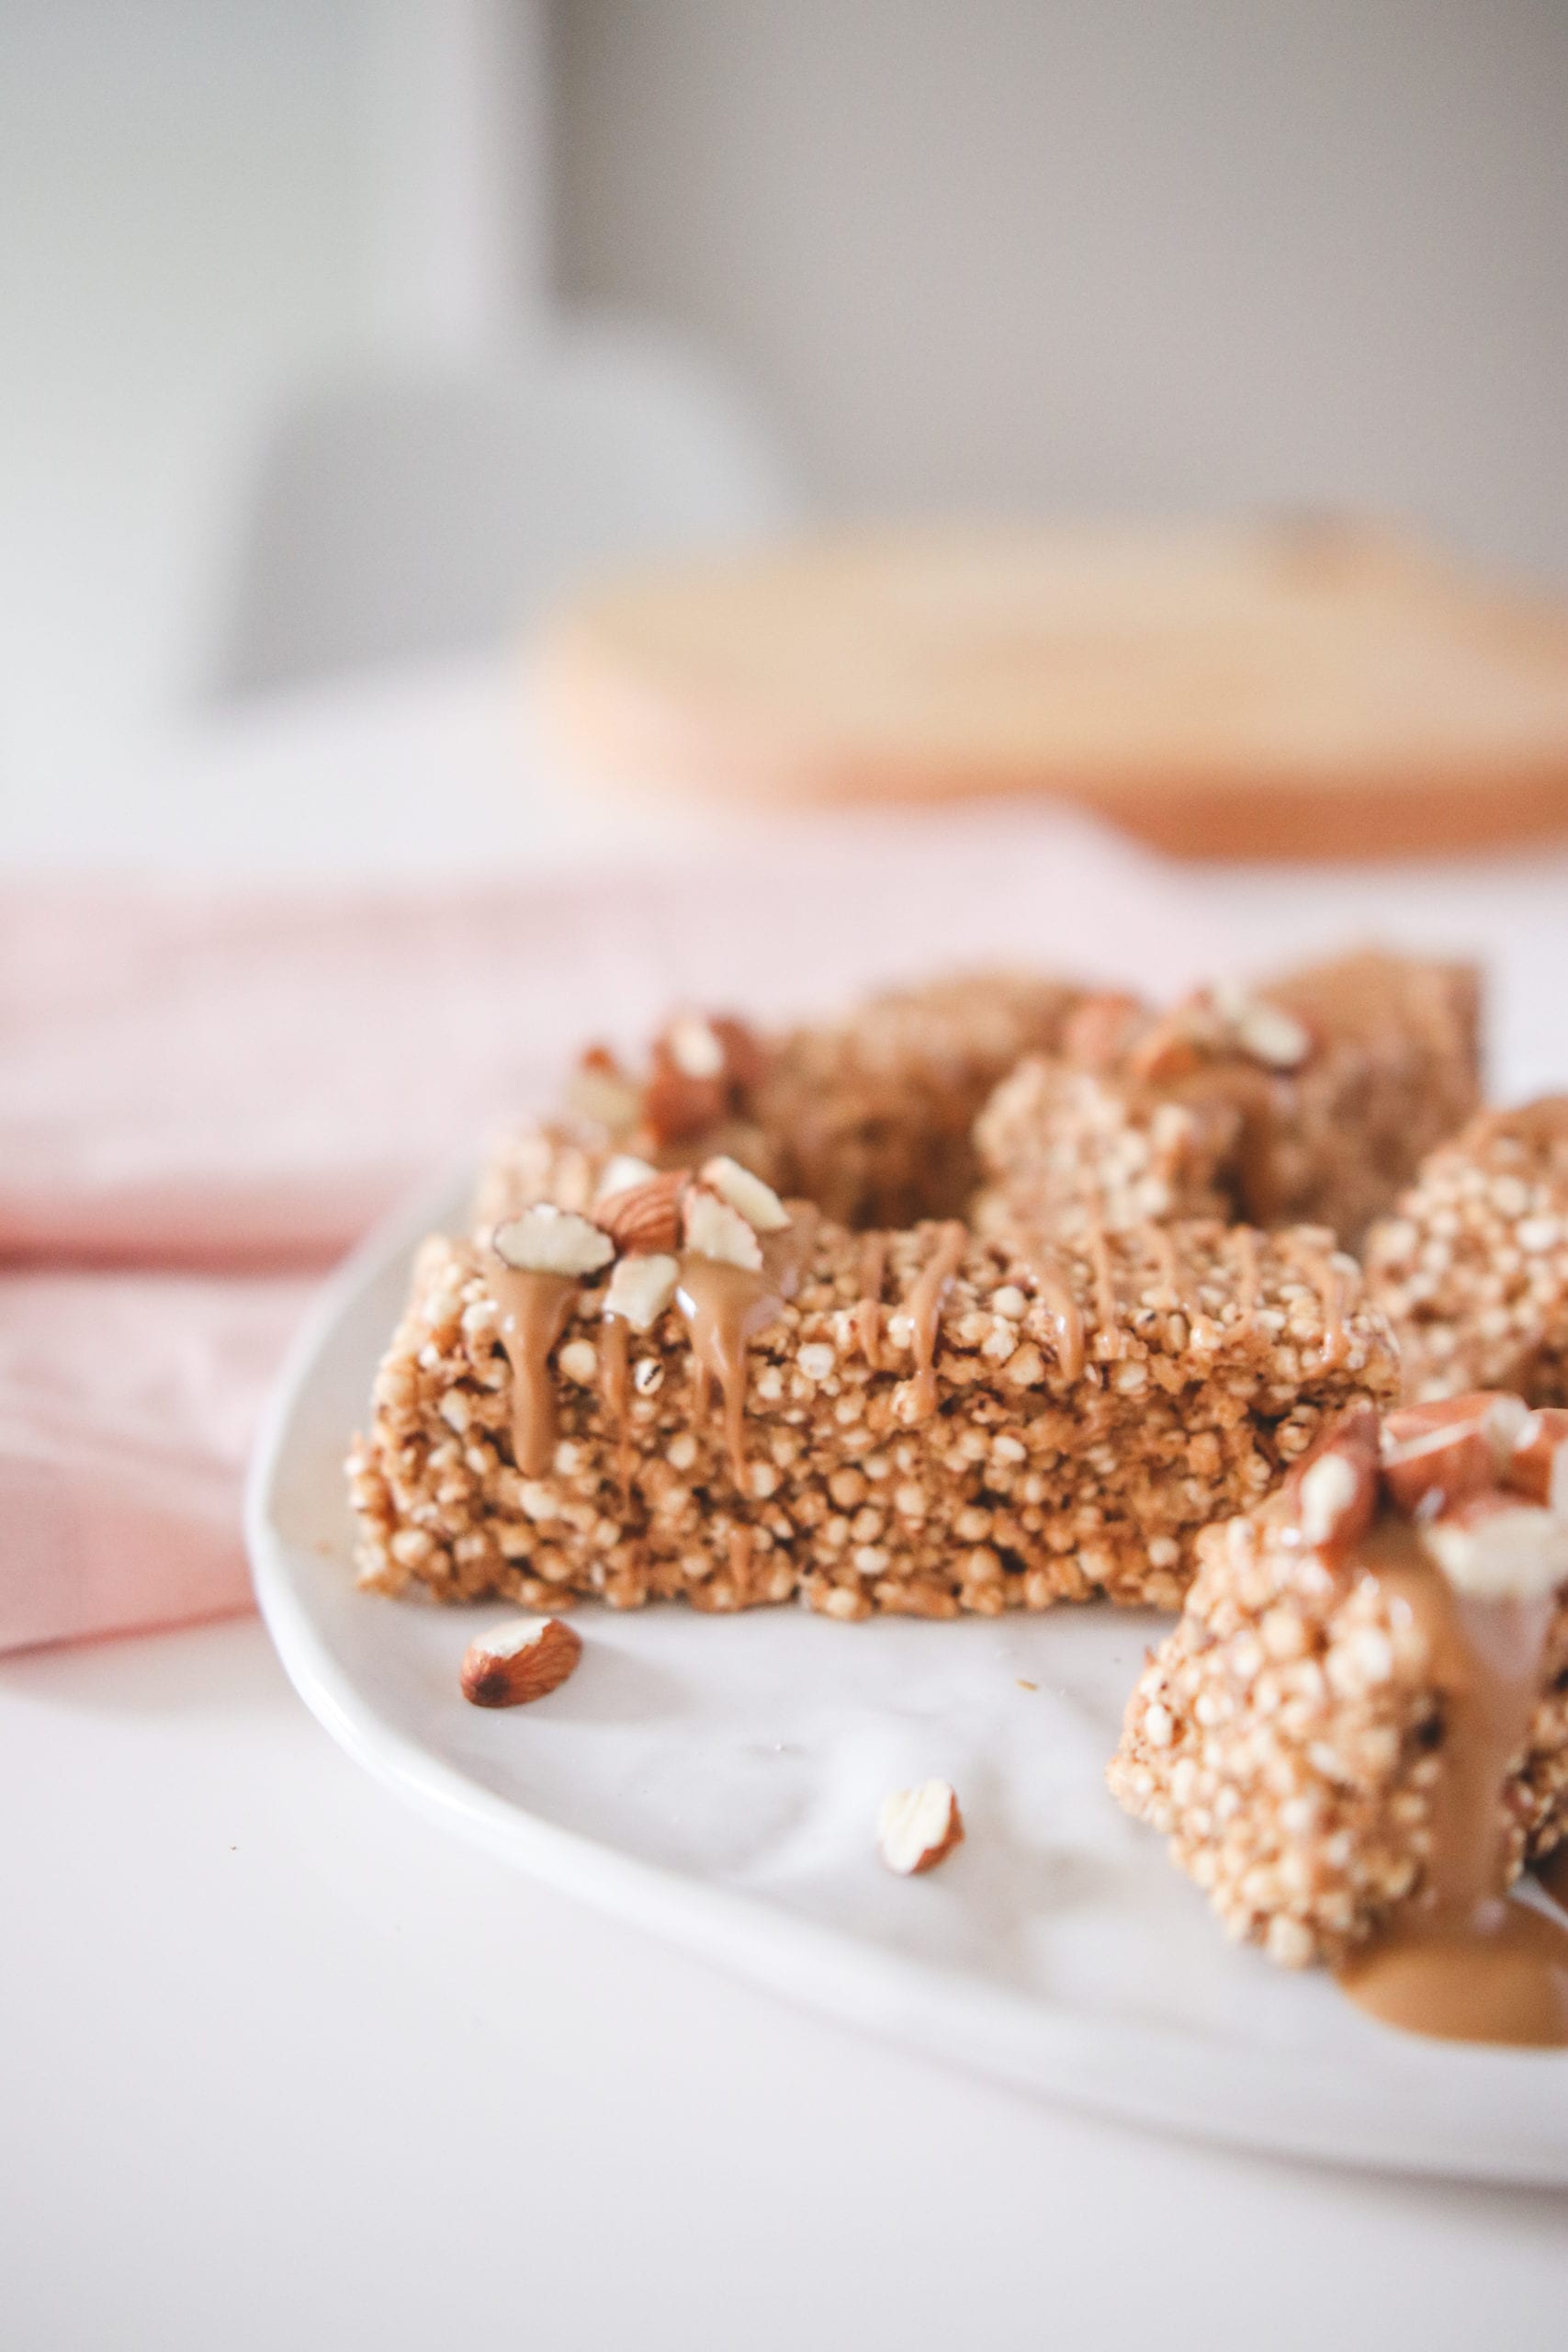
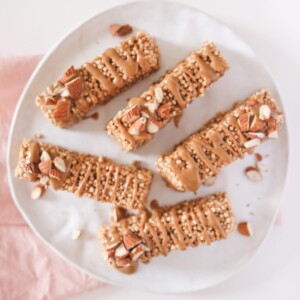
Today, I drizzled a little “salted caramel” chocolate over the bar and threw some chopped raw almonds on top for garnish. Feel free to add in other toppings or just eat them on their own.
Step-by-Step Instructions
- In a large bowl, combine all ingredients at room temperature in a bowl (with the exception of puffed quinoa). Mix together until smooth and evenly incorporated. At this point, taste the mixture and make sure it’s sweet enough for you! If you like things extra sweet, now’s the time to add on or throw in any additional spices.
- Add in puffed quinoa by the cup, and using a spatula, make sure the quinoa is coated evenly. The mixture should begin to stick together when packed.
- Line a square baking tray (I used this 8×8 inch one) with parchment paper, or lightly grease and transfer the mixture into the tray.
- Cover with parchment paper, and using a spatula, press down to flatten. Don’t press too firmly, as you might crush the puffed quinoa, but make sure it’s packed down enough so that the mixture will stick once chilled.
- Place in fridge to set for at least 30 minutes. I recommend an hour for best results.
- Once chilled, remove from fridge and slice into bars. At this point, you can drizzle melted chocolate on top, sprinkle toppings, then return to the fridge until firm. Enjoy!
Secrets to Success
- I love puffed quinoa because it makes for a great alternative to puffed rice, and generally speaking, I find quinoa to be a little more nutritious than white or brown rice. If you can’t find it or can relate to my sourcing struggle, I recommend purchasing online (here) OR substituting. Alternatives include other crispy popped grains, OR just using puffed rice works just fine!
Storage Tips
If you live in warmer temps, I highly recommend keeping them refrigerated until you eat because they do require chill to firm up! Store in an airtight container in the fridge for up to 5-7 days.
Recipe FAQs
It is a good source of protein, fiber, and various vitamins and minerals. Quinoa is a complete protein, meaning it contains all nine essential amino acids that the body cannot produce on its own. It is also rich in antioxidants and beneficial plant compounds.
Yes! I recommend making it in small batches as to keep it from buring, but it is possible to make at home! The popping process is quite simple, but it does take time. I recommend looking up a simple method popped quinoa recipe and sticking to it. Because you can flavor the quinoa so many ways, it makes an excellent topping to salads, yogurt, ice cream, and more! And if you haven’t tried my popped sorghum, that’s another super healthy and delicious snack!
More Vegan Snack Recipes
If you make this recipe, be sure to let me know what you think with a comment below! Follow me on Instagram for more delicious recipes!
How To Make Crunchy Puffed Quinoa Bars (Easy Recipe)
Ingredients
- 2 cups puffed quinoa crisp works best!
- 1/2 cup cashew butter or other nut/seed butter
- 1/4 cup maple syrup or use date paste
- 1 teaspoon vanilla bean or vanilla extract
- pinch of salt
- optional
- pinch of cinnamon
- melted chocolate to top
- chopped nuts
Instructions
- In a large bowl, combine all ingredients at room temperature in a bowl (with the exception of puffed quinoa). Mix together until smooth and evenly incorporated. At this point, taste the mixture and make sure it's sweet enough for you! If you like things extra sweet, now's the time to add on, or throw in any additional spices.
- Add in puffed quinoa by the cup and using a spatula, make sure quinoa is coated evenly. The mixture should begin to stick together when packed.
- Line a square baking tray (I used this 8×8 inch one) with parchment paper, or lightly grease and transfer mixture into tray.
- Cover with parchment paper, and using a spatula, press down to flatten. Don't press too firmly as you might crush the puffed quinoa, but make sure it's packed down enough so that the mixture will stick once chilled.
- Place in fridge to set for at least 30 minutes. I recommend an hour for best results.
- Once chilled, remove from fridge and slice into bars. At this point you can drizzle melted chocolate on top and add toppings, then return to fridge until firm. Enjoy!
Notes
Secrets to Success
-
- I love puffed quinoa because it makes for a great alternative to puffed rice, and generally speaking, I find quinoa to be a little more nutritious than white or brown rice. If you can’t find it or can relate to my sourcing struggle, I recommend purchasing online (here) OR substituting. Alternatives include other crispy popped grains, OR just using puffed rice works just fine!
Storage Tips
If you live in warmer temps, I highly recommend keeping them refrigerated until you eat because they do require chill to firm up! Store in an airtight container in the fridge for up to 5-7 days.Nutrition information is automatically calculated, so should only be used as an approximation.
2 Comments